Design mistakes caught during prototyping cost a fraction of what they cost after tooling is cut. NASA's own cost-of-rework research, the 1:10:100 rule, shows that fixing a problem gets exponentially more expensive the later you catch it—design, then fabrication, then test, each stage multiplying the cost of correction (NASA, 2022).
The tricky part? Most teams don't know which prototyping technique fits their project, which material to specify, or which manufacturing partner can actually deliver. This guide breaks down the prototype types, the four core manufacturing techniques, realistic cost ranges, material selection, and how to pick a partner who won't leave you juggling five vendors.
Key Takeaways
- Match prototype type to purpose: visual for form, functional for fit and performance, high-resolution for validation
- Cover volume and budget needs with 3D printing, CNC machining, vacuum casting, or injection molding
- Choose materials early; they drive both process selection and final cost
- Cut vendor handoffs and shorten time-to-market with one end-to-end manufacturing partner
What Is a Plastic Prototype and Why Does It Matter?
A plastic prototype is a physical sample used to validate a design before committing to mass production. It may use a different material or process than the final part. What matters is answering specific questions about fit, form, or function (Protolabs).
Prototypes generally fall into three buckets:
- Visual/tactile prototypes — used for design reviews, marketing mockups, and stakeholder buy-in. Looks matter more than performance here.
- Functional prototypes — built to test mechanical performance, fit, and durability under real-world stress.
- High-resolution prototypes — near-production-quality parts used for final design sign-off or investor demos.

How Prototyping Fits the Product Validation Cycle
Product teams typically move through three testing phases:
- EVT (Engineering Validation Test) — confirms the design works as engineered (Formlabs, 2021)
- DVT (Design Validation Test) — combines subsystems and runs environmental, thermal, and drop testing
- PVT (Production Validation Test) — verifies the product is ready for full-scale manufacturing, checking yield and line speed
Regulated industries lean on this process hard. Medical device makers must meet FDA design verification and validation requirements, confirming that a device meets both its design specs and real-world user needs (FDA).
Defense contractors face similar scrutiny. The GAO has found that effective prototyping directly improves the odds that weapon systems stay on schedule and on budget (GAO, 2017).
For Finine Design and Manufacturing, which works with dental, orthopedic, and military clients, this isn't theoretical. Getting a prototype wrong in a regulated space doesn't just cost money—it can stall an entire product launch.
What Are the Main Types of Plastic Prototyping Techniques?
Choosing the right technique comes down to volume, budget, and how closely the prototype needs to mimic the final part. The main options are 3D printing, vacuum casting, CNC machining, and prototype injection molding.
3D Printing
Three main processes dominate 3D-printed prototypes, each with distinct trade-offs:
- FDM (Fused Deposition Modeling): Melts thermoplastic layer by layer. Affordable, but parts are anisotropic (weaker in one direction) and often need sanding (Formlabs)
- SLA (Stereolithography): Cures liquid resin with light for isotropic, watertight parts and excellent surface finish. Strong fit for functional testing and go/no-go checks
- SLS (Selective Laser Sintering): Fuses powder without support structures, so complex geometries and nested builds are practical. Common material: nylon
Turnaround varies by machine and part size. Some resin printers finish builds in under two hours, while SLS jobs often run 7-14 hours including cooldown (Formlabs).

Vacuum Casting
This process builds a master pattern (via 3D printing or CNC machining), then pours silicone around it to create a mold. Liquid polyurethane is cast into that mold under vacuum to pull out air bubbles.
- Run size: 10-200 units
- Mold life: about 20 castings per silicone mold before it degrades
- Lead time: as little as 7 days (Fictiv)
It bridges one-off prototyping and true production: production-representative parts without the cost of steel tooling.
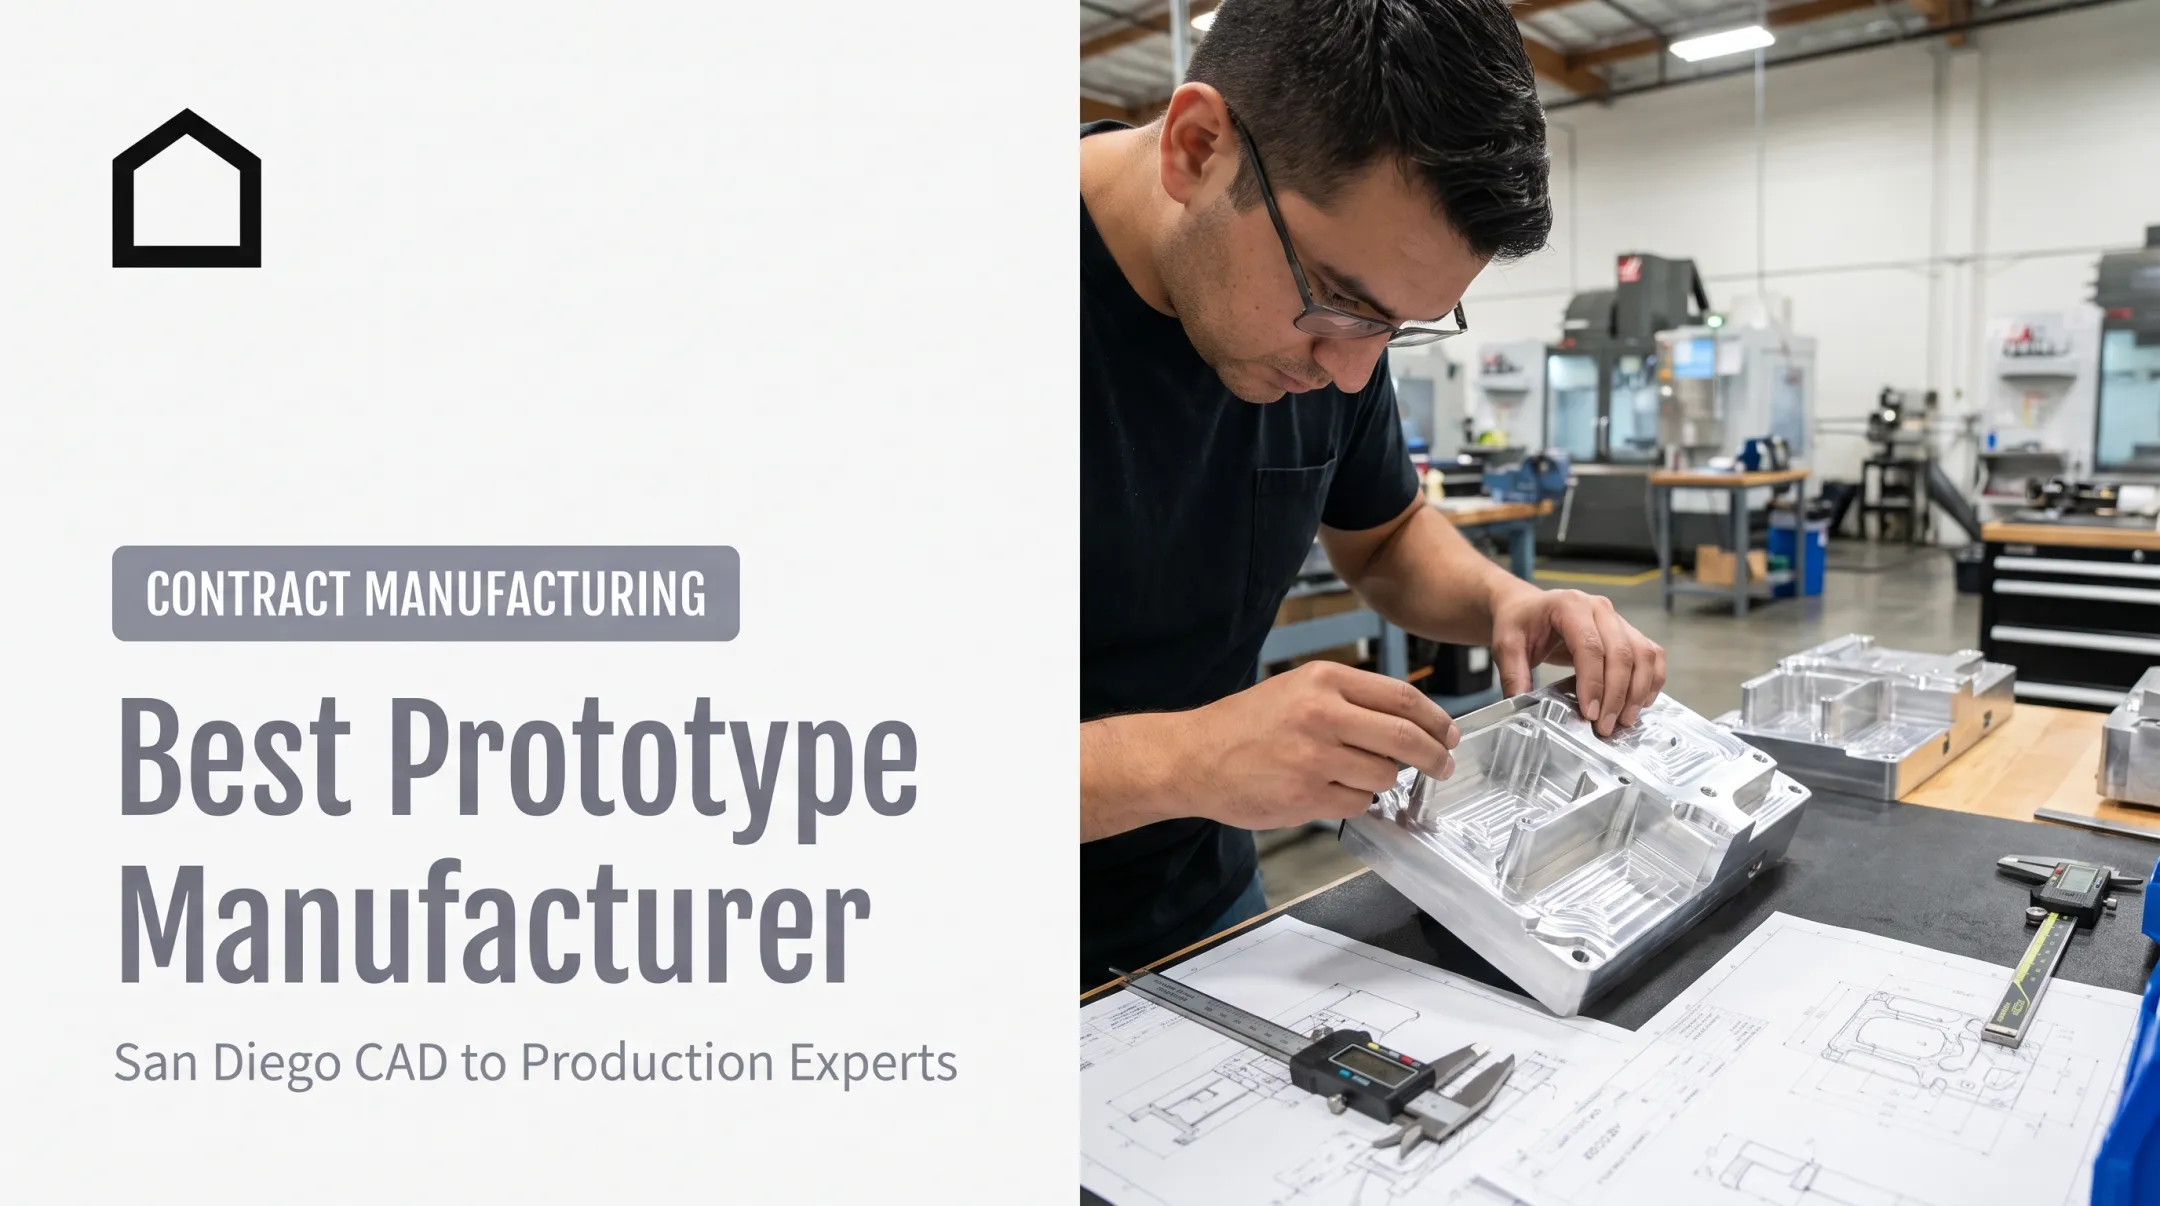
CNC Machining
Subtractive machining cuts prototypes directly from solid blocks of production-grade plastic. No tooling is required, and tolerances can be tight (Protolabs):
- Standard tolerances: around ±0.005 inches
- Precision work: down to ±0.002 inches
CNC is ideal when you need a functional prototype that behaves like the final production part, not just one that looks like it.
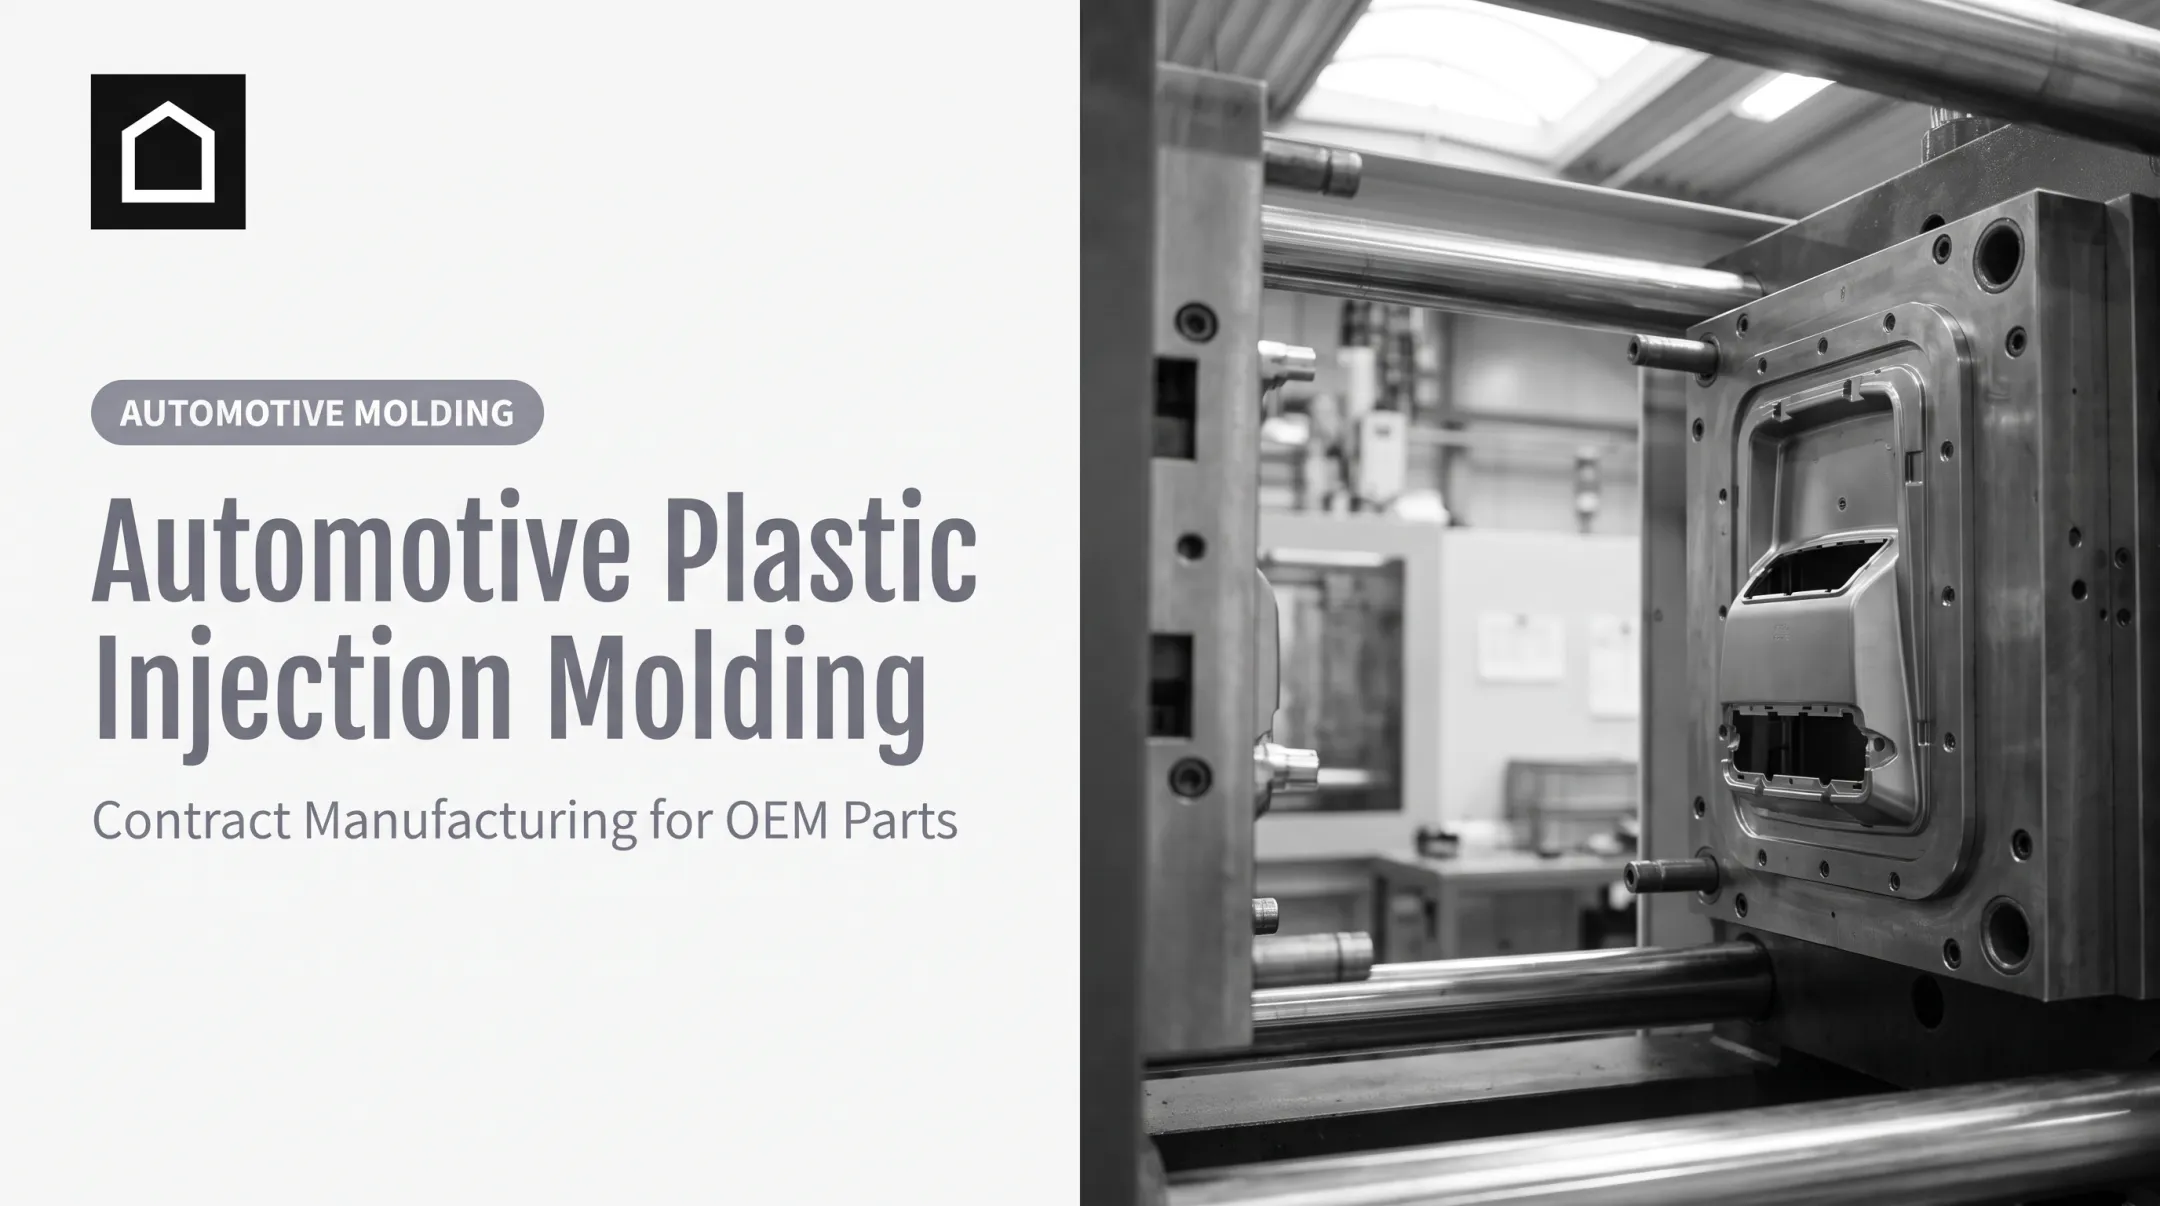
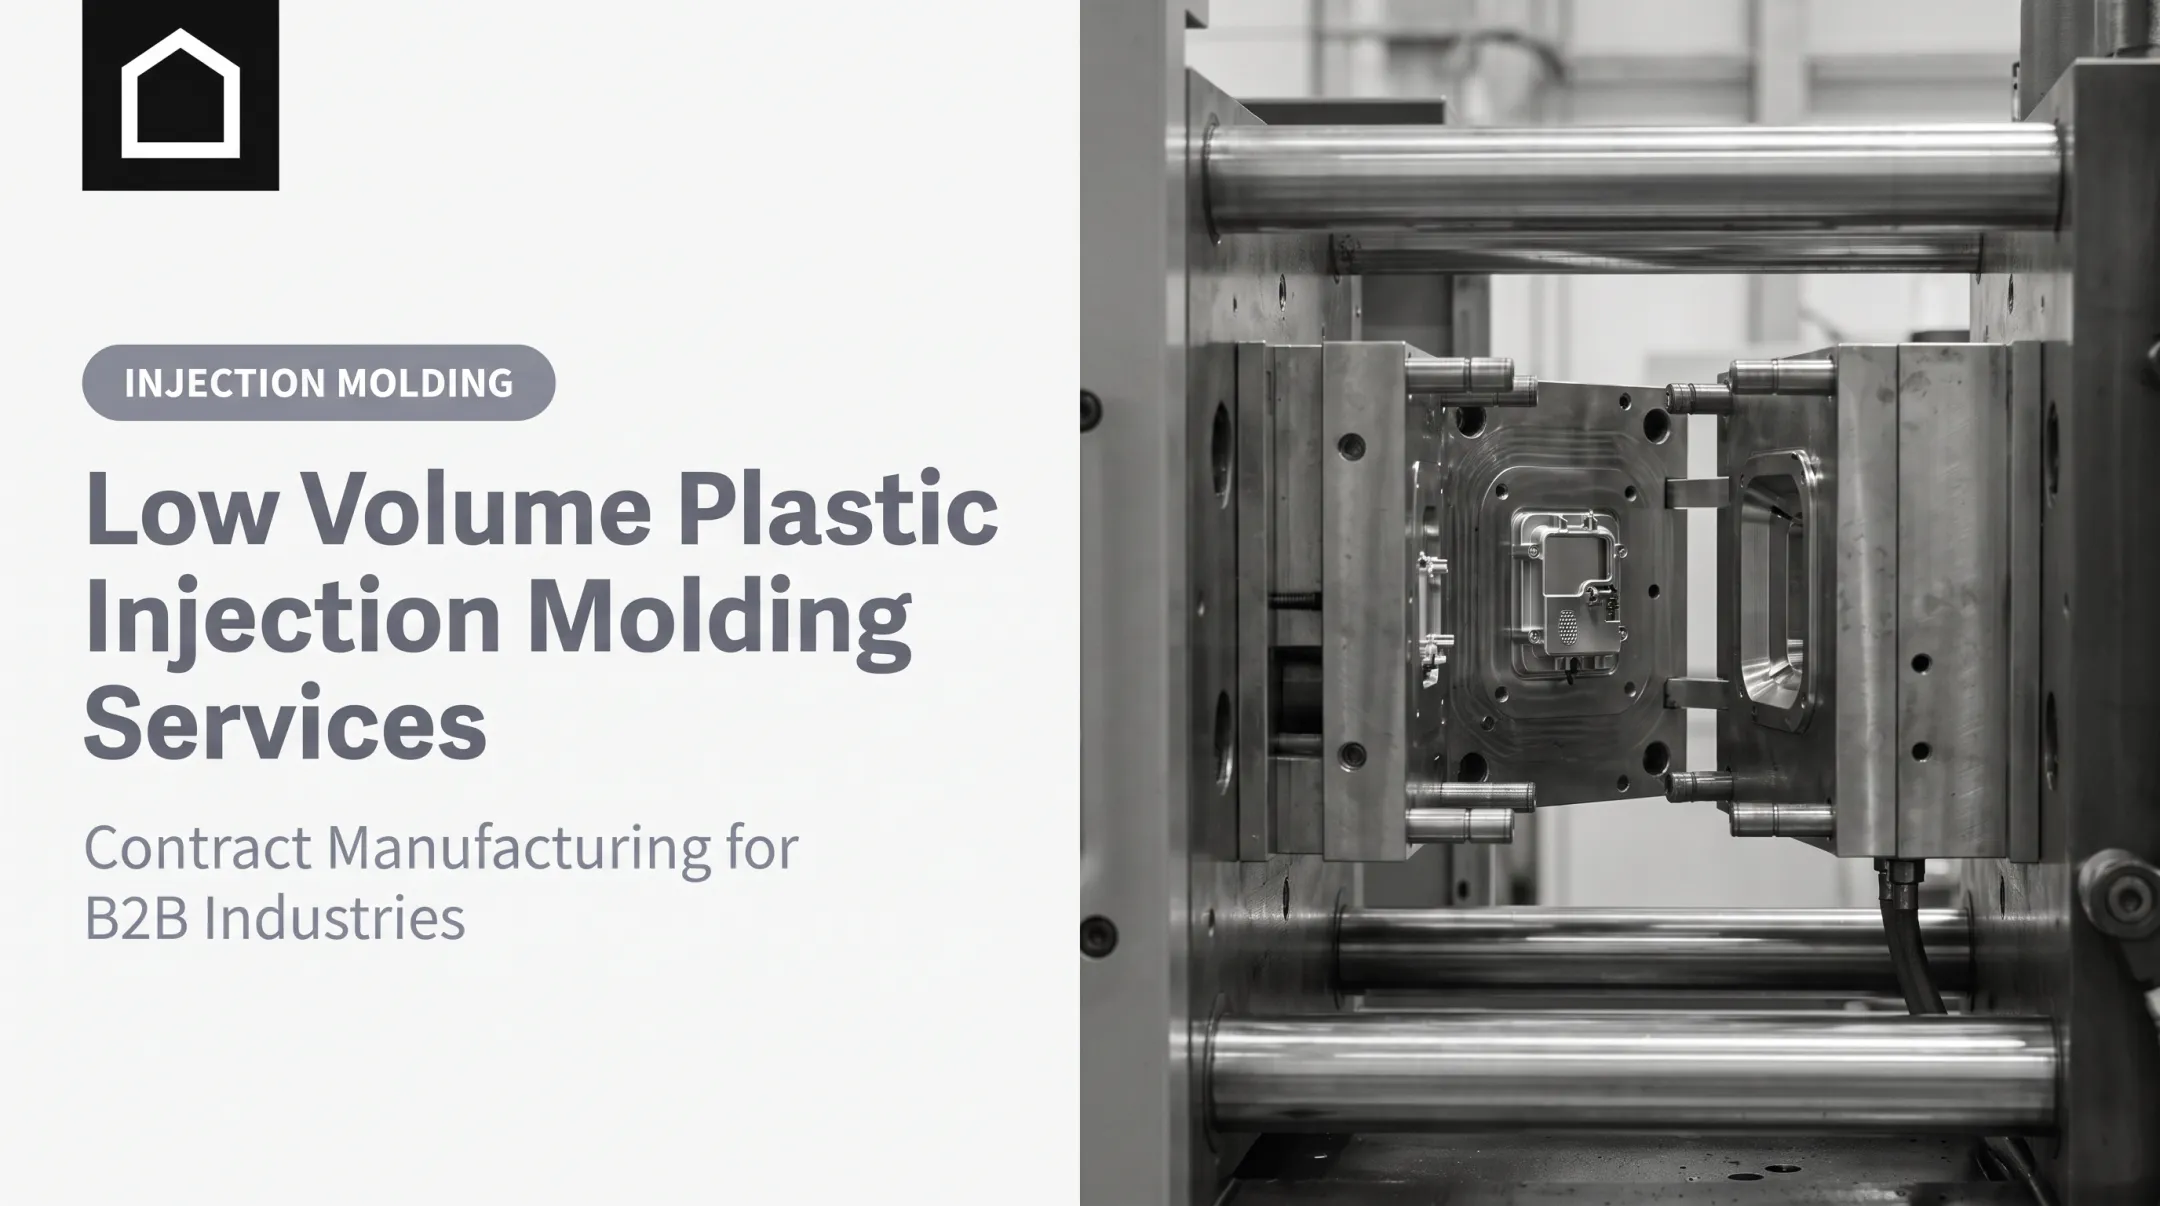
Injection Molding for Prototypes
Once you're planning runs in the hundreds or low thousands, aluminum prototype tooling starts to make sense. Aluminum is softer and faster to machine than production steel, which keeps costs down (Protolabs, 2024):
- Tooling cost: from around $1,500
- Lead time: 7 days or less
- Quantity: up to roughly 10,000 parts, depending on geometry
| Technique | Typical Cost | Lead Time | Best For |
|---|---|---|---|
| 3D Printing | $20-$200+ | Hours to days | Single units, design iteration |
| CNC Machining | $100-$1,000+ | 1+ day | Functional, tight-tolerance parts |
| Vacuum Casting | $200-$5,000+ | ~7 days | 10-200 unit bridge runs |
| Injection Molding (prototype tooling) | $1,000-$10,000+ | 1-2 weeks | 100+ units, production-intent testing |
(Cost ranges from Fictiv, 2026)
How Much Does It Cost to Prototype a Plastic Part?
Prototype cost depends on method, volume, and complexity. Ranges below are typical starting points for plastic parts in the U.S.
| Method | Typical cost range | Best fit |
|---|---|---|
| 3D printing | $20–$200+ per part | Early concepts, simple geometry |
| CNC machining | $100–$1,000+ per part | Tight tolerances, engineering plastics |
| Vacuum casting | $200–$5,000+ | 10–100+ near-production parts |
| Injection molding (tooling) | $1,000–$10,000+ mold | Higher volumes once design is locked |
3D printing is usually the lowest entry cost. Price tracks material and resolution: standard ABS/PLA filaments start around $30/kg, while engineering-grade filaments can reach $100–$150/kg (Formlabs).
CNC machining sits in the middle. Cost rises with material grade, complex geometry, tighter tolerances (slower cuts), and finish requirements.
Vacuum casting fills the bridge between one-offs and production when you need short runs of near-production parts.
Injection molding tooling is the largest upfront spend. Tooling is fixed, so unit cost falls as volume rises: a $3,000 mold over 5,000 parts adds pennies each; over 50 parts, it stays expensive per piece.

Across methods, three variables move the quote most:
- Material — engineering-grade resins cost more than commodity plastics
- Complexity — undercuts, thin walls, and tight tolerances add machine time
- Finishing — paint, texture, or graphics add labor
Choosing the Right Material for Your Plastic Prototype
Material choice decides whether your prototype produces useful performance data or just a lookalike model. Cost matters, but mechanical match and test validity matter more.
Ask these questions before picking a material:
- Does it need to match the mechanical properties of the final production plastic?
- Is it compatible with your chosen process (not every plastic prints or machines the same way)?
- What's the budget per unit?
Common Prototyping Plastics
- ABS — tough, impact-resistant, handles heat well. Good for functional prototypes (Formlabs)
- Nylon — strong, durable, slightly flexible. Common in SLS printing, tricky in FDM
- PC (Polycarbonate) — very strong and heat-resistant, used where toughness matters most (Stratasys)
- PLA — easiest to print, rigid, but brittle and less heat-resistant. Great for visual models, weak for functional testing
- TPU — flexible and impact-absorbing, used for gaskets, seals, and vibration-damping parts
Regulated industries raise the stakes. FDA design validation requires testing on production-equivalent units under real or simulated use conditions (FDA).
A PLA visual model won't show how a dental or orthopedic device performs in the field. Material fidelity to the final production plastic is required for credible validation data.
Key Considerations Before You Start Prototyping
Before you request a quote, nail down these basics:
- Define your application. Are you testing looks, function, or presenting to investors? This single decision narrows your technique options fast.
- Assess complexity and tolerances. Tight tolerances rule out some 3D printing processes and point you toward CNC machining.
- Set a realistic turnaround expectation. Rush jobs cost more, regardless of method.
- Prepare a clean CAD file. Sloppy geometry, unclear tolerances, and missing wall-thickness specs create delays before fabrication even starts.
- Get DFM feedback early. Design-for-Manufacturability review catches issues like sharp internal corners (a real problem for CNC, since cutting tools are round) and undercuts that complicate injection molding (Xometry Pro).
Skipping DFM feedback is one of the most common (and most avoidable) reasons prototypes come back wrong the first time.
Where to Get Your Plastic Prototype Made
Here's the problem with juggling separate vendors for CAD work, printing, machining, and finishing: every handoff adds time, miscommunication risk, and cost. Common breakdowns include:
- A print-ready file that fails CNC tolerance checks
- A prototype design that needs rework before injection molding
- Finishing specs that get lost between shops
A single full-service partner removes that friction—one team, one file set, and one point of accountability from CAD through finished part.
Finine Design and Manufacturing, based in San Diego, covers the full path in-house:
- CAD modeling and design refinement
- 3D printing for rapid iteration
- CNC machining for functional, tight-tolerance prototypes
- Urethane casting (silicone molding) for low-to-medium volume runs
- Injection molding for production transition
- Production painting and cosmetic finishing Finine works with automotive, military, consumer electronics, and medical clients, with particular depth in dental and orthopedic product development.
That cross-industry background matters in regulated spaces. A team that has already handled military and medical scrutiny tends to move faster and catch issues earlier than a generalist shop seeing those requirements for the first time.
Frequently Asked Questions
How much does it cost to 3D print a prototype?
Cost depends on part size, material, and print resolution, but simple 3D-printed prototypes typically run $20 to $200+. That makes it the most affordable option for single-unit or small-batch testing.
How much does it cost to manufacture a prototype?
Costs vary widely by method, material, and volume, ranging from $20 for a basic 3D print to $10,000+ for injection-mold tooling. The right number depends heavily on your specific part and quantity needs.
How much does prototype tooling cost?
Aluminum or quick-turn tooling costs less than production steel molds, often starting around $1,500. You recoup that upfront cost once unit volume justifies the tooling spend.
What are the main types of prototyping?
Main types include visual/tactile prototypes for looks and feel, functional prototypes for performance testing, and high-resolution prototypes for near-production final sign-off.
What is rapid prototyping?
Rapid prototyping means producing physical parts quickly—usually via 3D printing—to test and validate design ideas without waiting on tooling or long lead times.
Where can I get a product prototype made?
Full-service manufacturers like Finine Design and Manufacturing handle everything from CAD modeling through prototyping and production in-house, which cuts down on vendor handoffs and delays.