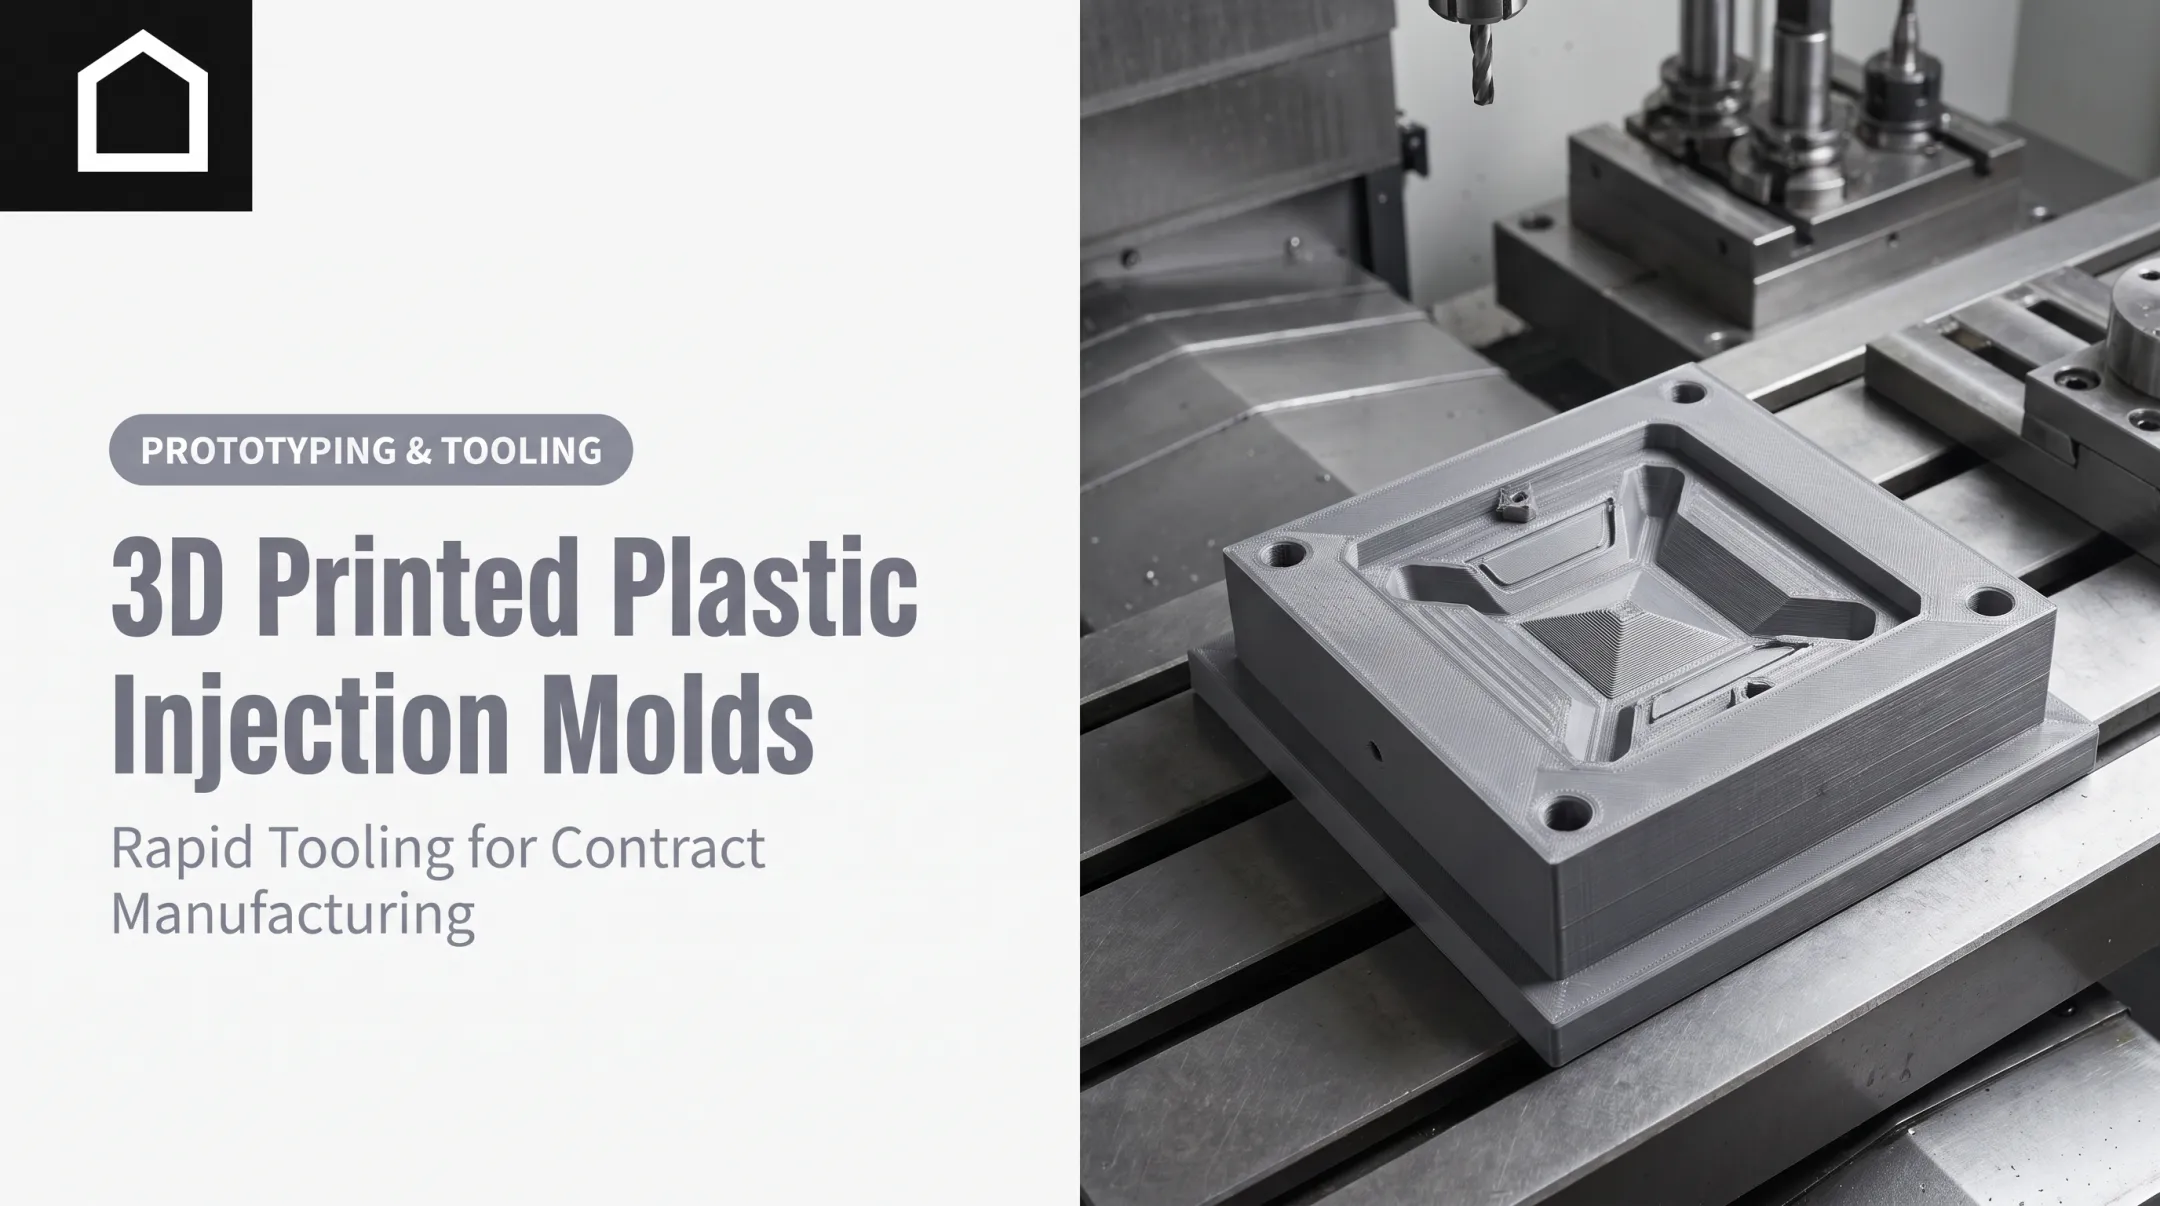
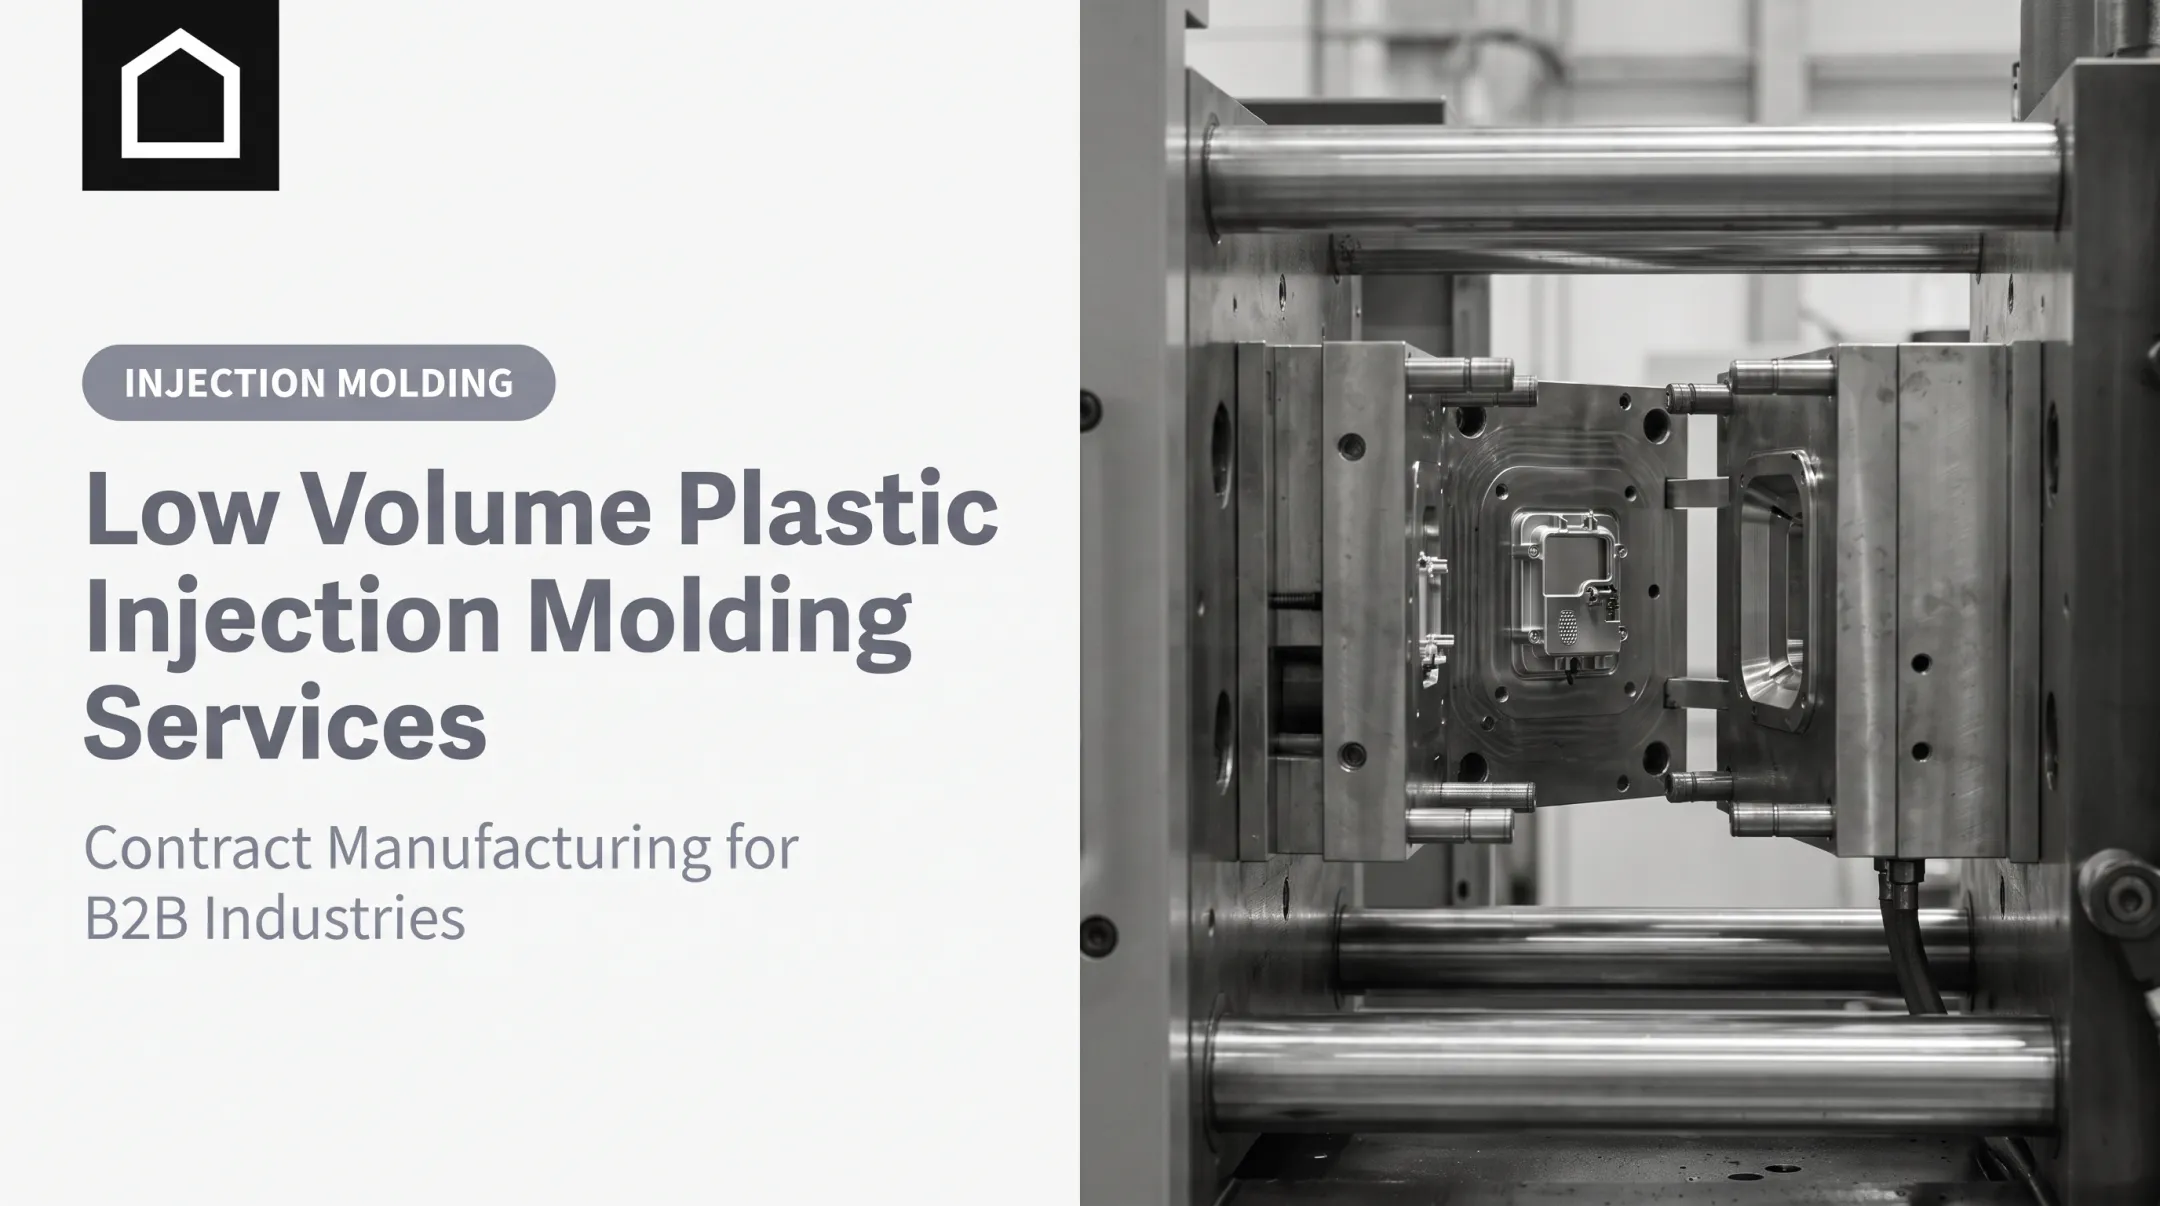
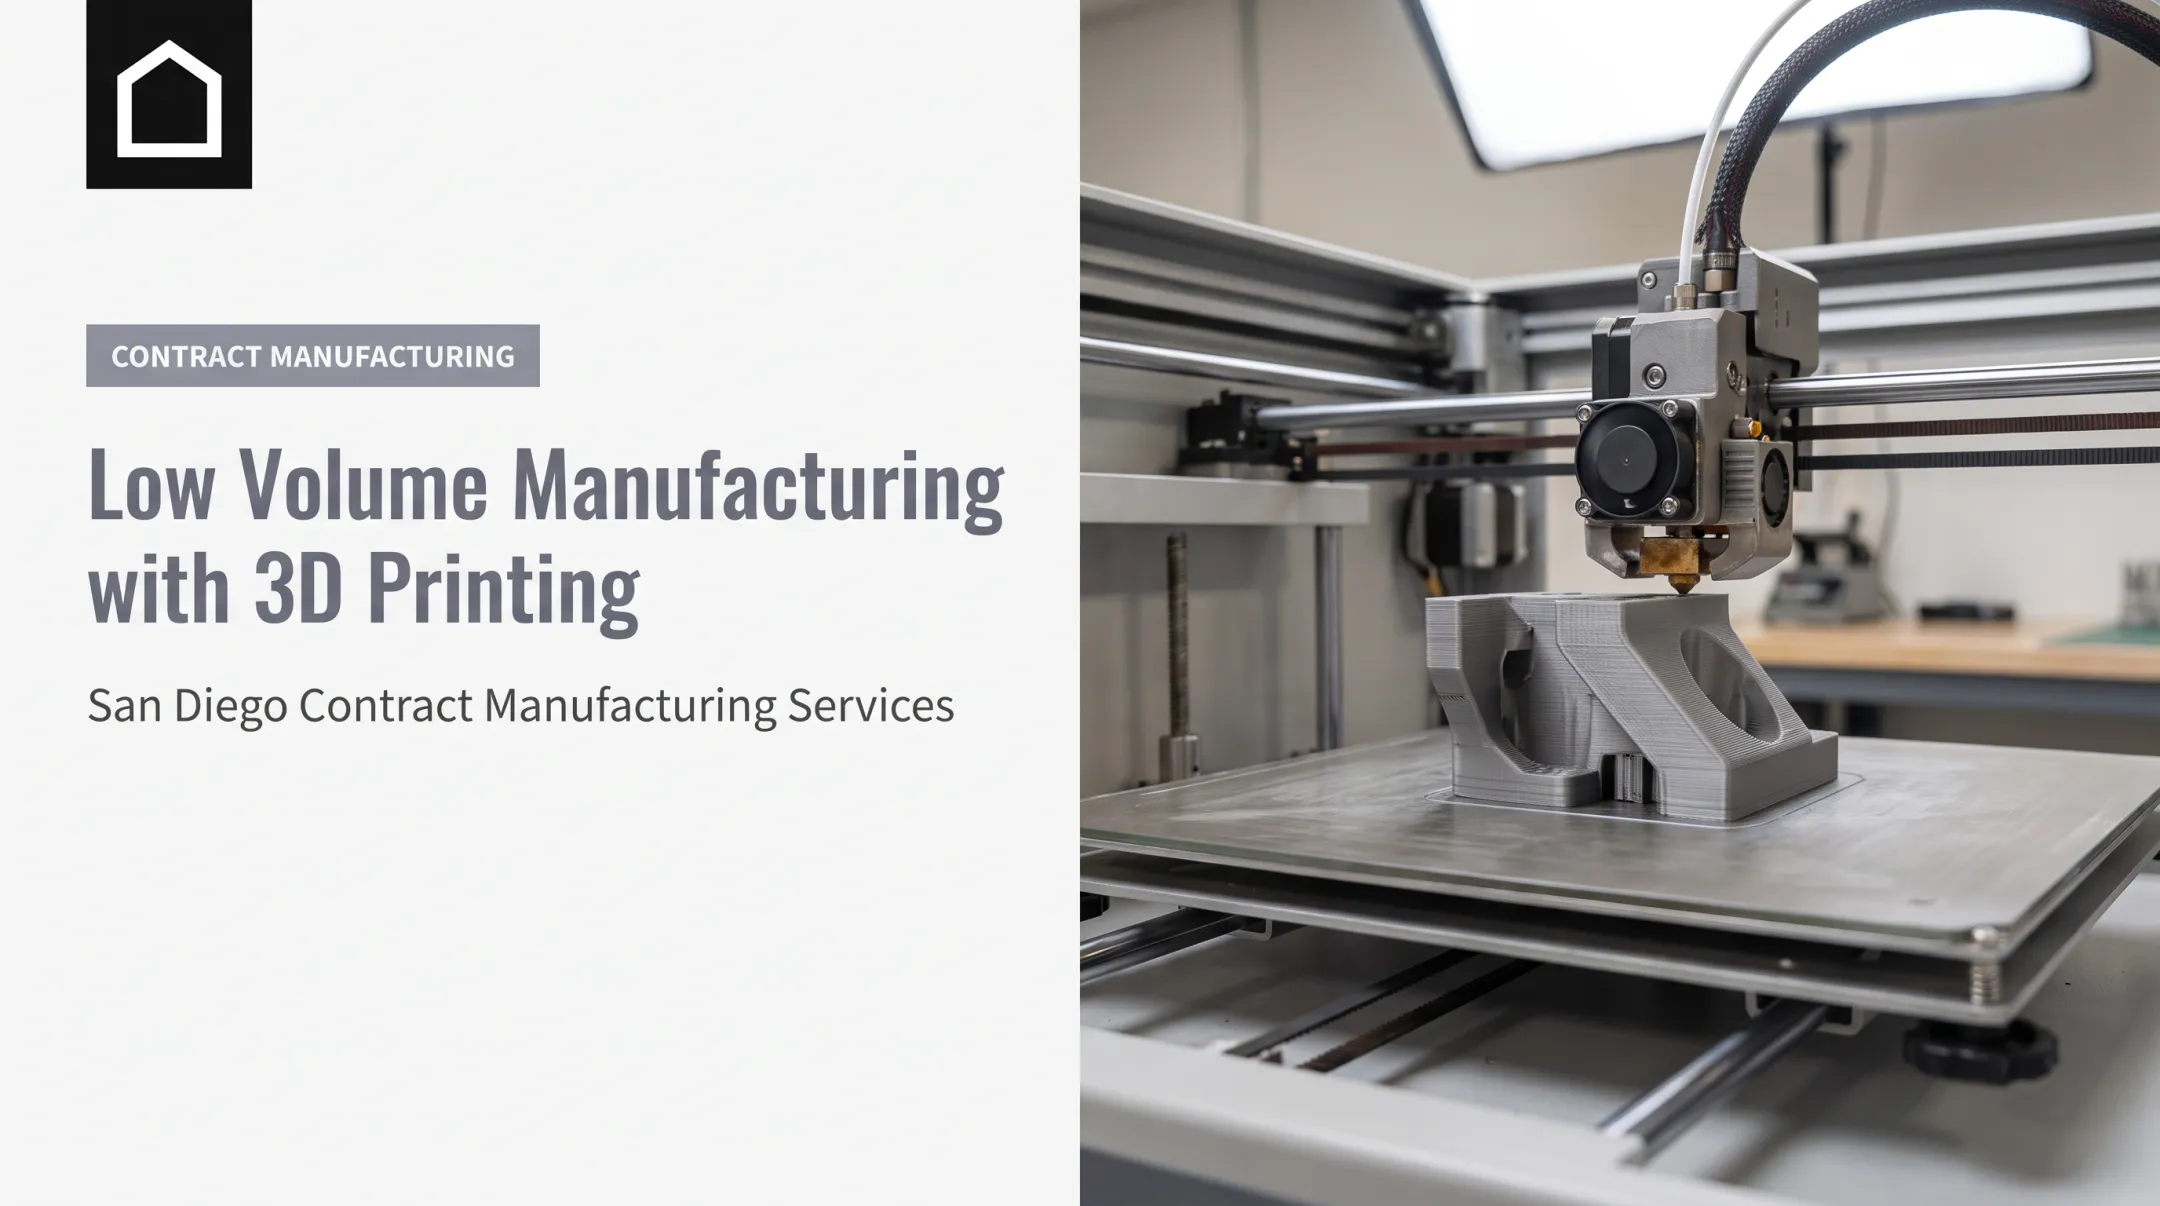
3D printed injection molds offer a faster, cheaper alternative. Instead of waiting months, teams can produce 10 to 1,000 parts in days using photopolymer resin molds. Formlabs reports that simple 3D-printed molds can be produced in 1-3 days for around $100, compared to weeks and thousands of dollars for machined tooling.
This guide covers how the process works, which materials hold up, realistic limitations, and when a printed mold makes sense versus when it doesn't.
Key Takeaways
- 3D printed molds can cost as little as $100 versus $10,000+ for machined steel tooling
- Parts under 150mm and runs below 1,000 units are the best fit
- Standard polymer molds typically last dozens to a few hundred cycles, depending on resin and part geometry
- Ideal for prototyping, pilot runs, and bridge production—not a substitute for high-volume steel tooling
- An experienced manufacturing partner cuts design risk and shortens iteration cycles
Can You 3D Print Molds for Injection Molding?
Yes. Correctly designed 3D printed molds can withstand injection pressure and heat for dozens to hundreds of cycles. According to Formlabs' process documentation, molds have handled hundreds to thousands of shots under the right resin, geometry, and cooling conditions.
Results vary widely, though. One case with Braskem used a High Temp Resin mold to injection mold polypropylene at 230°C and survived at least 1,500 shots.
A separate peer-reviewed study found similar resins failing after just 3–37 cycles when heat dissipation and part geometry weren't well controlled. Cycle life isn't a fixed number. It depends heavily on execution.
Polymer vs. metal AM molds:
- Photopolymer (SLA/DLP) molds: Lowest cost, fastest to produce, shorter lifespan (dozens to low hundreds of cycles)
- Metal AM molds: Higher upfront cost, longer lifespan, closer to traditional tooling performance
For plastic injection use, resins need:
- Heat deflection temperature above 150°C (many high-temp resins reach 230°C+ at low load)
- High compressive and flexural strength to resist repeated clamping pressure
- Dimensional stability to hold tolerances across multiple shots
Why Businesses Choose 3D Printed Molds Over Traditional Tooling
Two factors drive the switch most often: how fast you can get parts, and how painless it is to change the design.
Speed and Cost
The gap between printed and machined tooling is stark. According to Formlabs' injection molding cost breakdown, a printed polymer mold can reach final parts in 1–3 days for about $100. Machined aluminum typically takes 3–4 weeks and around $3,000; machined steel runs 4–8 weeks and $20,000+ at higher volumes.
| Tooling Type | Typical Volume | Lead Time | Mold Cost |
|---|---|---|---|
| 3D printed polymer | Under 500 units | 1-3 days | ~$100 |
| Machined aluminum | 500-10,000 units | 3-4 weeks | $2,000-$5,000 |
| Machined steel | 10,000+ units | 4-8 weeks | $10,000-$100,000 |

Design Flexibility
Printed molds make iteration cheap. Instead of re-machining a $3,000 aluminum cavity to fix a draft angle, you reprint the insert overnight. This matters most during early product development, when design changes are frequent and unpredictable.
Finine Design and Manufacturing works with clients in automotive, military, consumer electronics, and device development—fields where changes often land late. With 3D printing, CAD modeling, and injection molding in one shop, a revision does not mean a new vendor handoff.
What Is Low-Volume Injection Molding?
Low-volume injection molding produces limited batches of parts with faster, lower-cost tooling than a full production mold program. Volumes often run from under 500 parts with 3D printed molds to several thousand with aluminum tooling, filling the gap between one-off prototypes and mass production.
How tooling compares by volume tier:
| Volume Tier | Tooling Type | Typical Cost | Typical Lead Time |
|---|---|---|---|
| Low (under 500 units) | 3D printed mold | ~$100 | 1-3 days |
| Mid (500-10,000 units) | Machined aluminum | $2,000-$5,000 | 3-4 weeks |
| High (10,000+ units) | Machined steel | $10,000-$100,000 | 4-8 weeks |
This approach suits several situations:
- Prototyping — testing form, fit, and function before committing to hard tooling
- Pilot runs — validating a manufacturing process at small scale
- Bridge tooling — producing sellable units while steel tooling is being built
- Market testing — gauging demand before a full production investment
Industries that rely on it most:
- Device startups validating designs before FDA submission
- Automotive teams testing component fit before committing to production tooling
- Consumer electronics companies running pilot batches ahead of a full launch
- Military and defense teams proving out components before production tooling commitments
The Process: From CAD Design to Molded Part
Getting from a digital file to a molded part involves five stages.
- CAD design: Model the mold cavity, core, draft angles, vents, and gate location, typically in software like SolidWorks or Fusion 360. This step determines whether the mold will release parts cleanly.
- 3D printing the mold: Print the insert using SLA or DLP technology with a heat-resistant, high-stiffness resin that handles injection temperatures and pressure.
- Mold assembly: Fit the printed insert into a metal frame for structural support and improved heat transfer, since polymer alone conducts heat poorly.
- Injection molding: Mold parts at reduced pressure and temperature settings compared to steel tooling to protect the printed insert.
- Post-processing: Inspect parts for flash or dimensional drift, then sand and seal as needed.

Finine Design and Manufacturing handles this entire workflow in-house (CAD modeling, 3D printing, and injection molding) from its San Diego facility. Keeping the process under one roof cuts out vendor handoffs, which is often where delays creep into a project timeline.
Materials and Design Considerations
Resin Selection
High-temperature photopolymers and glass-filled resins dominate this space. Common options include:
- Formlabs High Temp Resin: HDT of 238°C at low load for elevated mold temperatures
- Formlabs Rigid 10K: Glass-filled; ~11,000 MPa tensile modulus for repeated clamping stress
- Henkel IND147: HDT from 136°C to 291°C depending on load
Design Rules That Matter
- Draft angles: 1-2 degrees typically works; heavier textures or shutoffs may need 3-5 degrees
- Vent depth: Roughly 0.002 inches (~0.05 mm) for ABS; finer vents (around 0.0005-0.0007 inches / 0.013-0.018 mm) for nylon
- Wall thickness: Ribs and bosses should run 40-60% of adjacent wall thickness to avoid sink marks
- Alignment features: Locating pins, keys, or shoulders matter when fitting a printed insert into a metal frame
Typical Lifespan by Material
- Standard polymer resins: Roughly 30-100 cycles in typical use, though some documented cases (like PP at controlled conditions) reached 1,500+ shots
- Glass-filled resins: Often several hundred cycles under repeated clamping and thermal load
- Metal AM molds: Thousands of cycles—closer to traditional tooling—at higher cost and lead time

Design and heat management drive lifespan more than resin choice alone. A poorly vented mold with sharp internal corners will fail sooner than a well-designed tool printed in a "weaker" resin.
Limitations and When to Use Traditional Tooling Instead
Printed molds aren't a universal fix. Several factors limit where they work well:
- Thermal limits: Polymer molds cool slower than metal and degrade above roughly 250°C melt temperatures, ruling out high-temperature plastics like PEEK.
- Pressure limits: High injection pressures wear and crack printed inserts faster than metal tooling, so aggressive process settings are a poor fit.
- Volume threshold: Economics shift toward aluminum or steel tooling once production exceeds roughly 1,000-5,000 units, where per-part tooling cost evens out.
Before choosing between a printed mold and traditional tooling, weigh:
- Part geometry and wall complexity, including features that are easier to iterate in a printed tool
- Expected production volume relative to the roughly 1,000–5,000-unit crossover
- Material melt temperature and pressure needs versus what polymer tooling can handle
If any of those push past printed-mold limits, traditional aluminum or steel tooling is the better path.
Applications Across Industries
3D printed injection molds fit industries where speed and design flexibility matter more than high-volume steel tooling:
- Automotive: Functional prototype testing and low-volume replacement parts so engineers can validate fit before committing to production steel
- Dental: Small-batch orthopedic and dental sales models, educational products, and device housings that need rapid iteration during development
- Consumer electronics: Enclosure prototypes when fast turnaround matters more than thousands of units
- Military: Mission-specific, low-volume components where lead time outweighs volume

Across all of these, matching mold material and design to end-use requirements matters as much as the printing process itself. Finine Design and Manufacturing works across automotive, military, consumer electronics, and device development, helping ensure mold design decisions align with how the finished part will actually be used.
Frequently Asked Questions
Can you 3D print a mold for injection molding?
Yes. With heat-resistant resins and proper design, 3D printed molds work well for low-volume runs of roughly 10-1,000 parts. They're not built for high-volume production, but they excel at speed and cost savings during early development.
What is low-volume injection molding?
It's producing a limited quantity of parts, typically under 1,000 units, using faster and cheaper tooling methods like 3D printed molds instead of machined steel or aluminum. It's commonly used for prototyping, pilot runs, and market testing.
How long do 3D printed injection molds last?
Standard polymer molds typically last 30-100 cycles, though results vary based on resin, part geometry, and heat management. Reinforced or glass-filled resins can extend mold life further.
How much does a 3D printed mold cost compared to traditional tooling?
A simple printed mold can cost around $100, compared to $10,000 or more for machined steel tooling. The savings come from skipping CNC machining time and complex metal tooling setup.
What materials can be injection molded using 3D printed molds?
Common compatible plastics include PP, PE, ABS, and TPU, along with POM, PC, and glass-filled nylon in some cases. Material compatibility depends heavily on mold design and process conditions.
When should I switch from a 3D printed mold to a traditional metal mold?
Once production volume approaches roughly 1,000-5,000 units, machined aluminum or steel tooling typically becomes more cost-effective and durable. Part geometry and material requirements can shift that threshold earlier or later.