The right manufacturing route isn't about finding the lowest unit price. It depends on quantity, how settled your design actually is, enclosure geometry, material and performance needs, and whether you expect to order 500 more next year. This article walks through process selection, design for manufacturability, the real cost drivers behind low-volume enclosures, and how to put together an RFQ that gets you an accurate quote the first time.
Key Takeaways
- Low-volume enclosure manufacturing suits prototypes, pilot runs, and early production where hard tooling isn't justified yet
- CNC machining, sheet metal, 3D printing, urethane casting, and injection molding each fit different quantity and geometry combinations
- Early design-for-manufacturability (DFM) review and functional tolerancing prevent most avoidable rework
- Compare total delivered cost, not isolated piece price, across engineering, finishing, inspection, and shipping
Choosing a Manufacturing Process for Low-Volume Enclosures
Six variables drive this decision:
- Expected quantity
- Design stability
- Enclosure size and geometry
- Material and performance requirements
- Cosmetic expectations
- Likelihood of future volume growth
Skip any one of these, and you risk picking a process that's wrong for where your project is actually headed.
Comparing the Core Processes
| Process | Best fit | Tooling commitment | Key limitation |
|---|---|---|---|
| CNC machining | High-precision, low-to-medium runs | None required | Machining time, material waste on complex geometry |
| Sheet metal fabrication | Durable equipment housings | Press-brake tooling, relatively low investment | Welding and complex bends add labor |
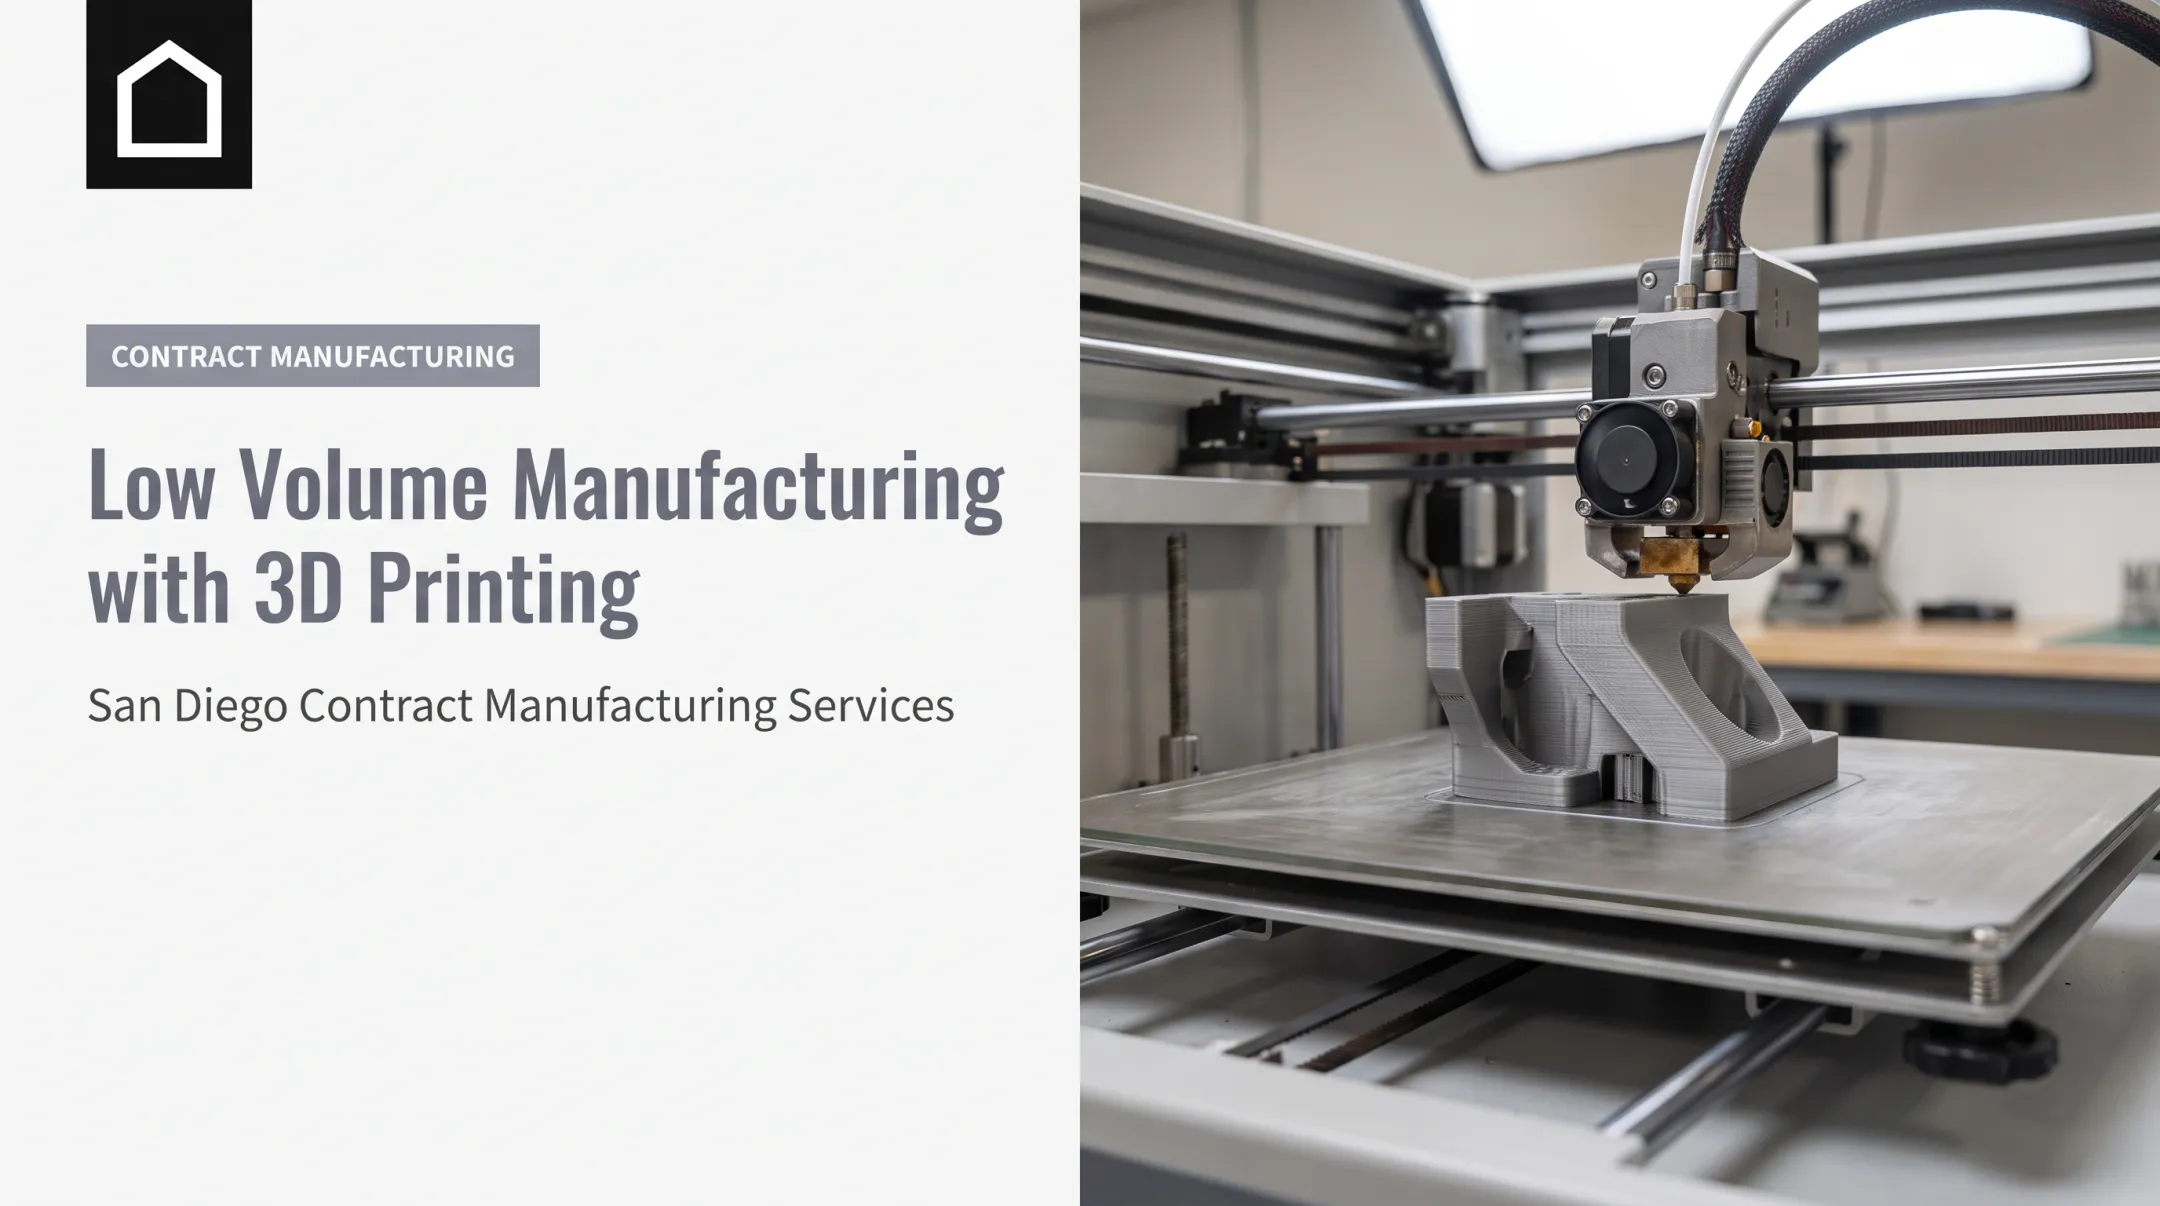
| 3D printing | Prototypes, complex geometry, fast iteration | None | Surface finish, anisotropic strength |
| Urethane casting | 1–100 parts | Silicone molds, lower cost but shorter life | Mold wears out faster than metal tooling |
| Injection molding | Repeatable, higher-volume production | Metal tooling, higher upfront cost | Longer lead time to first part |
Penta Precision's 2025 enclosure guide describes CNC machining as suited to high-precision, low-to-medium enclosure runs with short lead times and no dedicated mold. That makes it a strong candidate when your design is still moving.
When Sheet Metal Makes Sense
Sheet metal fabrication works well for durable equipment housings with accessible bends, cutouts, and mounting features. At Finine Design, custom aluminum panels run from a single prototype piece through repeat production, with laser cutting defining the profile before CNC machining adds pockets, counterbores, threaded holes, and edge profiles.
Costs climb when a design calls for:
- Welding instead of simple fastened joints
- Excessive hardware counts
- Complex multi-direction forming
- Inconsistent bend radii across the part
When to Consider Casting or Molding
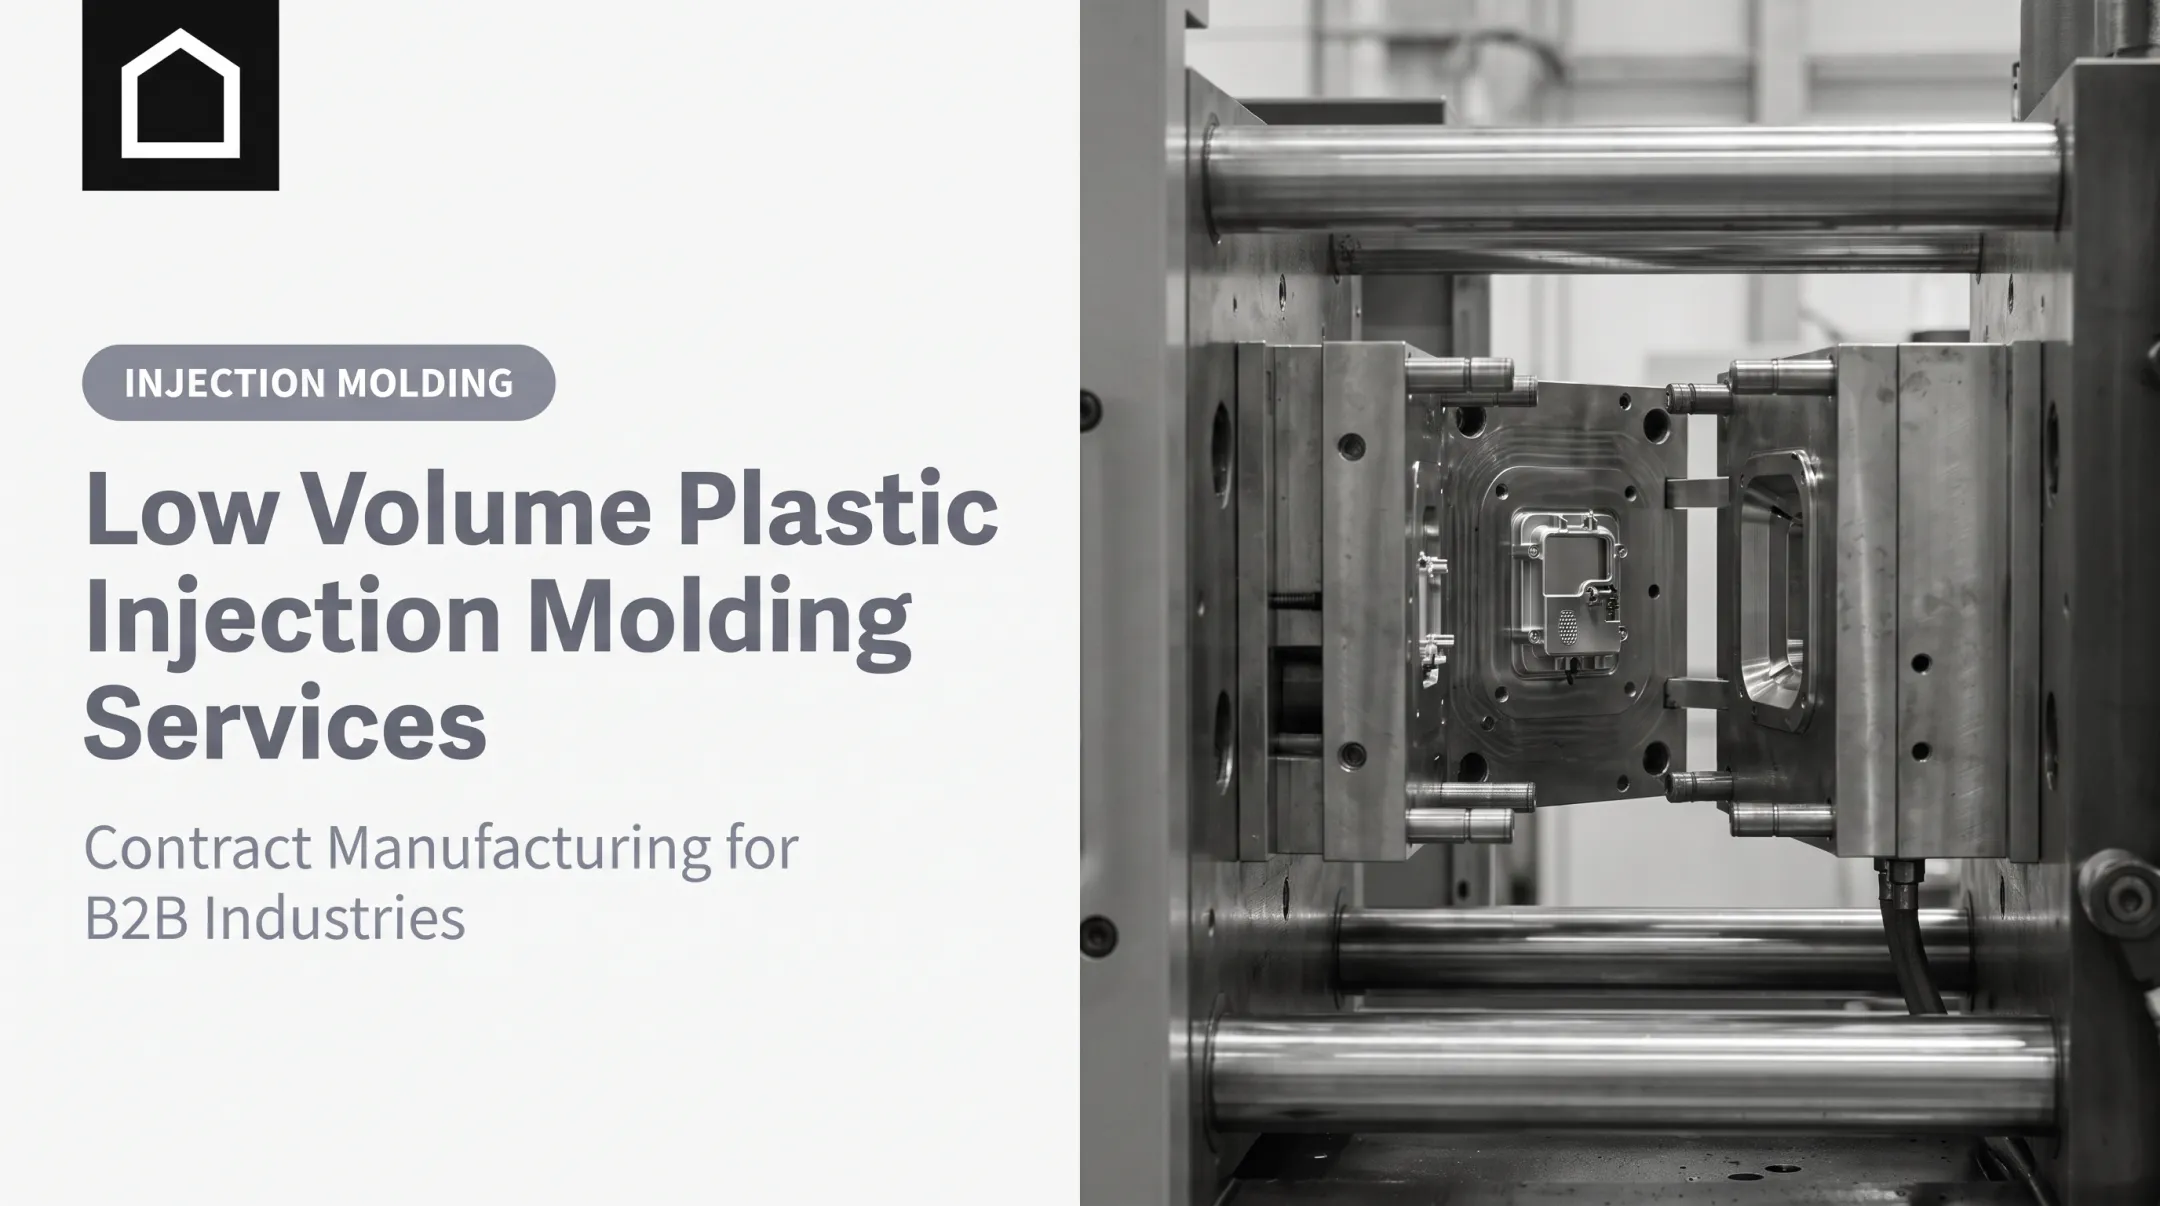
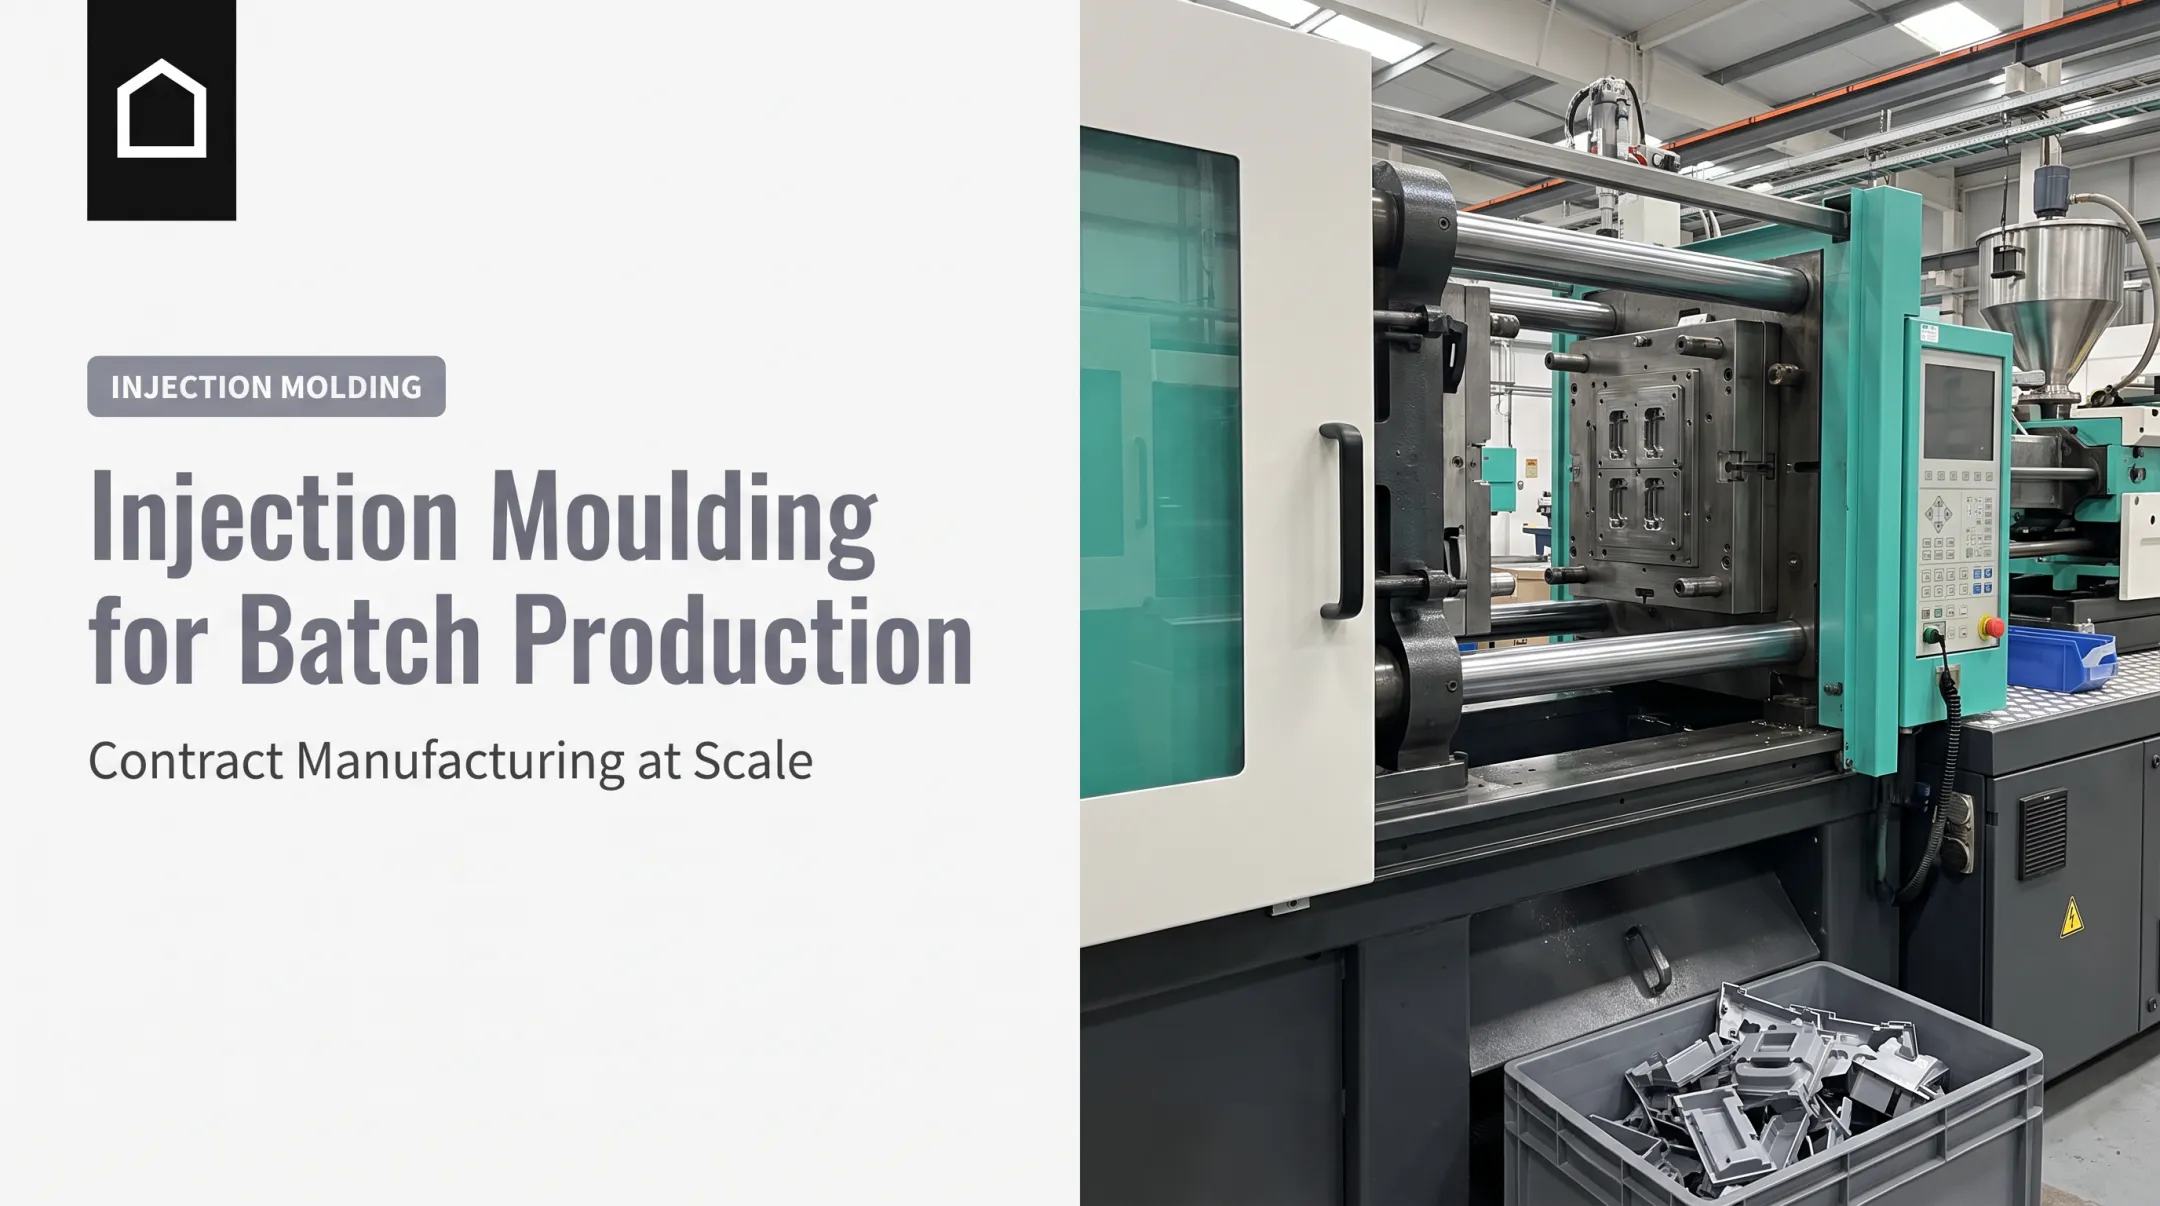
Urethane casting bridges the gap between prototyping and full tooling. Fictiv's comparison notes that silicone tooling costs less than injection-mold tooling but typically lasts only 1 to 100 parts. Injection molding flips the equation: higher upfront tooling cost, with hard tooling that can run thousands of parts before repair.

Match tooling investment to expected demand and how locked-down your design is. Finine Design and Manufacturing helps clients weigh CNC machining, 3D printing, urethane casting, and injection molding against geometry, material, quantity, schedule, and budget—not whichever process is fastest to quote.
Designing Enclosures for Manufacturability and Performance
Before any design decisions, lock the requirements checklist:
- PCB or internal component envelope
- Connector locations and mounting points
- Service access, ventilation, and thermal loads
- Environmental exposure, cleaning needs, and cable routing
Missing one of these after tooling is cut is expensive.
Identify Your Critical Interfaces First
Not every dimension on your drawing deserves a tight tolerance. Identify the interfaces that actually matter:
- Connector openings and display cutouts
- PCB standoffs and mounting holes
- Gasket lands and mating faces
- Any surface that contacts another component
Penta's 2025 guidance makes this point directly: identify which enclosure features need tight tolerances rather than applying them uniformly across the whole design. Blanket tight tolerancing doesn't make a part better. It makes it slower and pricier to produce.
Manufacturability Details That Matter
A handful of design choices determine whether your enclosure machines or forms cleanly:
- Wall thickness: thin walls risk distortion in both machining and molding
- Bend radii: consistent radii across a sheet metal part reduce tooling changes
- Corner reliefs: rounded pocket corners let machinists use larger, faster cutters
- Hole-to-edge distance and thread depth: too little clearance risks blowouts or stripped threads
- Fastener standardization: fewer unique hardware types simplifies assembly and sourcing
Protolabs' CNC design guide uses an electronics-housing pocket as its example: sharp internal corners force smaller cutting tools, which slows removal and raises machining cost. Corner relief isn't cosmetic. It's a direct lever on machine time.
Performance Targets vs. Verified Results
Sealing, EMC continuity, thermal management, and corrosion resistance are design targets until they're tested. Don't conflate the two.
Keep these distinctions clear:
- IP ratings (IEC 60529): solids and liquids are tested separately; review the IEC explanation before specifying an unverified rating
- EMC continuity: conductive gaskets (knitted wire, oriented wire in silicone, or expanded metal) keep seam resistance low
- Thermal management: choose cooling from heat load, component limits, and ambient conditions—no single enclosure solution fits every case
Designing for Finishing From Day One
Masking areas, conductive contact points, and cosmetic surfaces need to be flagged on your drawing before parts go to finishing, not after. Finine Design and Manufacturing's aluminum panel work covers production painting, labeling, silk-screening, and pad printing, but only when the design clearly marks which surfaces stay masked and which get coated.
Understanding Low-Volume Enclosure Costs
Split your cost thinking into two buckets. Non-recurring costs are the one-time charges: CAD and DFM work, programming, fixtures, molds, and first samples. Recurring costs repeat per unit: material, machine time, labor, finishing, hardware, inspection, packaging, and freight.
Why Quantity Changes Everything
A one-time engineering or tooling charge gets spread across fewer units in a small run. Order 10 enclosures instead of 1,000, and that same $8,000 tooling cost adds $800 per unit instead of $8. This is exactly why low-volume quotes can look disproportionately high against a high-volume price sheet: they're not measuring the same thing.

For Finine Design's custom aluminum panel work, programming and setup spread across the run, so production quantity lowers per-part cost relative to a one-off. The same logic applies across CNC, molding, and casting.
Design Features That Add Hidden Costs
Watch for these common cost drivers:
- Tight nonfunctional tolerances: precision you don't actually need, applied everywhere
- Thin or hard-to-machine walls: slower cutting, higher scrap risk
- Deep pockets: require specialized tooling and longer cycle times
- Numerous small cutouts: each one adds programming and inspection time
- Custom hardware: sourcing and holding unique fasteners adds lead time
- Complex bends and secondary operations: welding, finishing, and assembly steps stack up
- Late design changes: the most expensive line item on almost every project
Protolabs' sheet metal guide notes that consistent bend radii reduce tooling changes and labor, while finishes like powder coating and silk screening carry added charges and potentially longer lead times.
Comparing Supplier Quotes Properly
Two quotes with different piece prices aren't necessarily comparing the same scope. Before deciding, check:
- How many revision rounds are included
- Who owns the fixture or tooling after the project ends
- Sample quantity included in the quote
- Whether inspection documentation and material traceability are included or extra
- Assembly scope: whether the quote covers just parts or finished assemblies
- Packaging and shipping terms
- How change orders get priced
Finine Design's panel quotes offer material certificates, first article inspection, and traceability documentation on request. These items should be agreed at quotation stage, not assumed to be included.
From Prototype to Repeatable Production
Moving from a single prototype to a repeatable low-volume run works best as a staged process, not a single leap.

- Document requirements: functional, environmental, and cosmetic needs in writing
- Review CAD and drawings to catch interference and tolerance issues before cutting
- Compare process options and match the process to quantity and design maturity
- Build a prototype or first article to verify fit and function physically
- Test fit and function against real internal components, not just the drawing
- Approve a controlled revision and lock the design before volume production
- Release the low-volume production package with drawings, BOM, and acceptance criteria together
What a Production-Intent Sample Should Prove
A sample that just "looks right" isn't enough. It should verify:
- Actual component fit, not just the nominal envelope
- Connector access and assembly sequence
- Fastener engagement and torque behavior
- Cable routing clearances
- Finish appearance against the approved standard
- Sealing approach, where applicable
Finine Design and Manufacturing uses 3D printing for fit checks and design reviews, CNC machining where dimensional accuracy matters most, and urethane casting when production-like material properties are needed ahead of injection molding. Each method serves a different verification purpose.
The Documentation Package
A controlled release package should include:
- Revision-controlled CAD and 2D drawings
- Bill of materials
- Material and finish specifications
- Acceptance criteria and inspection requirements
- Assembly instructions
- A clear list of what is frozen versus still open
One Partner, Fewer Handoffs
Projects that move from concept through production tend to go more smoothly with fewer vendor handoffs.
Finine Design's in-house path covers:
- Concept and CAD modeling
- Prototyping (3D printing, CNC machining, urethane casting)
- Bridge and full production, including injection molding
- Cosmetic completion with production painting
Keeping design through finish under one roof leaves fewer places for requirements to get lost between vendors.
Conclusion
Low-volume enclosure manufacturing is an engineering and sourcing decision. Treating it like a smaller run of mass production usually leads to the wrong process, tooling, and cost structure. The right path balances design flexibility, functional performance, setup investment, repeatability, and where your demand is headed.
Before you request quotes, confirm:
- Drawings and critical interfaces
- Quantity and material
- Finish and performance requirements
Finine Design and Manufacturing works with clients across automotive, military, consumer electronics, and medical industries to map a clear path from concept to production. Reach out to discuss what fits your project.
Frequently Asked Questions
What is low-volume enclosure manufacturing?
It's the production of a limited quantity of custom protective housings for prototypes, pilot programs, specialized equipment, or early production runs. Flexible processes like CNC machining or casting are often preferable to committing to high-volume tooling before demand is proven.
What is a Type 7 enclosure?
Under ANSI/NEMA 250-2020, a Type 7 enclosure is designed for indoor hazardous locations: Class I, Division 1 environments with flammable gases or vapors. NEMA Types cannot be exactly converted from IEC IP classes, so confirm which standard applies to your application.
Which manufacturing process is best for low-volume enclosures?
It depends on quantity, geometry, material, finish, design stability, and performance needs. CNC machining and 3D printing suit early or changing designs; sheet metal fits durable equipment housings; casting or molding make sense once the design is stable and volume justifies tooling.
How can I reduce the cost of a low-volume enclosure?
Run an early DFM review, apply tight tolerances only where functionally necessary, standardize hardware, and simplify cutouts. Comparing total delivered cost, not just unit price, usually reveals the real savings.
What information should be included in an enclosure manufacturing RFQ?
Include revision-controlled CAD and drawings, quantity and future demand, BOM, material and finish specs, critical dimensions, environmental requirements, assembly scope, inspection needs, and packaging terms. A complete RFQ yields a more accurate quote.