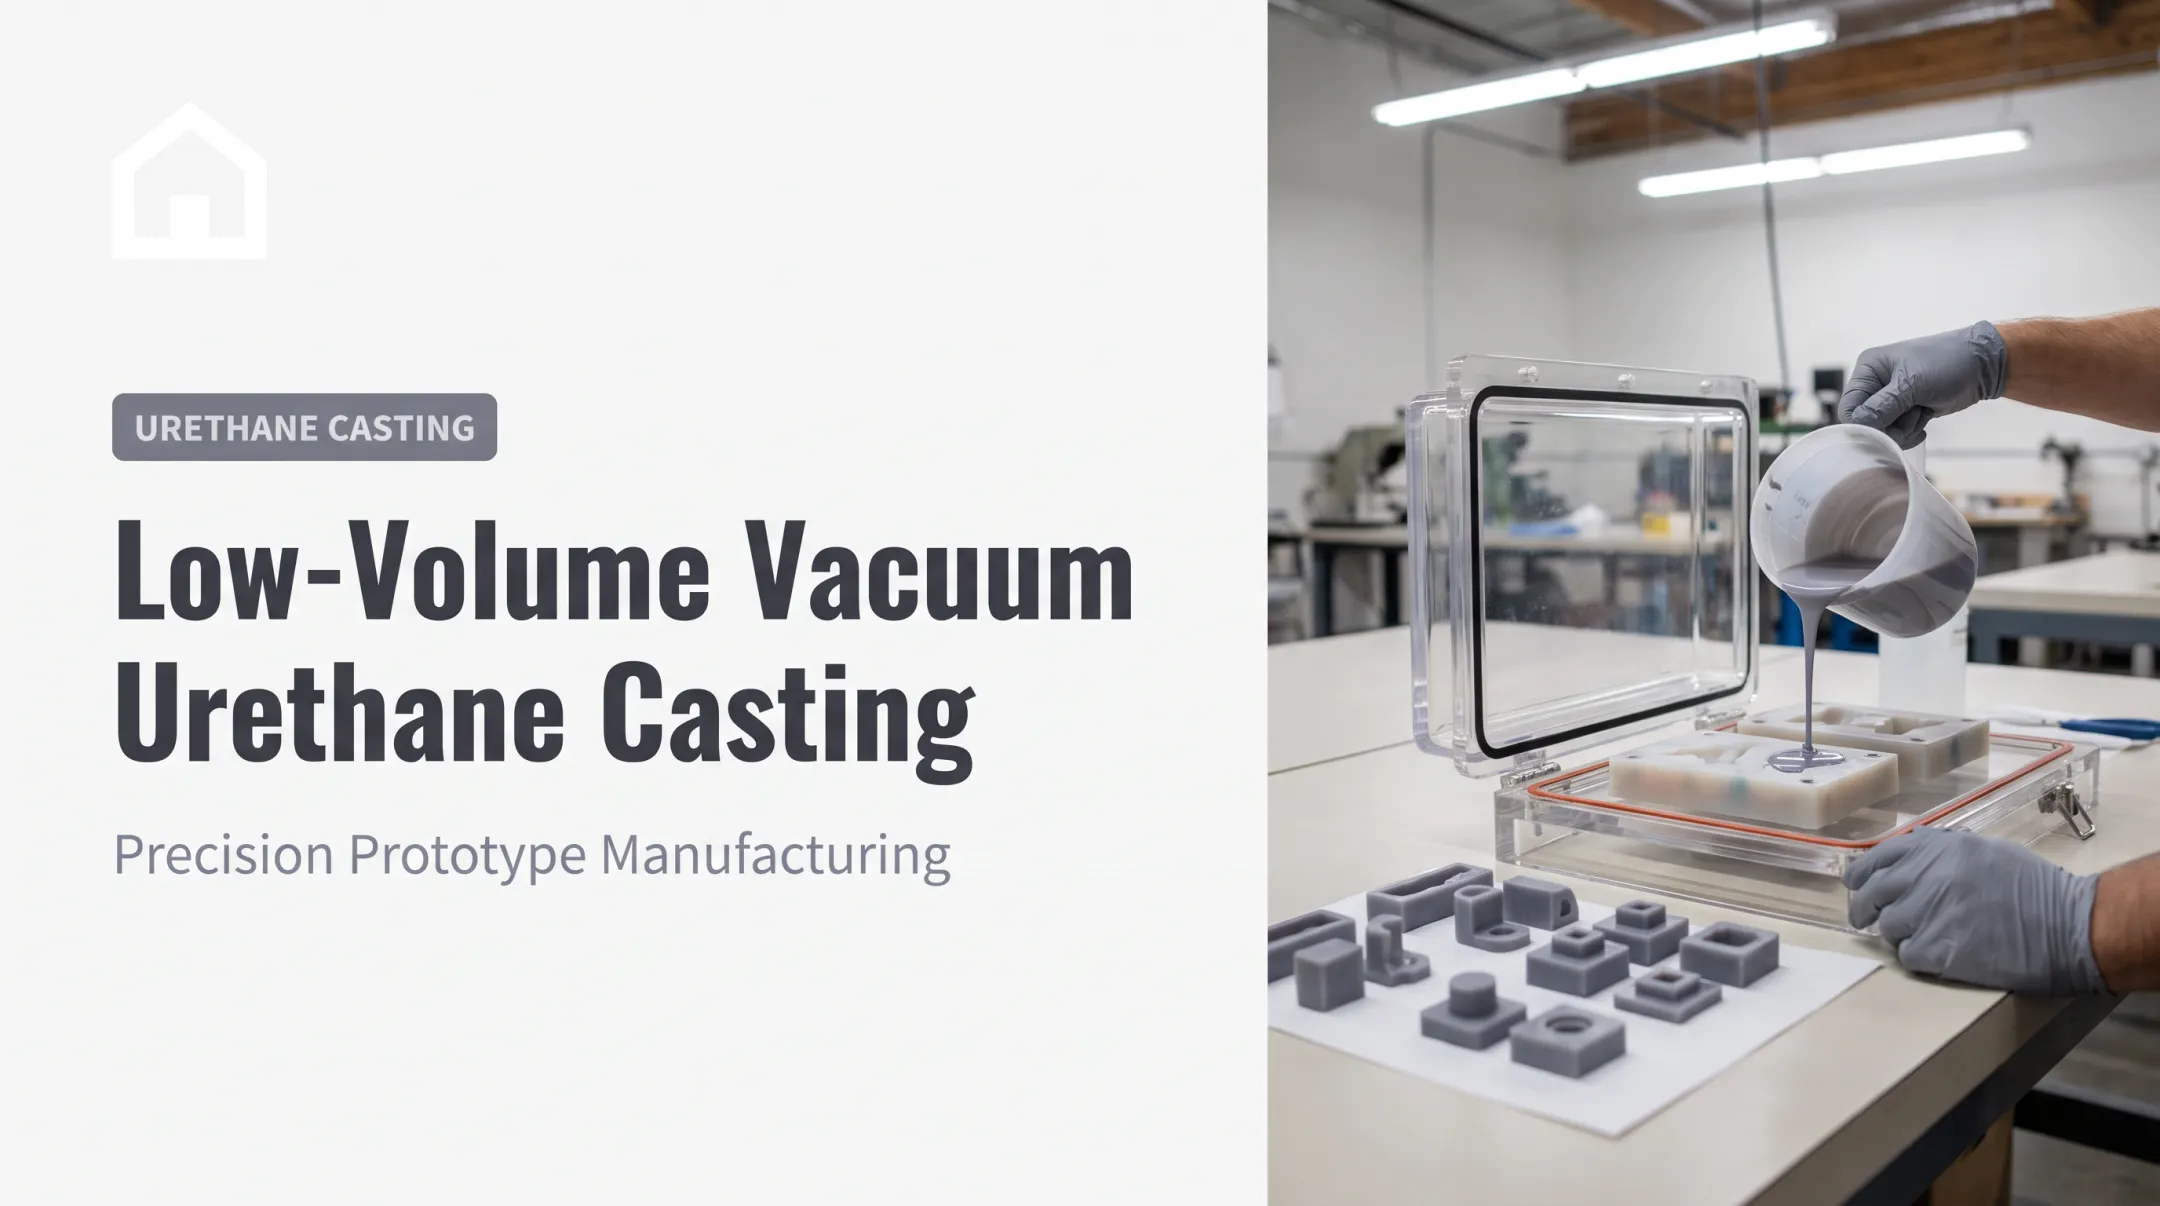
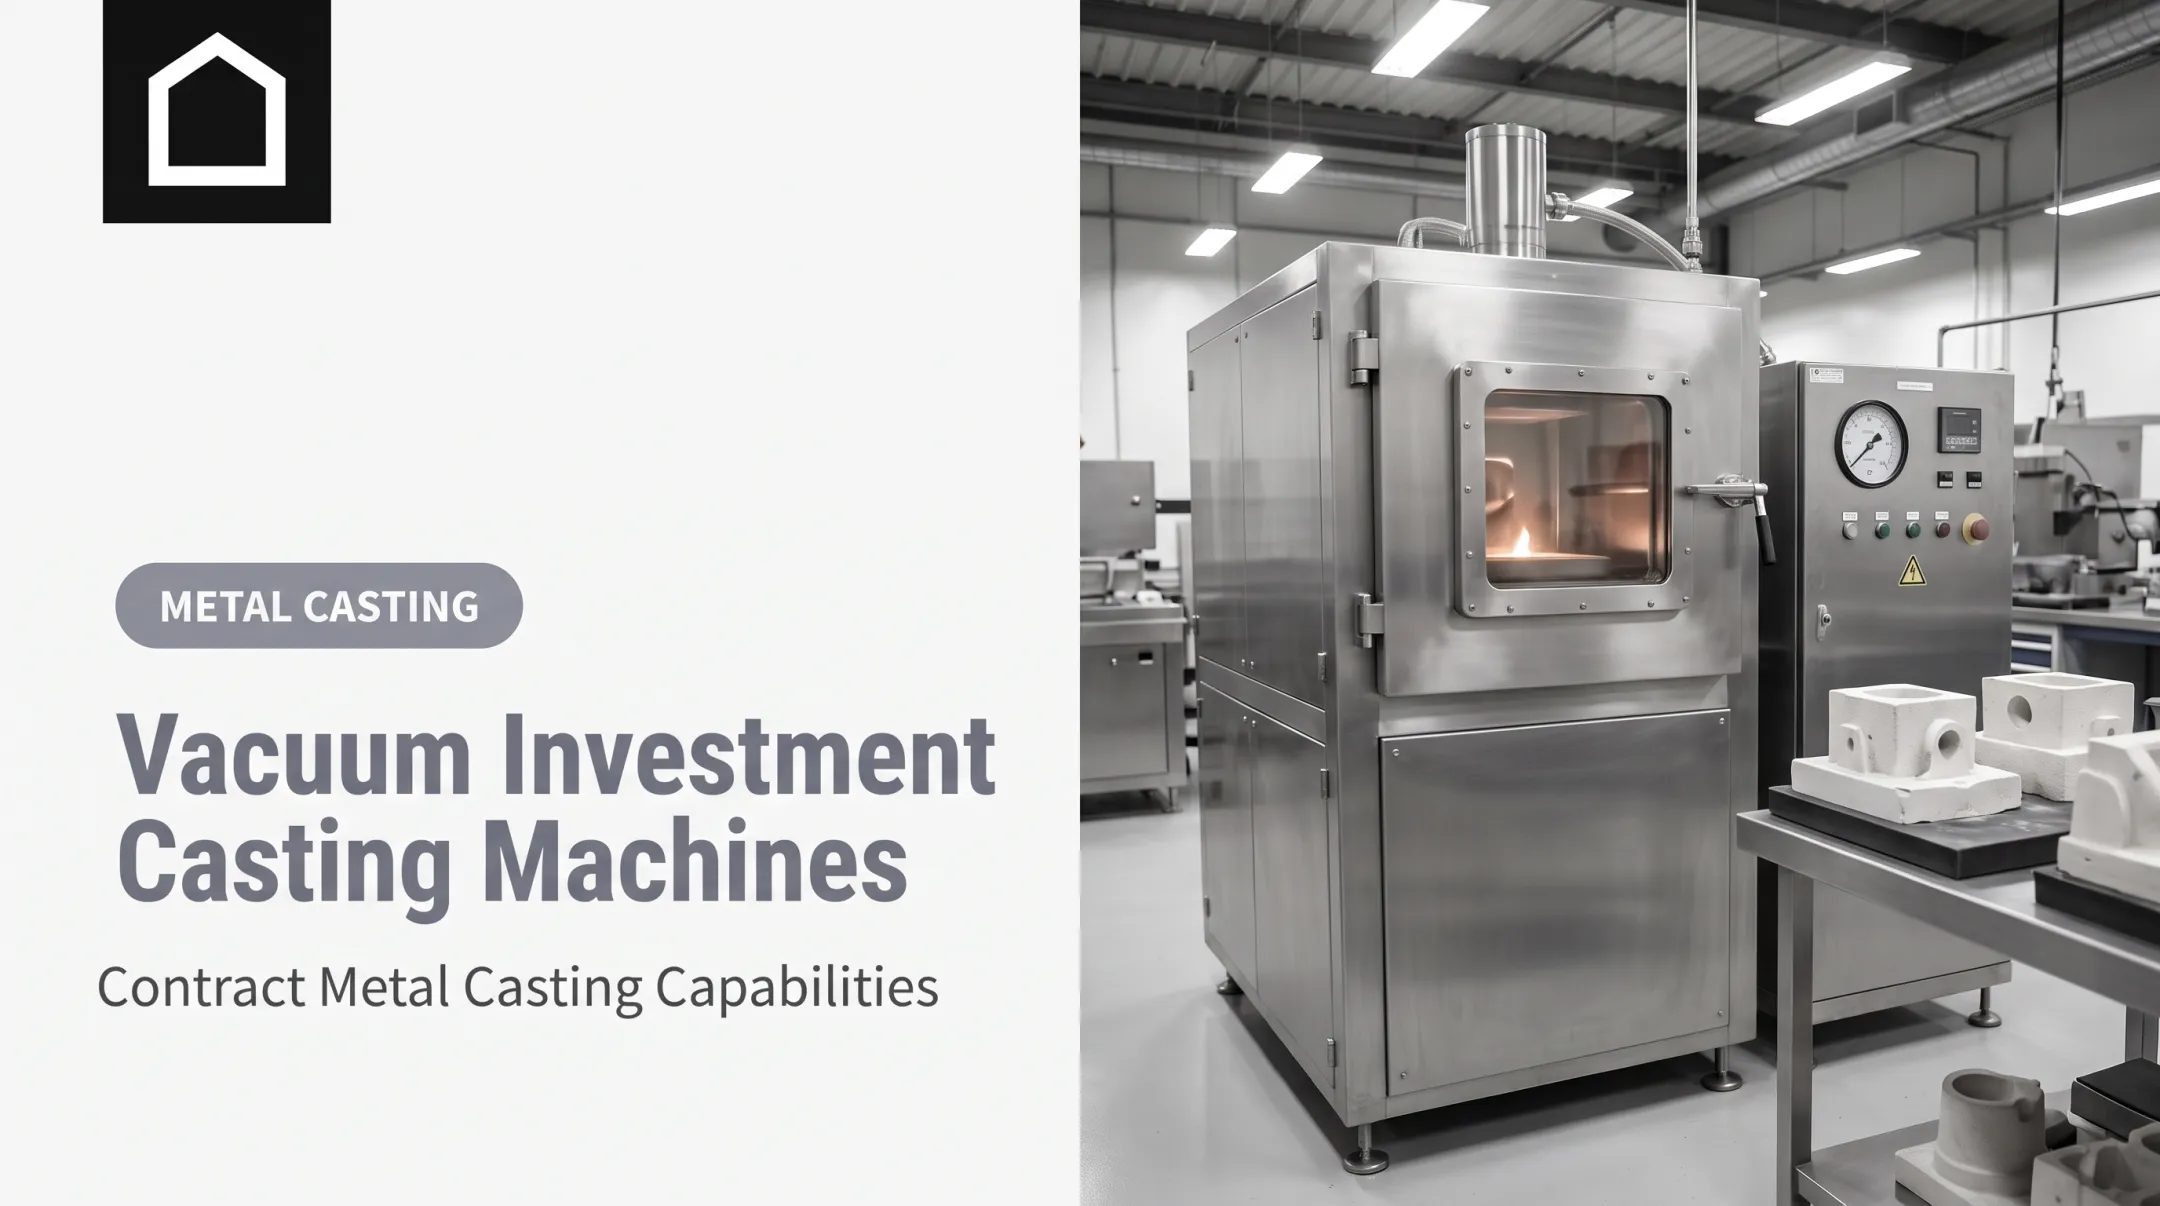
The appeal is straightforward: you get production-like appearance and useful mechanical properties without committing to injection-molding tooling that can cost tens of thousands of dollars. Note that "vacuum casting" sometimes refers to metal vacuum investment casting. This article focuses exclusively on vacuum urethane (polyurethane) casting.
We'll cover how the process works, where it fits in product development, material and design considerations, cost drivers, common defects, and when alternatives make more sense.
Key Takeaways
- Vacuum casting copies a master in silicone molds with polyurethane resin and vacuum degassing for fine detail.
- Best for prototypes, presentation models, functional tests, and bridge runs—not high-volume production.
- Mold quality, resin choice, and process control set final accuracy and surface finish.
- Compare it to 3D printing, CNC, and injection molding by quantity, tolerances, and tooling budget.
- Medical, defense, and regulated uses need engineering validation—not visual checks alone.
What Is Vacuum Casting and Why Is It Used?
Vacuum casting is a soft-tooling replication process. You use a master model to create a silicone mold, then pour and cure a two-part polyurethane resin inside that mold to reproduce the model—often many times over. The process yields several detailed parts with consistent appearance and specific material characteristics, without the cost of a permanent metal mold.
The same process also goes by "urethane casting," "polyurethane casting," and "vacuum duplication." It differs from:
- Vacuum forming – shapes a heated plastic sheet over a mold
- Centrifugal casting – spins a mold to distribute material
- Vacuum investment casting – produces cast metal parts, not polyurethane
Those distinctions matter because only vacuum casting pairs a silicone tool with vacuum-assisted resin fill—and the vacuum step is what protects part quality.
Why Vacuum Is Part of the Process
Removing air from the resin or mold cavity reduces bubbles, improves filling of fine details, and prevents the pinholes common in atmospheric castings. Without vacuum assistance, trapped air shows up as surface defects or incomplete fills in thin-walled sections.
Benefits That Matter for Product Development
- Lower tooling commitment than hard injection molds
- Design flexibility for undercuts and complex geometry
- Production-like finishes and custom colors
- Functional testing before you commit to production tooling
For benchmarks, Formlabs reports roughly 50 casts per silicone mold and about 10 days from master pattern to finished parts, though these figures shift based on resin chemistry and part geometry. Use supplier figures as quote inputs, then validate lead time and mold life against your geometry and resin choice.
Why Vacuum Casting Is Used in Product Development
Vacuum casting earns its place in product development because it answers questions a single prototype can't. Teams use it for form, fit, and function testing, customer demonstrations, trade-show samples, and market testing before committing to tooling.
A single 3D-printed prototype often isn't enough. If you need five, ten, or twenty identical units for user testing or stakeholder review, vacuum casting delivers consistent copies that a one-off print can't match.
Where Silicone Tooling Has an Edge
Silicone molds flex. That flexibility means they can accommodate:
- Certain undercuts that would lock a rigid mold
- Variable wall thicknesses within a single part
- Inserts and overmolded components
- Complex surface details and fine textures
That is why Finine Design and Manufacturing uses silicone tooling to reproduce fine surface texture, undercuts, and thin flexible sections that would otherwise need a split-tool solution in hard tooling.
A Simple Decision Rule
Vacuum casting is the practical choice for short runs when injection molding would demand significant tooling investment. It is not automatically the cheapest option for every quantity or shape.
Use vacuum casting when you need realistic, repeated parts before a design freeze. Consider injection molding once volume, material, and tolerance requirements justify hard tooling.
How the Vacuum Casting Process Works
The end-to-end flow runs through several stages: CAD design, master pattern creation, silicone mold production, resin preparation and degassing, vacuum casting, curing, demolding, trimming, finishing, and inspection.

Here's the part that trips people up: the final casting can only be as accurate as the master pattern. Surface defects, dimensional errors, or poor finishing on that pattern get reproduced in every single part that follows.
Step 1: Prepare the CAD Design and Master Pattern
The part starts as a CAD model, reviewed for wall thickness, parting-line location, draft needs, undercuts, vents, gates, inserts, and critical dimensions. Skip this review and you'll find problems after the mold is already built, which costs time and money.
Common master-pattern methods include:
- SLA or other 3D printing
- CNC machining
- An existing physical model
Smooth surfaces and dimensional accuracy on the master are non-negotiable, since silicone replicates whatever texture it touches.
Industry guidance typically calls for minimum wall thicknesses between 0.75 and 1.5 mm on small-to-medium cast parts, with bosses sized proportionally to avoid sink or incomplete fill. Check current supplier guidance for your specific geometry rather than assuming universal values apply.
Step 2: Build and Cure the Silicone Mold
The master pattern goes into a mold box, where the parting line and registration features get established. Silicone is mixed, air is removed, and the material is poured to form the first mold half, then the second.
Gates, runners, vents, and risers matter more than they sound. Their placement affects:
- How completely resin fills the cavity
- How well trapped air escapes
- Where flash appears
- How visible finishing marks will be on the final part
Tin-cure versus platinum-cure silicone differs in cost, shrinkage, and detail. Tin-cure silicone tends to shrink more over time but costs less and tolerates a wider range of patterns. Platinum-cure silicone shrinks less and reproduces finer detail, but it's sensitive to sulfur-based contamination that can inhibit curing entirely.
Mold release compatibility should be validated before full production. An unsuitable release agent, or a contaminated master pattern, can damage surface quality or stop the silicone from curing properly.
Step 3: Mix, Degas, Cast, and Cure the Resin
Two-component polyurethane resin gets measured accurately, mixed thoroughly, optionally pigmented, and degassed to reduce air entrapment and unmixed streaks. Skipping or rushing this step is the single most common cause of bubble-related defects.
The mold and resin then move into a vacuum-capable system. Resin is poured through the designated gate, and vacuum is maintained until the cavity fills and curing begins. Several variables influence whether this goes smoothly:
- Resin working time (how long before it starts to gel)
- Viscosity at pour temperature
- Mold temperature
- Part geometry and venting
- Vacuum level maintained throughout the pour
Curing happens at room temperature for some resins, while others need oven-assisted post-cure to hit target mechanical properties. Always check the supplier's technical data sheet rather than assuming a fixed cure schedule.
When vacuum casting sits inside a larger development path, continuity across vendors matters. Finine Design and Manufacturing supports projects that move from CAD modeling through 3D printing and urethane casting into later manufacturing steps under one roof. Not every project needs every service, but that continuity cuts handoff friction when a design changes mid-development.
Step 4: Demold, Finish, and Inspect
The silicone mold opens carefully, and the part comes out. Gates and flash get trimmed, surfaces get sanded or polished, and painting or other finishing gets applied where specified.
Inspection should cover:
- Dimensions against the drawing
- Parting lines for mismatch
- Surface defects, bubbles, or voids
- Incomplete fills
- Color consistency across the batch
- Insert position and functional fit
Document mold condition, resin batch information, cure conditions, and inspection results when parts are intended for engineering validation or regulated product development. An attractive prototype is not automatically suitable for structural, medical, environmental, or production use. Visual acceptance and functional acceptance are two different standards.
Vacuum Casting Applications, Design Factors, and Material Selection
Vacuum casting shows up across a wide range of industries, often filling the gap between a 3D-printed concept model and a fully tooled production part.
Common applications include:
- Automotive – interior trim prototypes, bezels, knobs, housings, lighting components, and validation parts
- Military and defense – form-and-fit demonstrators, equipment housings, ergonomic studies, and non-structural prototypes, subject to project requirements
- Consumer electronics – enclosures, control panels, buttons, wearable housings, and sensor covers
- Dental and orthopedic products – development models, educational products, device housings, and trial components, with separate validation required for patient-contact use
- Other uses – industrial equipment covers, robotics components, props, and presentation models
Finine Design and Manufacturing supports these same programs with production urethane cast parts for automotive, military, and consumer electronics work, plus dental and orthopedic experience. No medical device claim is made for any of this work.
Those end uses only pay off when resin choice and part geometry match the job.
Matching Material to Intended Use
The intended application determines which resin properties matter most:
- Rigidity and impact resistance
- Flexibility and elongation
- Heat and chemical resistance
- Transparency or UV stability
Suppliers group urethanes into categories such as ABS-like, polypropylene-like, polycarbonate-like, glass-filled, transparent, elastomeric, and flame-retardant. Always check current technical data sheets before making performance claims—grades vary widely by manufacturer.
Design Considerations Worth Reviewing Early
- Keep wall thickness uniform, or control intentional variation
- Size ribs and bosses for the nominal wall
- Place parting lines so they don't bisect critical features
- Limit undercuts to what silicone can release cleanly
- Vent deep cavities so air isn't trapped
- Plan insert retention and surfaces that can accept gate or parting marks
Silicone molds pick up complex detail well, but repeated demolding has limits. Pulling parts too often—or handling the mold roughly—can tear thin features, distort geometry, or wear the tool out early. Geometry, resin chemistry, mold hardness, and operator technique all affect mold life.

What Drives Cost and Schedule
Several factors determine your quote, according to Xometry's cost breakdown for urethane casting:
- Master-pattern complexity and surface finishing
- Mold size and split design, including number of halves
- Resin type and total volume needed
- Inserts and color matching requirements
- Post-processing, inspection, and need for additional molds
A practical selection sequence:
- Define quantity and use case
- Lock critical dimensions and must-have material properties
- Review the CAD for casting feasibility
- Choose a master-pattern method
- Confirm resin and finish
- Compare vacuum casting with 3D printing, CNC machining, and injection molding before you commit
Common Issues, Misconceptions, and When Vacuum Casting Is Not Appropriate
Even well-run vacuum casting projects run into defects. Knowing the likely cause saves troubleshooting time.
| Defect | Likely Cause |
|---|---|
| Bubbles or voids | Moisture, inadequate degassing, poor venting, fast-curing resin |
| Incomplete fills | High viscosity, narrow passages, poor gate placement, short working time |
| Flash or parting-line mismatch | Mold damage, poor registration, excessive pressure |
| Surface defects | Master pattern flaws, mold release issues, silicone contamination |
A Common Misconception Worth Correcting
Vacuum casting does not produce the exact properties of injection-molded thermoplastic. Polyurethane resins can mimic selected materials closely, including ABS-like or PP-like behavior, but each application still needs validation specific to its use case. Don't assume a "PC-like" resin behaves identically to actual polycarbonate under load or heat.
Mold life is finite, not permanent. Silicone molds are reusable, but service life is often below 50 cycles, and individual casting cycles can run up to 90 minutes depending on part size. Geometry, resin chemistry, and handling all affect where your mold actually lands in that range.

When Vacuum Casting Isn't the Right Fit
- High-volume production runs, where mold wear pushes unit cost above injection molding
- Very tight tolerances beyond typical cast-part dimensional capability
- Service temperatures outside the resin's rated range
- Structural loads polyurethane castings cannot reliably carry
- Materials with no suitable castable equivalent
- Geometries that risk tearing the silicone tool during demolding
Alternatives Worth Considering
- 3D printing – for one-off parts or rapid geometry iteration
- CNC machining – for high precision or strong engineering materials
- Injection molding – for finalized designs at high quantities
- Pressure casting – when a resin's bubble-control needs make vacuum processing impractical
Process choice is only part of the decision in regulated work. Medical, dental, orthopedic, military, and safety-critical parts still need documented material suitability, testing, and traceability.
For medical devices specifically, the FDA's Quality Management System Regulation requires validation on representative product, not just a prototype that looks and feels right. The casting process alone never establishes regulatory compliance.
Conclusion
Vacuum casting uses a master pattern, silicone tooling, liquid resin, vacuum control, curing, and finishing to produce detailed, low-volume parts. It's most valuable when teams need production-like prototypes or short runs before committing to hard tooling. Success depends on design preparation, material selection, mold quality, and tight process control.
Choose vacuum casting based on quantity, geometry, tolerances, material performance, and validation requirements, rather than defaulting to it for every project. For teams moving from CAD and prototyping through urethane casting into manufacturing evaluation, Finine Design and Manufacturing provides that path as a San Diego-based partner.
Frequently Asked Questions
How much does vacuum casting cost?
Cost depends on master-pattern production, mold complexity, resin selection, quantity, finishing, and inspection needs. Request a project-specific estimate rather than relying on a general price, since geometry and material drive the final number.
How does vacuum casting work?
You form a silicone mold from a master pattern, then pour two-part polyurethane resin under vacuum to remove air and fill fine details. After curing, demold, trim, and finish the part.
Should I use vacuum or pressure resin casting?
Vacuum systems remove air before and during filling, which suits detailed molds and bubble-sensitive geometry. Pressure systems compress residual bubbles after pouring. The right choice depends on your resin's working time and mold design.
What can I cast in a silicone mold?
You can cast polyurethane resins in silicone molds, including rigid, flexible, transparent, and reinforced formulations. Always check chemical compatibility between your resin and silicone grade before production.
How many parts can be made from one vacuum casting mold?
Mold life typically ranges from 20 to 50 parts, depending on silicone type, part geometry, and handling. Treat that range as a project-specific estimate, not a guarantee.
What is the difference between vacuum casting and injection molding?
Vacuum casting uses relatively low-cost silicone tooling and liquid resin, suited to prototypes or small batches. Injection molding uses durable hard tooling and heated thermoplastic for repeatable, higher-volume production.