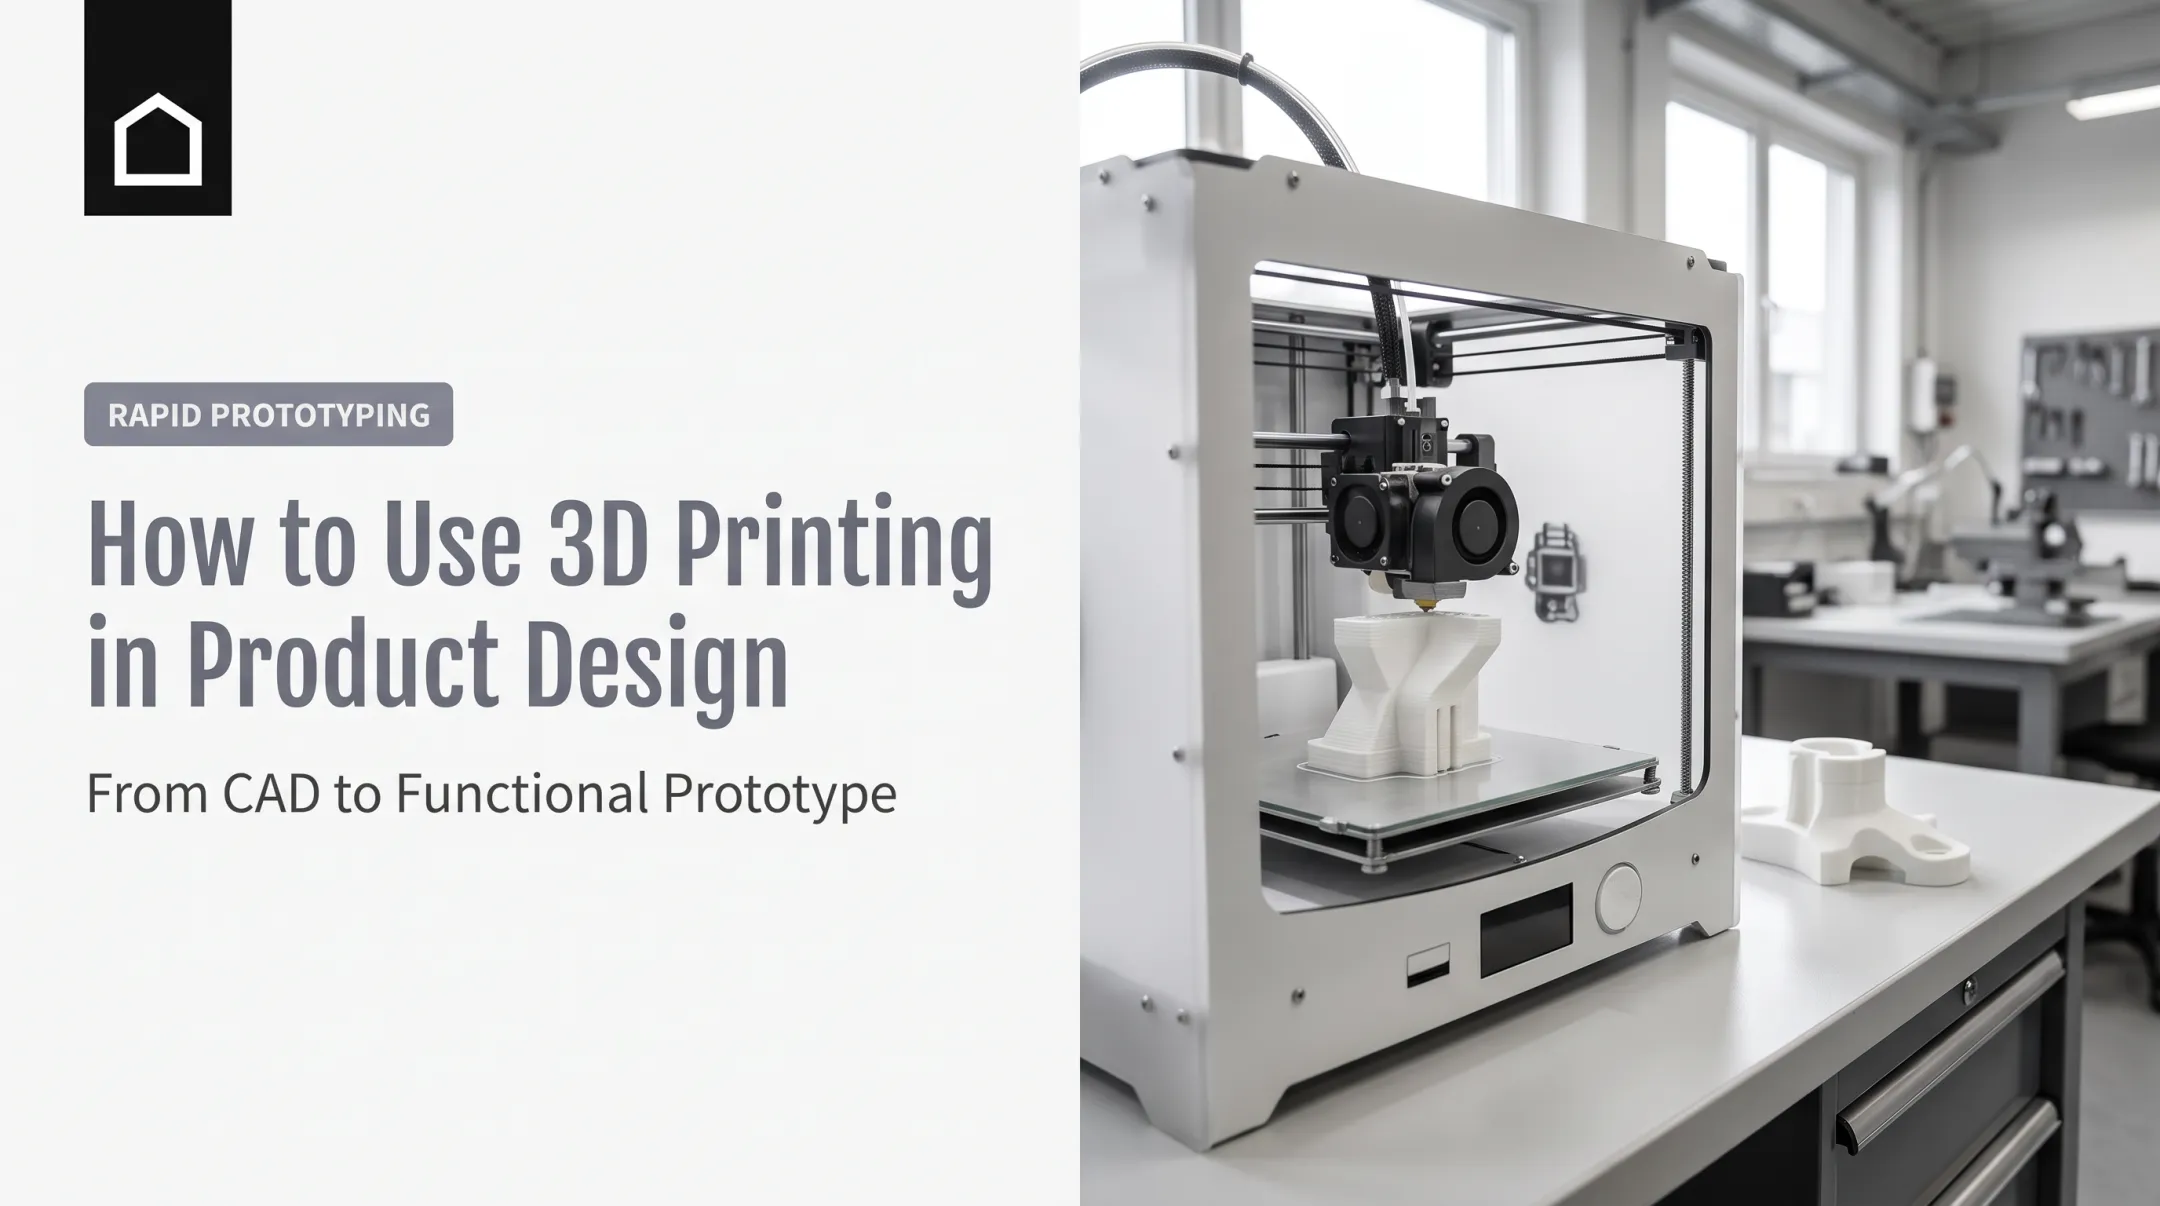
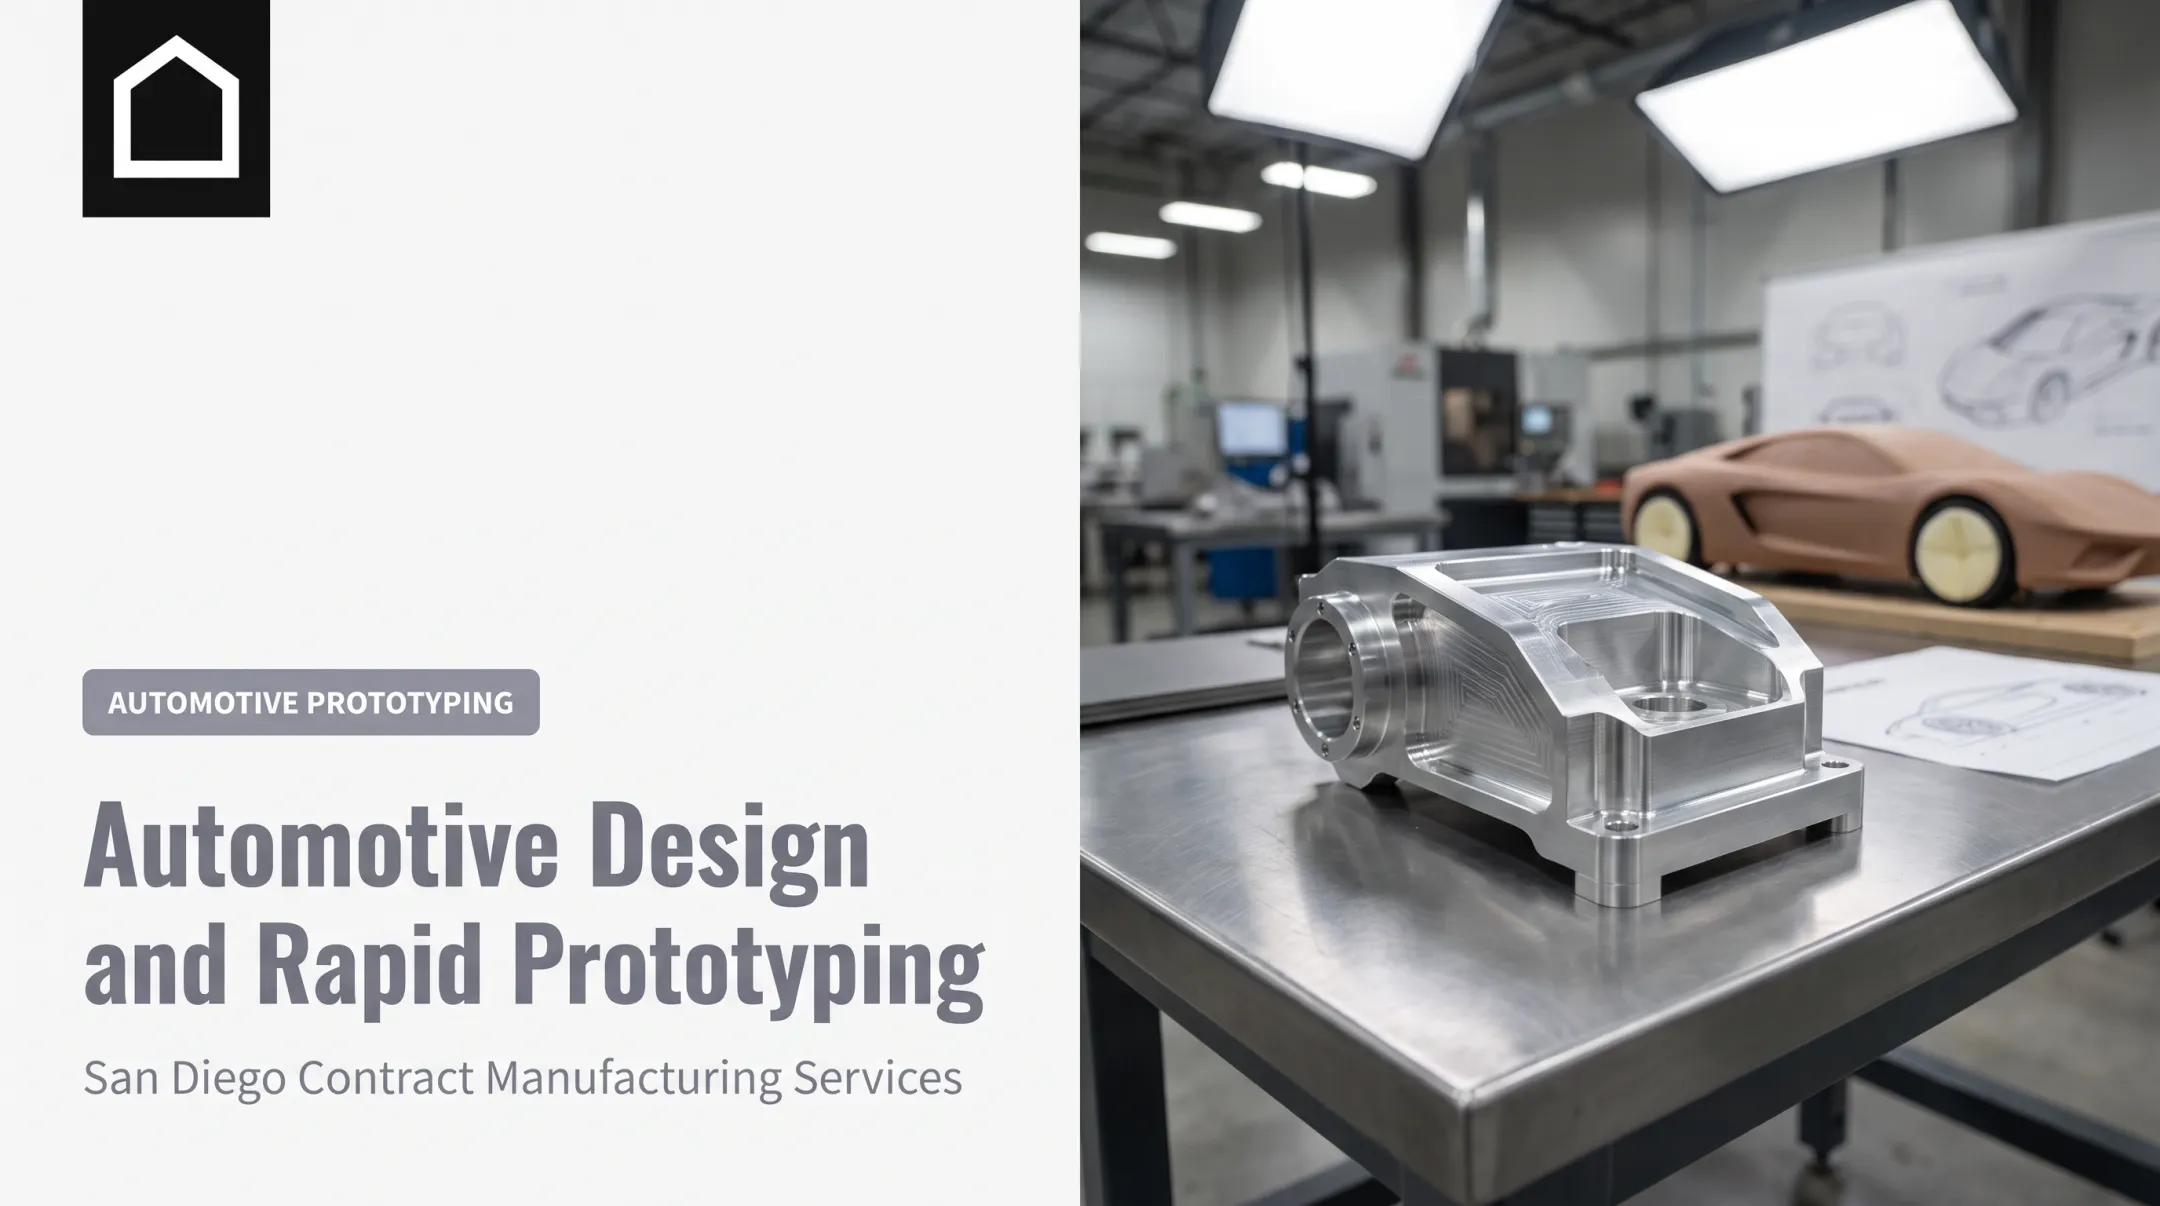
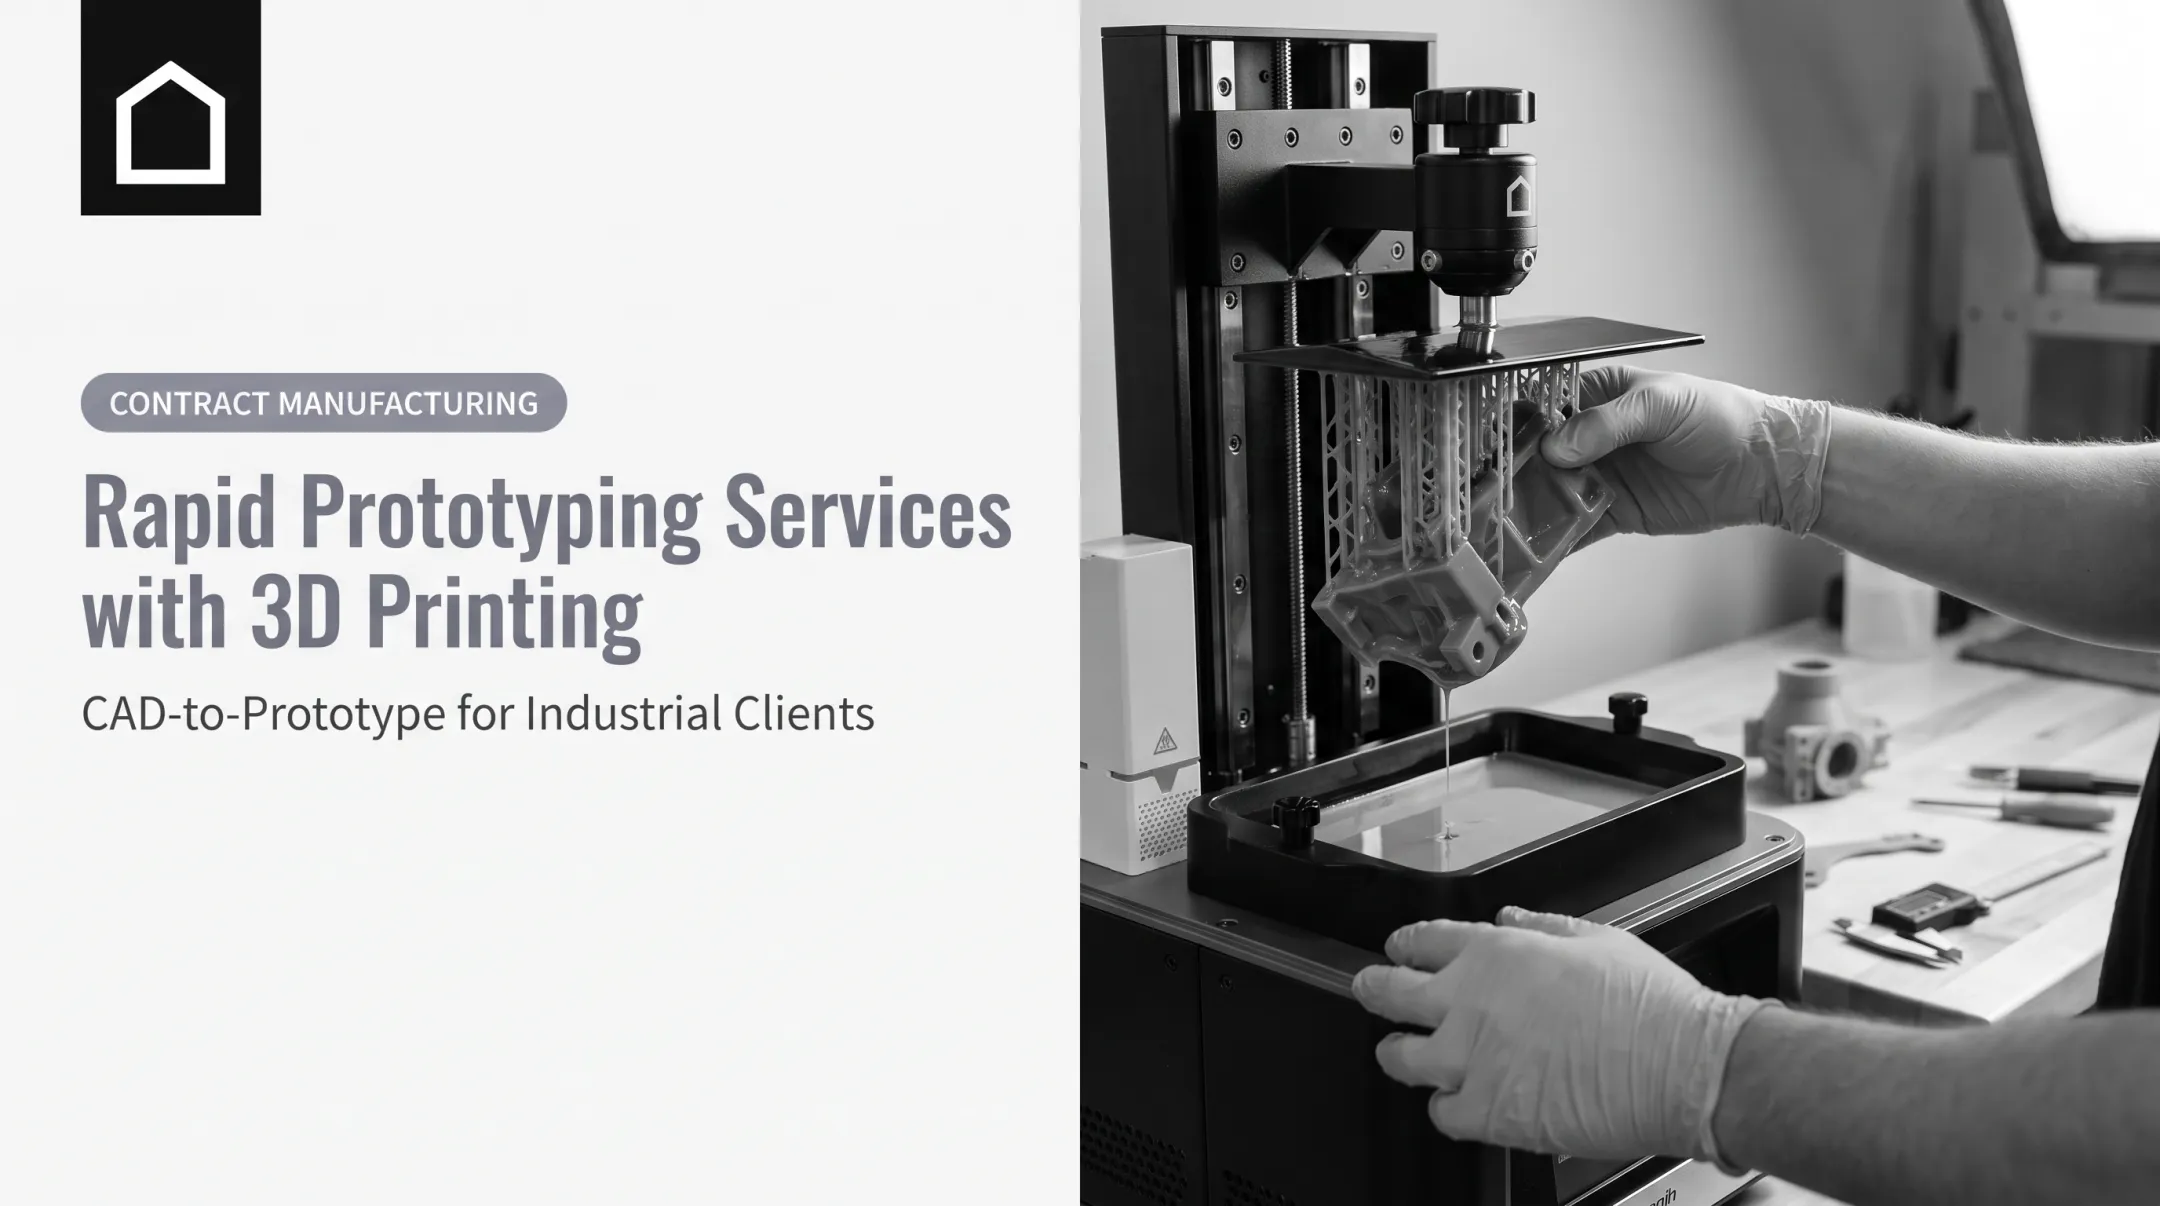
Resin printing earns its place in the prototyping toolkit when a part needs fine detail, a smooth presentation-ready surface, or small features that other processes struggle to replicate. But matching the right resin and process to what you're actually trying to validate matters more than chasing the highest resolution number on a spec sheet.
This guide walks through the resin prototyping workflow, the types of prototypes it supports, where it excels and where it doesn't, how to choose technology and material, and what happens once your prototype earns a thumbs-up for production.
Key Takeaways
- Resin printing suits concept, visual, fit-check, and select functional prototypes.
- SLA, DLP, and LCD/mSLA technologies trade off detail, speed, and build volume differently.
- Match resin choice to the test, not just the look you want.
- Washing, curing, and finishing add meaningful time to every build.
- Final production often shifts to CNC machining, casting, or injection molding.
What Is Resin 3D Printing for Prototyping?
Resin 3D printing, formally known as vat photopolymerization, uses UV light to cure liquid photopolymer resin into solid layers, building a part straight from a digital 3D model. No filament, no powder bed, just a vat of liquid resin and a light source doing the work layer by layer.
That process differs from FDM, which extrudes melted thermoplastic filament through a nozzle, and from SLS, which fuses powdered material with a laser. The practical differences show up in:
- Surface finish — resin prints come out smoother, with far less visible layer lines
- Fine-feature resolution — small text, thin walls, and tight radii hold up better in resin
- Material behavior — cured resin can be brittle or flexible depending on formulation, unlike the tougher baseline of most FDM filaments
- Post-processing — resin parts need washing and UV curing; FDM and SLS generally don't
Types of Prototypes Resin Printing Can Support
Not every prototype serves the same purpose, and resin printing flexes across several of them:
- Concept prototypes — rough form, size, and proportion checks before detailed engineering locks in
- Visual and presentation prototypes — smooth surfaces, crisp edges, and even transparency or color for stakeholder reviews
- Fit-check and ergonomic prototypes — testing assembly clearances, hand feel, and how a part interacts with neighboring components
- Functional prototypes — possible with engineering-grade resins, but only if the material's strength, flexibility, and heat tolerance actually match what you're testing for
Choose resin for functional builds only when mechanical and thermal properties match the test. Otherwise you get a shape that looks right and fails under real loads.
Why the Method Pays Off Early
Changing a digital model costs you an afternoon. Changing a production tool costs weeks and thousands of dollars. That asymmetry is the entire argument for printing before tooling.
Formlabs ran a direct comparison building 1,000 resin mixer latches: two printers completed the run for $600 in roughly six hours, compared to $3,920 for an outsourced injection-molding alternative with a reported 4–6-week tooling lead time. One case study is not a universal price sheet, but it shows why teams print and revise before cutting a mold—a fit issue on day three is a quick reprint; the same issue after tooling is a budget reset.
How the Resin Prototyping Process Works
Resin prototyping isn't a single button-press. It's a sequence, and skipping steps tends to show up as a failed print or a part that doesn't answer the question you needed answered.
- Model in CAD with the test in mind. Confirm critical dimensions, wall thicknesses, mating features, and orientation. Know what question this specific print needs to answer before you start.
- Prepare and slice the file. Set layer height, generate supports, choose orientation, and hollow larger parts with drainage openings so uncured resin doesn't get trapped inside. Inspect the sliced model before you print it, not after.
- Select the resin as a design decision. Visual review, fit testing, flexibility, heat exposure, and transparency all point toward different materials. Appearance alone is a poor filter.
- Print the part. A laser, projector, or masked UV source cures resin layer by layer while the build platform and vat manage the sequence.
- Post-process the part. Remove it from the platform, wash away uncured resin, strip supports, dry it, UV-cure it, and sand, prime, or paint as needed. This stage is not optional, and it takes real time.
- Inspect and test. Compare the finished part to the CAD model, run the intended test, and document what you find.

A Practical Iteration Loop
Treat prototyping as a loop, not a one-shot event: print, inspect, test, document issues, revise the CAD, reprint.
Common first-pass fixes look like this:
- Housing snap-fit too tight on print one → wall-thickness tweak on print two
- Ergonomic grip feels wrong in hand → radius adjustment before the next run
Each cycle should answer a specific question and feed directly into the next revision.
Benefits and Limitations of Resin 3D Printing for Prototypes
Resin printing earns its reputation on detail and surface quality. Small components, embossed text, curved housings, and dental or anatomical models all benefit from the smooth finish and crisp edges resin produces—something FDM's visible layer lines rarely match.
Material choice is another real advantage. Common resin families map to different validation goals:
- Standard — visual models and form checks
- Tough / durable — functional handling and light load tests
- Flexible — seals, grips, and elastomeric feel
- High-temperature — heat-adjacent fit and fixture checks
- Transparent / castable — light pipes, fluid paths, and investment patterns
Formlabs' Tough 2000 Resin V2, for example, is rated at 40.4 MPa ultimate tensile strength and 79% elongation at break under its specified test conditions. That profile differs from a standard visual resin, so always read the datasheet for the exact formulation you plan to print.
Dimensional accuracy is generally strong, supporting fit checks and complex internal geometry. That said, actual accuracy depends on printer settings, part orientation, support placement, and post-cure shrinkage, not just the printer's spec sheet.
Limitations worth planning around:
- Many standard resins are brittle compared with engineering plastics
- Build volumes can restrict larger parts
- Resin and cleaning consumables add ongoing cost
- Printed mechanical properties may not match your production material
Resin printing also demands real safety discipline: ventilation, nitrile gloves, eye protection, careful handling of uncured resin, and disposal per the resin’s safety data sheet and local requirements.
When Resin Printing Isn't the Right Call
FDM, CNC machining, urethane casting, or SLS can be a better fit when you need:
- Larger parts than typical resin build volumes allow
- High-impact or high-temperature test conditions
- Closer match to production plastics or metals
- Higher quantities where per-part resin cost adds up
Choose the process that matches the test—not the one with the finest detail. Weigh surface finish, mechanical performance, part size, quantity, and total workflow cost against the actual validation goal.
Choosing the Right Resin Printing Technology and Material
Three exposure methods dominate resin printing, and each handles light differently:
- SLA — laser scans each layer; strong for controlled detail and larger or precision-oriented builds
- DLP — full-layer projection via a digital micromirror device; often shorter exposure time per layer
- LCD/mSLA — light through an LCD mask; accessible high-detail output for smaller parts
Detail and build size trade off against each other in both DLP and LCD systems: spreading the same pixel count over a larger area changes the effective pixel size. According to Formlabs' comparison of these technologies, there's no single tolerance or build-volume number that applies across the board. Compare specified feature size, build dimensions, and measured accuracy printer by printer.

When selecting a technology, weigh:
- Required feature size and tolerance
- Build volume and parts per build
- Repeatability across runs
- Post-processing capacity
- How often you expect to iterate
Selecting Resin by Prototype Objective
- General visual and form studies: standard resin when mechanical performance isn't the point
- Handled, assembled, or lightly impacted parts: tough or ABS-like resin, checked against the manufacturer's test data
- Specialty needs (compliant grips, heat, optical clarity, investment-casting patterns): flexible, high-temp, transparent, or castable resin
- Skin or tissue contact: biocompatible resin only after confirming material, printer, and cure process for that use—a datasheet claim does not cover every setup or clinical application
Before locking in a resin, answer:
- What detail level does this part need?
- What strength or flexibility?
- Any heat or chemical exposure?
- Direct contact with skin or tissue?
- Expected lifespan?
Match the answers to a validated material, not a marketing description.
In-House Printing or an Outsourced Partner?
In-house printing offers control and speed when your team already has the equipment, operator know-how, and post-processing setup. A service partner is the better fit when you need several processes in one workflow—or a clean path from prototype into CNC machining, urethane casting, or injection molding without juggling vendors.
Choose outsourcing when you need:
- Multiple processes under one roof
- Help moving from prototype into production methods
- Fewer vendor handoffs and schedule gaps
Finine Design and Manufacturing runs CAD modeling, 3D printing, CNC machining, urethane casting, injection molding, and production painting from one San Diego facility. That integrated setup cuts the handoffs that usually slow projects between separate prototyping and production vendors.
Applications and Design Guidance for Resin Prototypes
Resin prototyping shows up across a wide range of industries, each using it for different validation needs:
- Automotive — interior and exterior trim studies, housing concepts, and low-volume development parts
- Consumer electronics — cosmetic enclosures, interface mockups, and functional component checks
- Military and defense — concept models, fixtures, and tooling for maintenance and development work
- Dental and orthopedic — anatomical models, training products, and sales demonstration pieces
Finine Design and Manufacturing works with automotive, military, consumer electronics, and medical clients on that same range—from quick fit checks to presentation-grade models with production painting and graphics. Its dental and orthopedic work uses 3D printing for form validation on training and educational products, not clinical devices.
Those use cases only hold up when the part is designed for resin from the start.
Design-for-Resin Considerations
A few design habits make a measurable difference in print quality:
- Orient critical surfaces away from support contact points so visible or mating faces stay clean.
- Respect wall thickness and overhang limits from your printer and resin manufacturer’s guidelines, not a generic rule of thumb.
- Hollow larger parts with drainage paths so uncured resin cannot trap inside a cavity.
- Plan finishing early—support sanding, paint masking, and dimensional checks before assembly testing.
From Prototype to Production
A validated resin prototype isn't the finish line. It's the point where you ask which features were there purely to support testing and which ones need to carry into production.
Common next steps include:
- Another resin iteration if the last round surfaced a fixable issue
- CNC machining when you need a more production-representative material
- Urethane casting for small batches ahead of hard tooling
- Injection molding once the design is frozen and volume justifies the tooling spend
- Continued additive manufacturing for genuinely low-volume production needs
Which path makes sense depends on quantity, target material, tolerances, tooling budget, finish requirements, and any regulatory considerations tied to the end application.
Finine Design and Manufacturing is built around exactly this transition. Clients move from CAD modeling and 3D printing into CNC machining, urethane casting, injection molding, and production painting without switching vendors or re-explaining project history to a new team.
Before handing a design off to production, confirm:
- Final CAD revision and 2D drawing with critical dimensions
- Material and finish requirements
- Inspection criteria and acceptance standards
- Assembly information and fit tolerances
- Test results from prototype validation
- Any application-specific or regulatory documentation
Conclusion
Resin 3D printing earns its spot when a team needs detailed, smooth, quickly iterated parts. The right choice still traces back to what the prototype needs to prove.
Work the decision in order:
- Define the test first
- Choose material and technology
- Design around supports and finishing
- Validate the part
- Plan the production path before you're forced to improvise one
Teams developing products in automotive, defense, consumer electronics, dental, or orthopedic applications can talk through CAD, prototyping, and manufacturing requirements with Finine Design and Manufacturing. Reach Jaime at Jaime@fi9design.com or 1.858.900-9787.
Frequently Asked Questions
Is 3D printing a good way to make prototypes?
Resin 3D printing works especially well for detailed, smooth, small, visual, fit-check, and some functional prototypes. For demanding mechanical testing or production-equivalent validation, another process may serve you better.
What type of resin is best for prototyping?
It depends entirely on what you're testing: appearance, toughness, flexibility, heat resistance, transparency, or castability all point to different resins. Check manufacturer datasheets and test for your specific application before deciding.
Is resin 3D printing better than FDM for prototypes?
Resin wins on detail and surface finish. FDM often wins on larger parts, lower material cost, and more practical mechanical behavior for rougher functional tests.
Can resin 3D-printed parts be used for functional testing?
Engineering resins can support some functional tests, but you need to evaluate load, temperature, chemical exposure, duration, and how different the resin is from your eventual production material.
How long does it take to resin 3D print a prototype?
Timing depends on part height, layer count, orientation, supports, printer technology, and post-processing. There's no universal turnaround time. It varies from print to print.
What happens after a resin prototype is validated?
A validated prototype usually moves into a design-for-manufacturability review. From there, teams may run another prototype round or shift to CNC machining, urethane casting, injection molding, or low-volume additive production based on quantity and material needs.