That speed is also where teams get tripped up. Picking the right process and material, designing around print orientation, prepping files correctly, and figuring out whether a prototype can actually stand in for a functional test all take real decisions. Skip them and you get a part that looks right but tells you nothing useful.
In a 2024 Protolabs survey of more than 700 engineers, 67% used 3D printing for prototyping and 21% for end-use parts — proof that additive manufacturing has become a default step in product development, not a novelty. This guide walks through how to actually use it in a real design workflow: engineers, product managers, and manufacturing teams included.
Key Takeaways
- Use 3D printing for fast physical feedback on appearance, fit, ergonomics, function, or assembly
- Start with a clear design objective and a production-ready CAD model before picking a process
- Check orientation, wall thickness, tolerances, and post-processing needs before you print
- Treat every print as one step in an iterative cycle, not a final answer
- Confirm your validated design can actually transition to your intended production process
When and Where to Use 3D Printing in Product Design
3D printing belongs early in a project, when designs are still changing and certainty is low. It works best for complex geometry, customized parts, and any stage where you need a physical model before committing to tooling.
It's a strong fit when:
- You expect multiple design revisions before locking geometry
- Quantities are low — Protolabs notes that one to five units is typical for initial concept prototypes, compared to hundreds for rapid injection molding
- Parts have geometry that's expensive or impossible to machine
- You need a physical object for a design review, not just a rendering
Matching the Prototype to the Purpose
Not every prototype needs the same fidelity:
- Appearance models: visual and ergonomic feedback on color, texture, and grip
- Fit-check prototypes: interfaces, assembly clearances, and mounting points
- Functional prototypes: selected performance tests, only after the material and process can represent production fairly
Where It Can Go Wrong
3D printing gets misused when teams:
- Treat prototype material as production performance without testing
- Skip regulatory or safety review on parts that need it
- Print quantities or tolerances that belong in molding or machining
Used well, it still slots into the larger workflow at several points:
- Concept development and CAD refinement
- Design review and prototype testing
- Tooling aids and fixtures
- Pilot runs and low-volume end-use parts
In-house vs. a manufacturing partner: In-house printing fits frequent, small, low-complexity jobs. Bring in a partner when parts are large, need specific technology or materials, require post-processing, or must move straight into CNC machining, urethane casting, or injection molding without changing suppliers. A full-service shop like Finine Design and Manufacturing can keep that path under one roof from prototype through production.

What You Need Before Using 3D Printing
Before a file ever reaches a printer, a few things need to be settled.
Design and project prerequisites:
- A clean, watertight CAD model with no gaps or non-manifold geometry
- Defined dimensions and interfaces
- A clear prototype purpose (what question is this print answering?)
- Expected loads or environmental conditions, if relevant
- A plan for how you'll actually evaluate the part once it's printed
Technology and material, at a glance:
| Process | Best for | Trade-off |
|---|---|---|
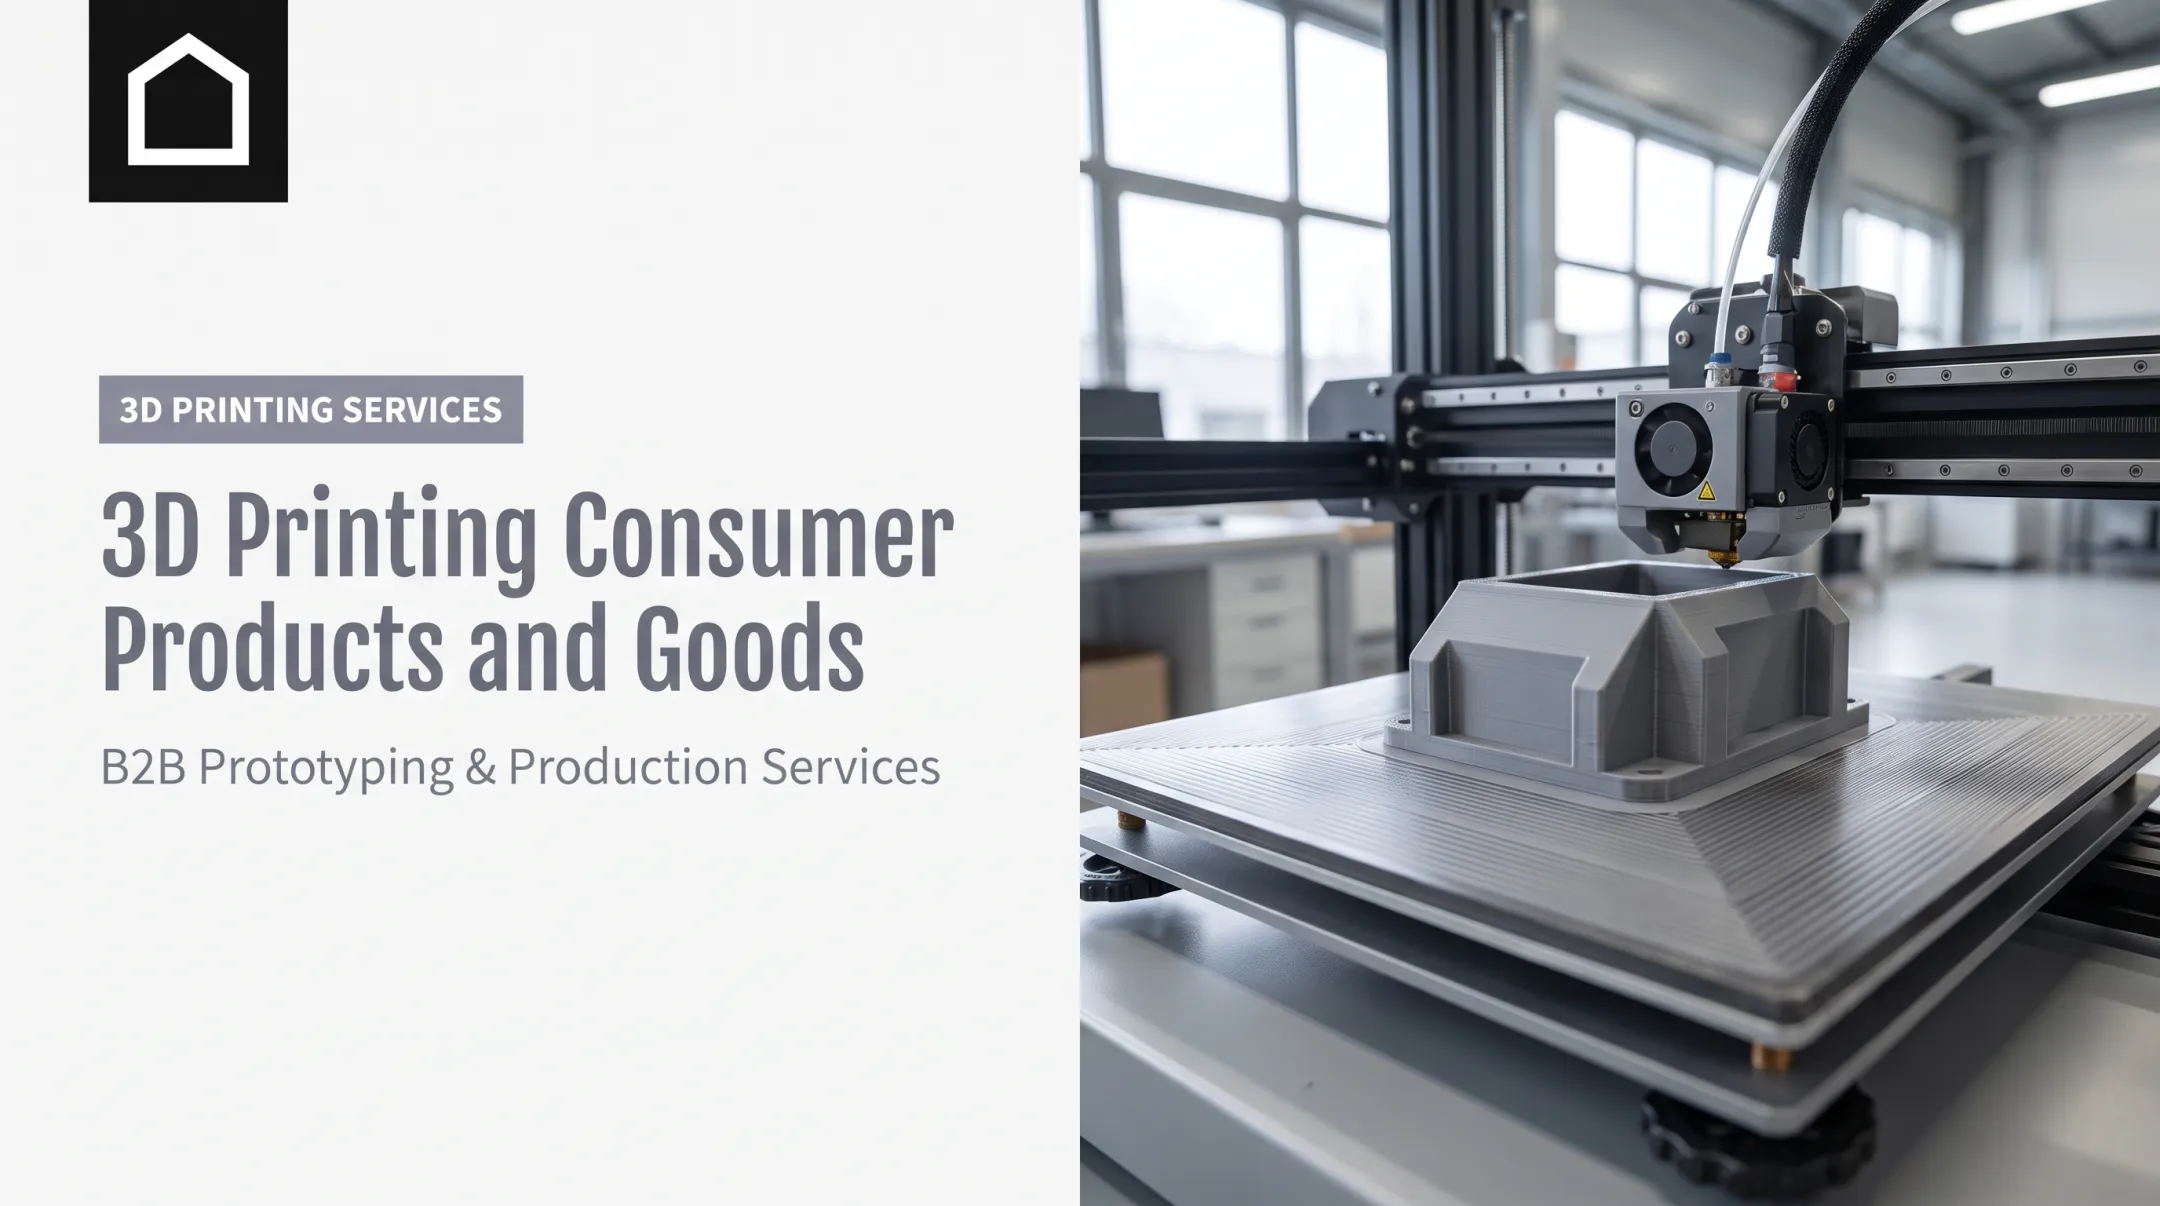
| FDM/FFF filament | Low-cost functional parts, large builds | Visible layer lines, direction-dependent strength |
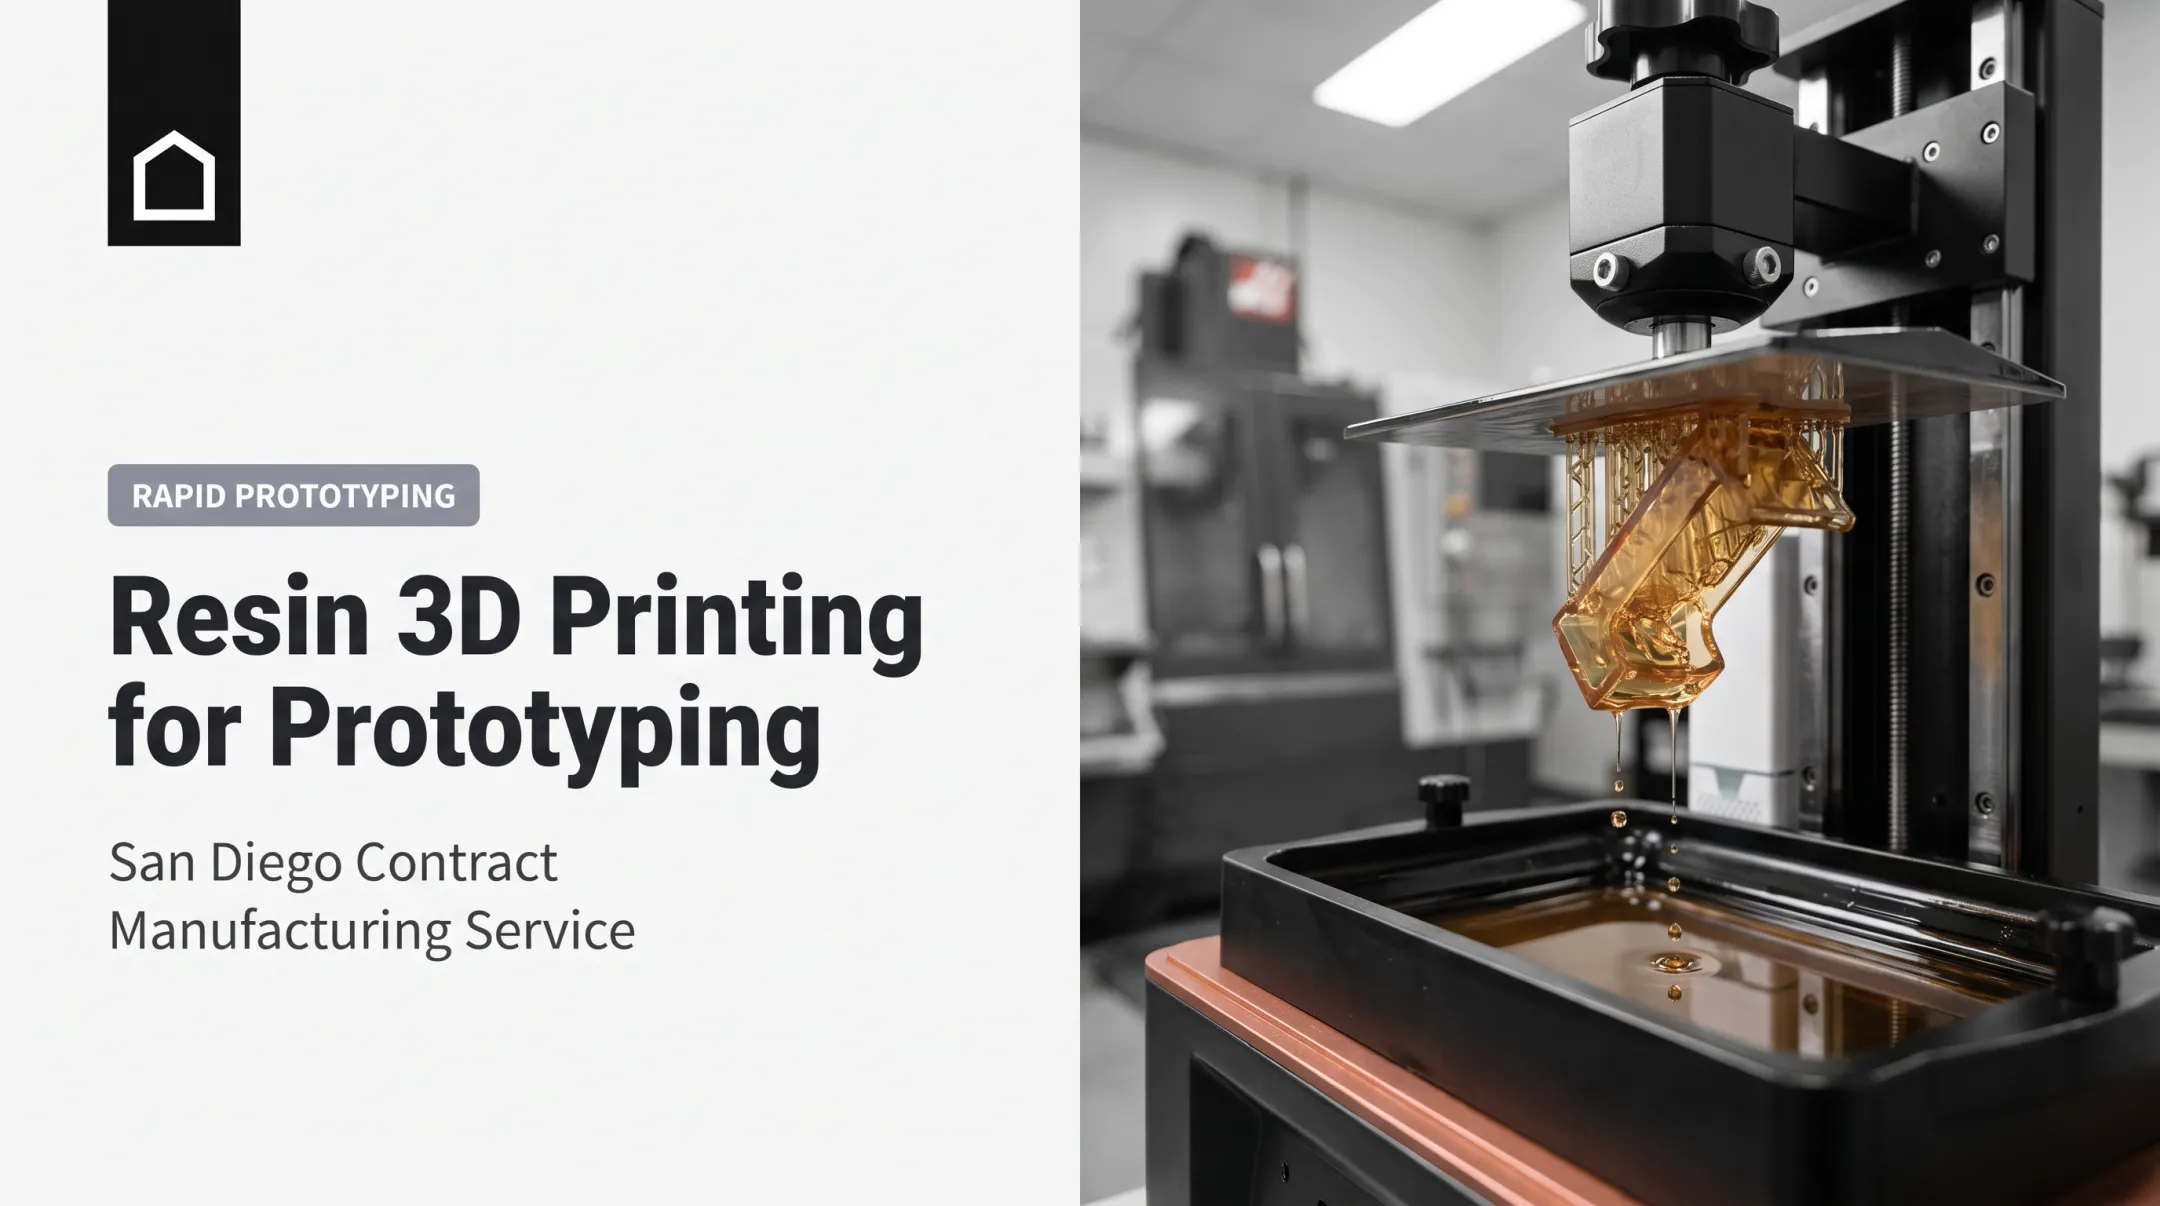
| SLA/DLP/MSLA resin | Fine detail, smooth surfaces | Can be brittle; UV/heat sensitivity varies by resin |
| SLS/MJF powder-bed | Strong engineering parts, no supports needed | Rougher surface finish, higher cost |
| Metal AM | Functional metal prototypes or low-volume parts | Slower, costly, needs qualified process data |
People and equipment you'll need:
- CAD and slicing software
- A calibrated printer or a qualified service partner
- The right material with proper safety controls
- Inspection tools and post-processing equipment
- Engineering oversight for medical, defense, or automotive work
One habit pays off repeatedly: document everything — revision numbers, material and process settings, orientation, post-processing steps, and test results. It's the difference between reproducing a successful print and starting from scratch next time.
How to Use 3D Printing in Product Design (Step-by-Step)
This is a sequence, not a shortcut list. Skip design review, material selection, or post-processing, and you can end up with a part that looks correct but gives misleading results.
Define the Prototype Objective
Before modeling anything further, decide what this print needs to prove: appearance, ergonomics, fit, mechanical function, thermal behavior, airflow, manufacturability, or customer feedback.
- Identify which characteristics must match the final product exactly, and which can be approximate
- Write measurable acceptance criteria: not "looks good," but specific pass/fail tests
- Let the objective dictate the category: visual model, functional prototype, manufacturing aid, or casting pattern
Prepare and Review the CAD Model
Check the model for non-manifold geometry, unintended gaps, scale errors, and missing features before it ever touches a slicer.
- Review wall thickness, holes, ribs, fillets, clearances, and fastener locations against the chosen process
- Confirm moving interfaces and assembly splits will actually print as designed
- Flag surfaces and tolerances that will need to change later for CNC machining, urethane casting, or injection molding. 3D printing geometry doesn't always translate directly
Select the Printing Technology and Material
Compare FDM, resin (SLA/DLP/MSLA), powder-bed (SLS/MJF), and metal AM against detail, surface finish, strength, flexibility, and cost. Formlabs notes that direct performance comparisons across these processes are tricky since each uses different materials and forming methods, so match the process to your purpose rather than the hype.
Orientation matters here too. EOS's data sheet for its PA 2200 SLS material shows tensile strength of 48 MPa in the X/Y plane versus 42 MPa in Z. Even within one material, build direction changes performance.
- Appearance review → cosmetic-grade material
- Functional checks → engineering-grade material appropriate to the test
- Performance data needed → production-equivalent or representative material
Material choice also affects post-processing, chemical exposure, dimensional stability, and whether the part is safe for its intended environment.
Orient the Part and Prepare the Print
Orientation is a balancing act between load direction, surface finish, critical dimensions, support needs, and print time.
- Check load direction against layer lines: printed parts are often weaker across layers than along them
- Minimize supports through part splitting, chamfers, or self-supporting angles where geometry allows
- Set process parameters (layer height, infill, shell strategy, and material profile) according to your printer and material documentation
- Review orientation in the slicer before committing to the print, especially for processes with direction-dependent strength

Print, Post-Process, and Inspect
Confirm printer readiness, material condition, build surface, and file version before starting. Record the setup so you can analyze results either way.
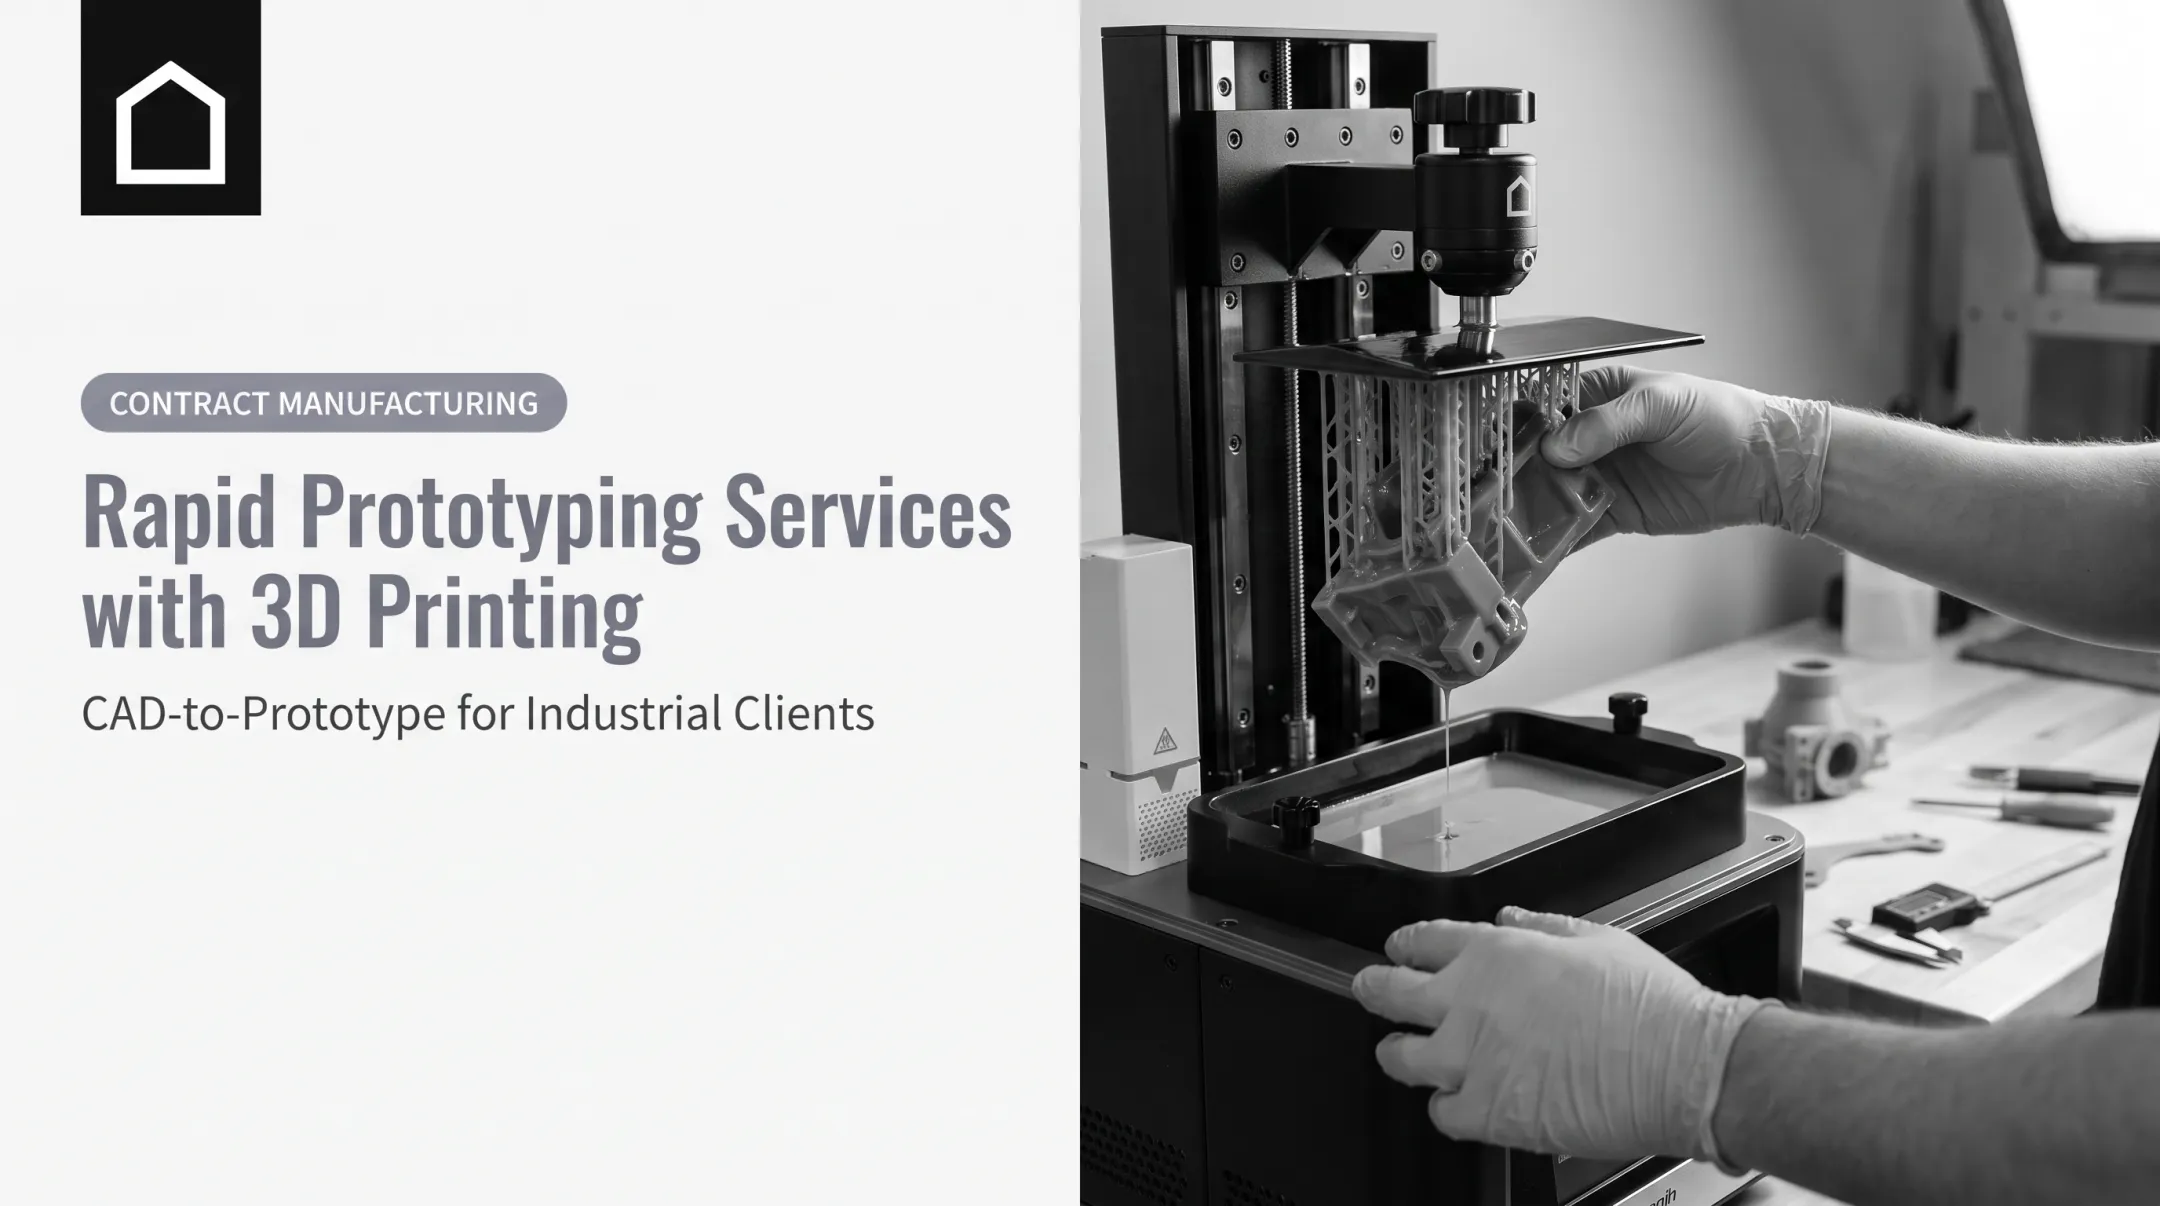
- Post-process according to the method: support removal, washing, curing, depowdering, sanding, or painting
- Inspect critical dimensions, interfaces, and surface quality with proper measurement tools
- Separate cosmetic acceptance from functional acceptance: a part can look perfect and still fail a fit or strength test
Test, Learn, and Iterate
Test against your original acceptance criteria and log failures by category: geometry, material, orientation, assembly, or usability.
Use results to revise the model, material, orientation, or test plan. Avoid undocumented tweaks on the fly.
Stratasys documented how appliance maker Haier used printed concept and functional prototypes to cut prototyping time by as much as 69% compared to traditional methods. What mattered was the discipline behind that number: each iteration answered one specific design question before the team moved forward.
Decide what's next: print again, hand off to another manufacturing method, or move into tooling.
Where 3D Printing Is Commonly Used in Practice
Automotive and consumer electronics teams print concept models, housings, brackets, fixtures, and ergonomic mockups to review packaging and assembly before committing to tooling.
Military and defense programs use 3D printing for low-volume components, equipment interfaces, and manufacturing aids. The Department of Defense's Instruction 5000.93 calls for aligning AM qualification procedures with established standards. A printed prototype isn't automatically qualified to a military spec just because it was printed well.
Dental and orthopedic product development leans on 3D printing for customized models, fit studies, and training aids. A study of orthopedic residents found that training with printed fracture models was linked to significantly better operative assessment scores. A printed anatomical model for education is not the same as a regulated, patient-contacting device.
Beyond prototypes, 3D printing also supports:
- Jigs, fixtures, and patterns
- Bridge production and replacement parts
- Low-volume end-use components
These uses often sit between a validated prototype and full production tooling.
This is where Finine Design and Manufacturing's workflow plays out in practice: prototypes built for fit, form, and functional review feed directly into CNC machining, urethane casting, or injection molding without switching vendors mid-project.

Best Practices for Using 3D Printing Effectively
- Define what you need to learn before modeling details. A detailed print without a test objective wastes material and time
- Design for the process, not just the final product. Orientation, supports, wall thickness, and post-processing access all matter
- Progress deliberately: cheap concept models first, then higher-fidelity fit and functional parts once major risks are resolved
- Validate the physical part, not just the CAD file. Inspect dimensions, test assembly, and check ergonomics
- Keep production in view. Know which features are unique to 3D printing and which need redesign for machining or molding
When a project needs CAD modeling, prototype printing, finishing, and a later move into CNC machining, urethane casting, or injection molding, one integrated partner avoids handoff gaps between vendors.
Finine Design and Manufacturing, based in San Diego, supports this full path for product teams in automotive, military, consumer electronics, and medical (dental and orthopedic) work.
Conclusion
Value from 3D printing comes from a clear process, not faster print jobs:
- Define the design question first
- Choose a process suited to that question
- Design around the process's limits
- Inspect what comes off the build plate
- Iterate with documented feedback instead of guesswork
When it's time to move from prototypes into production, bringing in a development partner early saves rework later. Finine Design and Manufacturing supports that full path — CAD modeling, 3D printing, CNC machining, urethane casting, injection molding, and production painting — for teams in automotive, military, consumer electronics, dental, and orthopedic product development.
Frequently Asked Questions
What is industrial 3D printing?
Industrial 3D printing is professional additive manufacturing used to produce prototypes, tooling, manufacturing aids, low-volume parts, or end-use components. It differs from hobbyist printing in material options, precision, and process control.
How does an industrial 3D printer work?
The process starts with a CAD model, which slicing software converts into print instructions. The printer then builds the part layer by layer using a material-specific process, followed by post-processing and inspection.
How much does a 3D print service cost?
Cost depends on technology, material, part size, quantity, machine time, labor, finishing, and design preparation. Pricing varies significantly by project, so a quote based on your specific CAD file is the most reliable way to budget.
Is it illegal to 3D print anything?
3D printing itself is generally legal, but what you print can raise issues around intellectual property, safety regulations, export controls, or regulated product categories. Sensitive or regulated designs should get qualified legal review before production.
What is the best 3D printing method for product prototypes?
It depends on your priority: appearance, fine detail, strength, flexibility, size, or speed. Resin printing favors detail and surface finish, filament favors cost and size, powder-bed processes favor strength, and metal additive manufacturing suits functional metal parts.
Can 3D printed prototypes be used for functional testing?
Yes, for selected tests, when the process and material genuinely represent the final application. Results need to account for print orientation, material anisotropy, post-processing, and how closely the prototype material matches the production material.