3D printed injection molds close that gap. They let teams print a mold cavity in days instead of weeks, test real injection-molded parts, and iterate before committing to expensive tooling. This article covers how the process works, what it costs, where it falls short, and when to graduate to metal tooling. Finine Design and Manufacturing, a San Diego-based product development firm, handles this entire journey in-house — from CAD modeling through 3D printing and injection molding.
Key Takeaways
- 3D printed molds suit low-volume runs of a few dozen to a few hundred parts
- SLA resin printing beats FDM for mold surface finish, heat resistance, and cycle life
- Mold lifespan ranges from 15 cycles to over 1,000, depending entirely on material and design
- Draft angles, wall thickness, and venting decisions make or break mold survival
What Are 3D Printed Injection Molds?
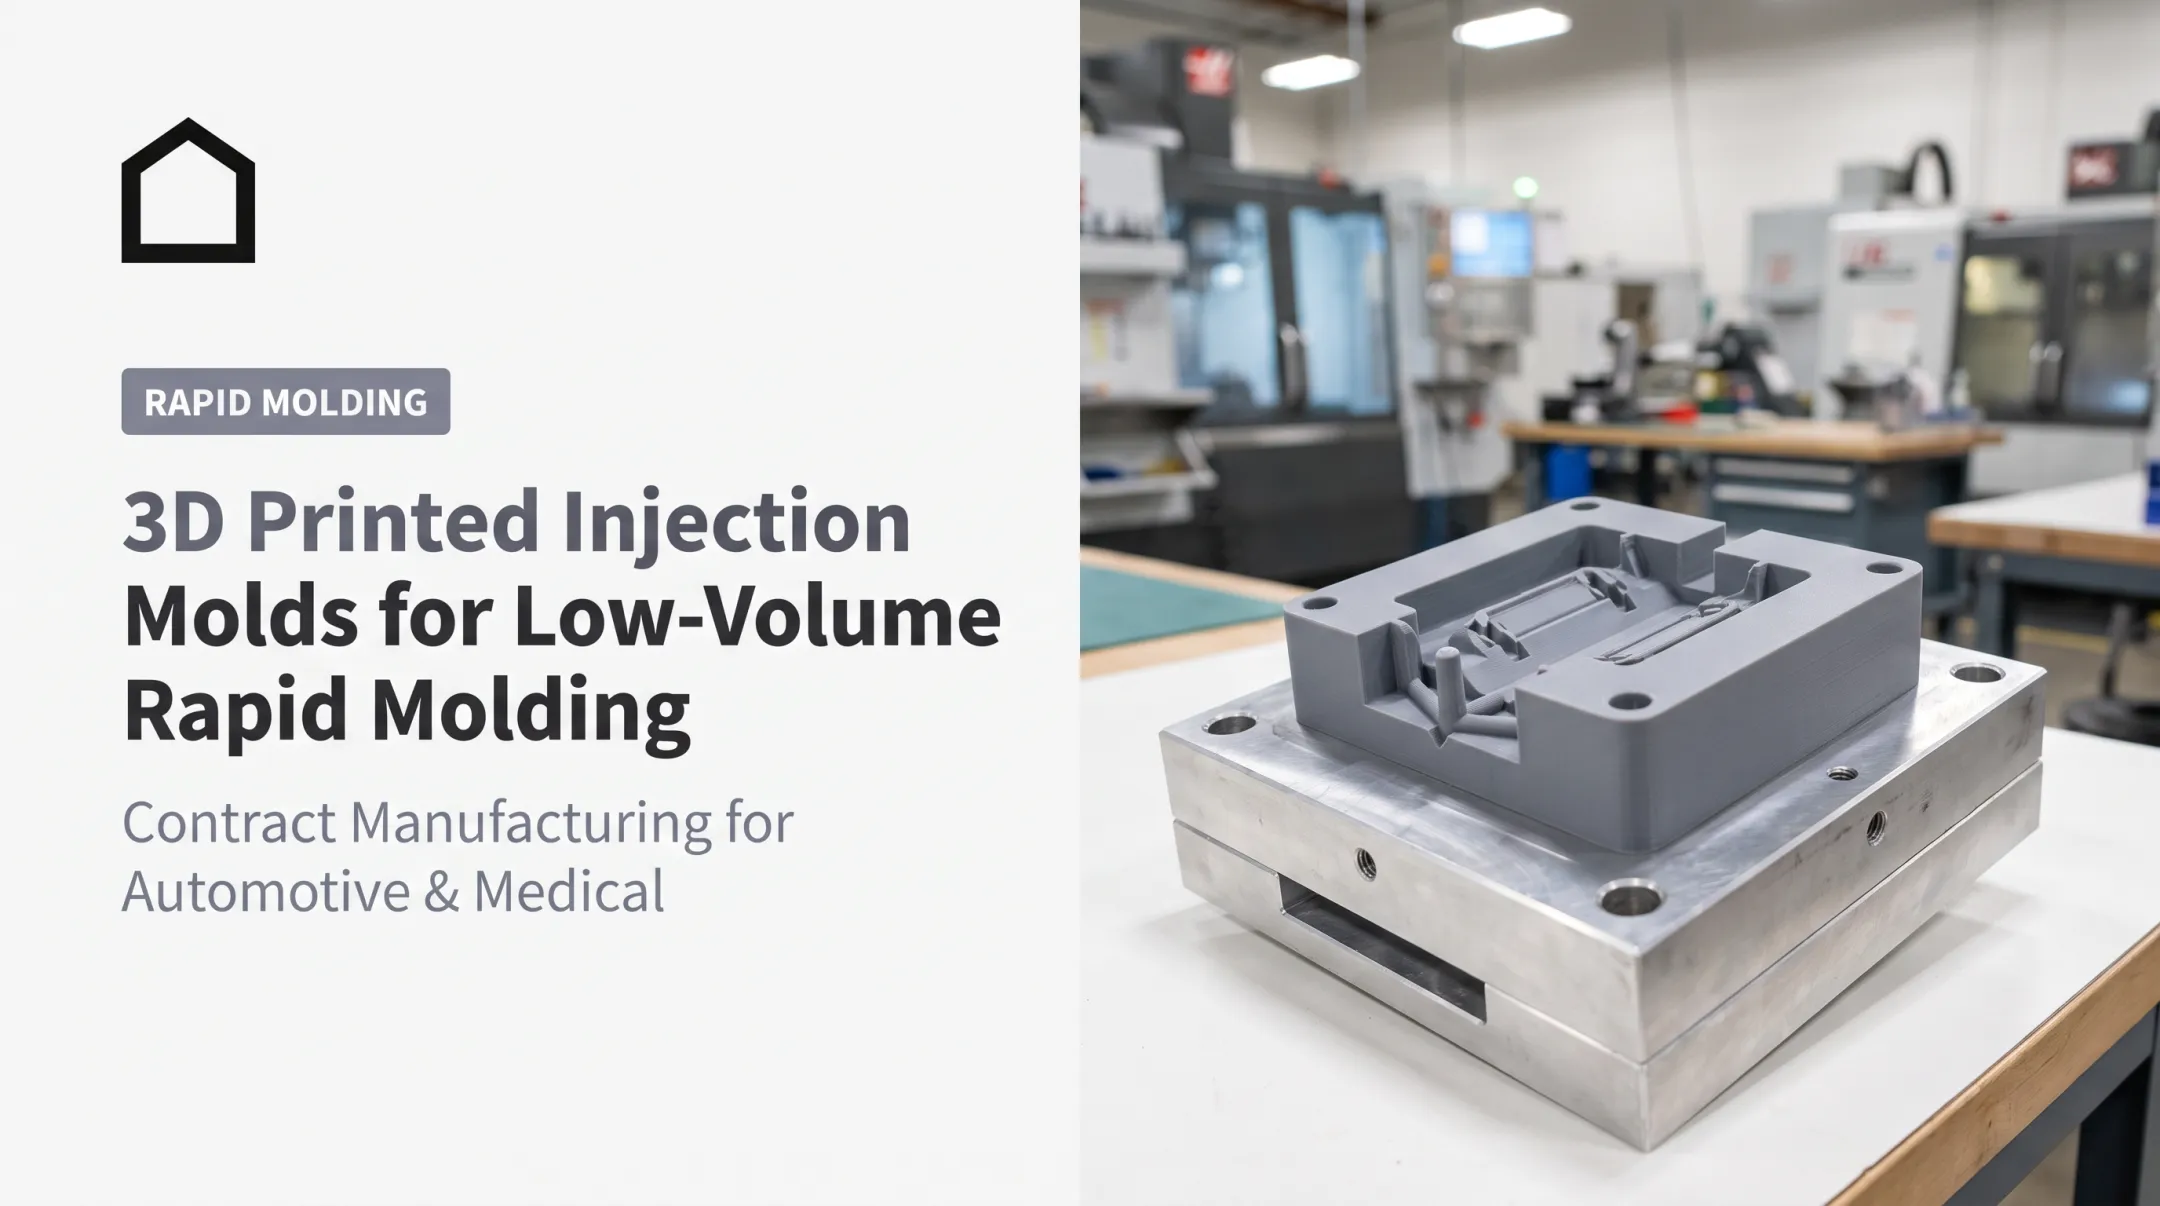
A 3D printed injection mold uses additive manufacturing, usually SLA resin printing, to create the mold cavity or insert, instead of machining it from steel or aluminum. The printed piece then does the actual work: hot plastic gets injected into it, just like a conventional mold.
Here's the catch: printed inserts can't handle clamping force and injection pressure alone. They need support.
The Hybrid Workflow
Most real-world setups pair a printed cavity or insert with a reusable metal frame or holder. The metal structure absorbs clamping pressure and mounts into the injection molding press; the printed piece just shapes the plastic. This is standard practice. Formlabs documented a case where a Rigid 10K resin insert, seated in an SLS PA12 frame, produced thousands of polypropylene parts.

Can You Actually 3D Print an Injection Mold?
Yes. Two technologies dominate:
- SLA (resin printing): Smoother surfaces, better heat resistance, longer cycle life
- FDM (filament printing): Cheaper and faster to set up, but prone to layer-line defects and lower pressure tolerance
Don't expect a printed mold to match hardened steel tooling. Think of it as a stepping stone: good for validating designs and producing real parts in low quantities, not for cranking out tens of thousands of units.
How the Process Works: From CAD to Molded Part
Design Phase
Mold design decisions determine whether the tool survives its first shot or cracks on the tenth. Key rules:
- Draft angles: 3-5 degrees on all vertical walls to allow clean part ejection
- Uniform wall thickness: Sections under 1-2mm risk deforming under heat
- Air vents: About 0.05mm deep, routed to the mold edge, to prevent trapped air and flash
- Gate placement: Positioned to reduce cavity pressure during fill
Printing the Mold
Material choice drives finish quality and how many cycles the tool survives. SLA resins with high heat deflection temperatures (Rigid 10K or High Temp resin) consistently outperform standard FDM filaments. Layer height—commonly 50 microns—and part orientation both affect surface smoothness and warping resistance.
Installation and Molding
Teams mount the printed insert in a metal holder or frame for stability and faster heat transfer. During molding, they dial back pressure and temperature versus standard steel-mold settings. One documented case ran a 5-ton clamp, 20-second cycle, and 230°C molding temperature to protect the printed cavity.

Post-Processing
Before first use, prep the mold:
- Sand critical surfaces
- Complete a full resin cure
- Apply release agent so parts eject cleanly
Finine Design and Manufacturing covers this entire chain under one roof—CAD refinement, 3D printing, and injection molding—so clients aren't juggling separate vendors for each step.
Benefits of 3D Printed Injection Molds
Speed is the headline benefit. One Formlabs case study produced 100 parts in 3-5 days, versus 3-4 weeks for a machined mold. A device case went from design to press-ready mold in under 5 hours.
Additional advantages include:
- Lower cost: Simple printed molds can start around $100, versus $2,000-$5,000 for aluminum tooling at moderate volumes
- Rapid iteration: Modify a CAD file, reprint, and test again with no re-machining required
- Lower barrier to entry: No CNC machining expertise needed to produce a working mold
- Regulated industries: Dental teams can iterate before locking certification-ready tooling and triggering new validation work
For companies developing dental or orthopedic products, an area where Finine Design has built specific experience, this iteration speed matters. Getting a design right before certification-ready tooling saves time and regulatory rework.

Limitations and Key Considerations
Printed molds have real trade-offs. Four constraints show up consistently:
- Durability varies by material. One study found a PA6 insert deformed after just 15 cycles, while PP and TPE runs reach the hundreds. Stratasys reports RG 3280 resin molds lasting hundreds to 1,000 cycles in favorable conditions.
- Surface finish lags behind polished steel. Layer lines can telegraph onto molded parts, and one 2022 study found printed-mold parts had lower structural modulus than steel-tooled equivalents.
- Material compatibility is uneven. PP, PE, and TPE mold reasonably well. Nylon (PA) and polycarbonate are tougher on printed tooling and wear it out faster.
- Size and geometry limits apply. Larger parts and intricate geometries exceed what printed molds handle reliably.
None of this makes printed molds unusable — it just means you need to match expectations to the job.

Choosing Materials and Following Design Guidelines
Not all print materials are created equal for mold-making. Here's a quick comparison:
| Material | Heat Deflection Temp | Mold Suitability |
|---|---|---|
| Standard PLA | ~122°F (~50°C) | Poor: deforms under molding heat |
| FDM PC-ISO | ~271°F (~133°C) | Moderate: depends on grade |
| SLA Rigid 10K | ~424°F (218°C at 0.45 MPa) | Good: solid cycle life |
| SLA High Temp | ~460°F (238°C at 0.45 MPa) | Good, but more brittle under pressure |
Why PLA Falls Short
PLA's low heat deflection temperature (around 122°F / 50°C) means it softens fast once hot plastic hits the cavity. It's fine for visual prototypes, but it's a poor choice for actual mold-making. Higher-HDT resins are non-negotiable if you want a mold that survives more than a shot or two.
Design Rules Worth Repeating
- 3-5 degree draft angles on every vertical wall
- Uniform wall thickness throughout the cavity
- Generous venting to avoid trapped air and flash
- Simpler mold-half splits over highly detailed parting lines
Rigid or High Temp-style SLA resins consistently beat standard FDM filaments on both finish and cycle life.
3D Printed Molds vs. Traditional Injection Molding: Which to Choose
| Factor | 3D Printed Mold | Traditional Metal Tooling |
|---|---|---|
| Lead time | Days, sometimes under 5 hours | 4-8 weeks |
| Upfront cost | ~$100-$1,000 typical range | $2,000-$100,000+ |
| Volume capacity | Dozens to low hundreds; some cases beyond 1,000 | Tens of thousands or more |
| Part strength | Lower modulus, more finish variation | Higher, more consistent |
Parts run from 3D-printed molds are usually less strong and less dimensionally consistent than parts from metal tooling. Layer lines and lower density in the printed insert drive most of that gap.
Choose a printed mold when you need speed, low upfront cost, and short validation runs. Move to metal tooling when mechanical performance, high-volume output, or long-term durability matter—those requirements make steel or aluminum tools the practical path.
Printed molds work best as a bridge tool for design validation before you commit to expensive production tooling. Finine Design and Manufacturing supports that full handoff, taking teams from a 3D-printed mold prototype into production tooling as volume and performance needs grow.
Frequently Asked Questions
Can you 3D print an injection mold?
Yes. SLA resin and FDM filament are the two common approaches, with SLA generally producing better surface finish and longer-lasting molds. Both work well for low-volume runs where speed matters more than part count.
How much does it cost to make a 3D-printed injection mold?
Costs vary widely based on size, material, and complexity, but published examples range from roughly $100 for simple low-volume molds to under $1,000 for more robust tooling. Compare that to $2,000–$5,000 for aluminum tooling at moderate volumes.
Is PLA good for making 3D-printed injection molds?
No. PLA's heat deflection temperature sits around 50°C (about 122°F), far too low to survive contact with molten plastic. Higher-temperature SLA resins like Rigid 10K or High Temp perform far better.
Are 3D-printed parts as strong as injection-molded parts?
Generally, no. Injection-molded parts benefit from higher material density and tighter process control, giving them more consistent strength than most 3D-printed parts.
How many parts can a 3D-printed mold produce before wearing out?
It varies enormously — from as few as 15 cycles for some nylon inserts to over 1,000 for well-designed molds using high-temp SLA resin and easier-to-mold plastics like PP or TPE.
When should a business switch from 3D-printed molds to traditional tooling?
Once volume climbs past roughly 1,000 units, or once part strength and repeatability become critical, metal tooling typically becomes the more cost-effective and reliable choice.