Introduction
A prototype can look flawless at the design review and start peeling within a week. Production batches cause a different kind of headache: parts pass inspection on Monday, then customers report chipping or fisheyes by Friday. Those failures almost always start with the surface, before paint ever touches it.
Surface preparation is the controlled sequence of inspection, cleaning, defect repair, abrasion or profiling, and conditioning that gives paint something stable to bond to. Inadequate preparation, not the coating itself, drives most adhesion failures on prototypes and production parts.
Product designers, engineers, manufacturers, and purchasing teams see the same pattern on 3D-printed, CNC-machined, cast, molded, metal, plastic, and composite parts. Preparation often gets treated as a throwaway step before "the real work" starts. That assumption breaks down fast once you move from a one-off prototype to repeat production.
We'll walk through substrate assessment, cleaning, defect correction, profiling, priming, inspection, material-specific quirks, and how prototype and production workflows actually differ.
Key Takeaways
- Surface prep builds a clean, stable, properly profiled foundation—not a quick wipe or sanding pass.
- Method selection depends on substrate, manufacturing process, geometry, paint system, and service environment.
- Prototype prep favors fast iteration; production prep needs repeatable parameters and documented criteria.
- Cleaning, drying, and contamination control matter as much as abrasion technique or primer choice.
- Treat the "70/30 rule" as a reminder, not a specification; follow the coating supplier's data sheet.
What Surface Preparation Means and Why It Matters
Surface preparation covers everything between "part comes off the machine" and "part is ready for primer or topcoat": inspection, cleaning, repair, surface modification, conditioning, and verification.
The goal is straightforward, if demanding in practice: a surface that is clean, dry, sound, properly roughened or chemically conditioned, and free of anything that could break the coating bond.
Cleaning, Profiling, and Priming Aren't the Same Step
These terms get used interchangeably, which causes real problems on the shop floor:
- Cleaning: Removes contaminants such as oil, dust, mold release, and machining residue.
- Abrasion or blasting: Changes the surface profile so a coating can mechanically key into it.
- Priming: Promotes adhesion, seals a porous substrate, or bridges incompatible materials.
- Painting: Applies the decorative or protective topcoat.
Not every part needs every step. The right combination depends on the substrate and what the coating manufacturer's technical data sheet actually specifies.
Why Prototypes and Production Parts Need Different Standards
Prototypes need preparation that supports an honest visual evaluation of form, color, texture, and fit. Print lines, machining marks, and handling residue should not read as design flaws. Early prep also shows whether a material or process can hit the finish you want before you commit to tooling.
Production parts raise the bar on consistency. A 2023 AMPP paper from the U.S. Army Corps of Engineers identifies inadequate preparation as a cause of coating failure. A clean substrate paired with the correct surface profile is what maximizes adhesion.
Batch after batch has to meet that standard. You cannot rely on one operator's judgment call per part.
In short, the two standards diverge:
- Prototype-ready: Often a tailored hand-finish from someone who knows the material
- Production-ready: A validated, repeatable process with defined acceptance criteria, independent of who is on the line
That gap is why manufacturing method and finishing requirements should be planned together. At Finine Design and Manufacturing, production painting shares the same San Diego facility as CNC machining, urethane casting, and injection molding, so finishing needs can be built into the part plan before fabrication starts—not added as a late workaround.
How Surface Preparation Works
The flow is the same regardless of substrate: assess the part, clean it, correct defects, create the right surface condition, remove residue, prime if needed, verify, and control handling until the part reaches the paint booth.

Step 1: Assess the Part and Define the Finish Requirement
Document what you are working with:
- Substrate and manufacturing process
- Existing coating, visible defects, and geometry
- Masking needs Then confirm the finish target: color, gloss, texture, and durability. Decide early whether this is a prototype or a production part, and whether the priority is appearance, dimensional tolerance, corrosion resistance, or repeated handling. That choice drives every step that follows.
Step 2: Remove Contaminants and Manufacturing Residue
Dust, cutting oils, mold-release agents, fingerprints, salts, and uncured resin all interfere with adhesion if they're still on the surface. SSPC-SP 1, Solvent Cleaning specifies removal of visible oil, grease, and similar contaminants from metal before any further treatment. That same baseline is worth applying on non-metal substrates too. The cleaning agent, cloth, rinse, and drying method all need to be compatible with both the substrate and the coating. Check the coating supplier's technical data sheet and safety data sheet before picking a cleaner. Guessing here is how you end up with blushing or adhesion loss weeks later.
Step 3: Correct Defects and Prepare the Geometry
Common defects to address include:
- Support marks, layer lines, and seam lines
- Burrs, sharp edges, and scratches
- Sink marks, voids, and pinholes Filler, sanding, or localized repair can shift dimensions and blur edge definition. Protect critical surfaces and check the part against the drawing or CAD model before moving forward.
Step 4: Create the Required Surface Profile
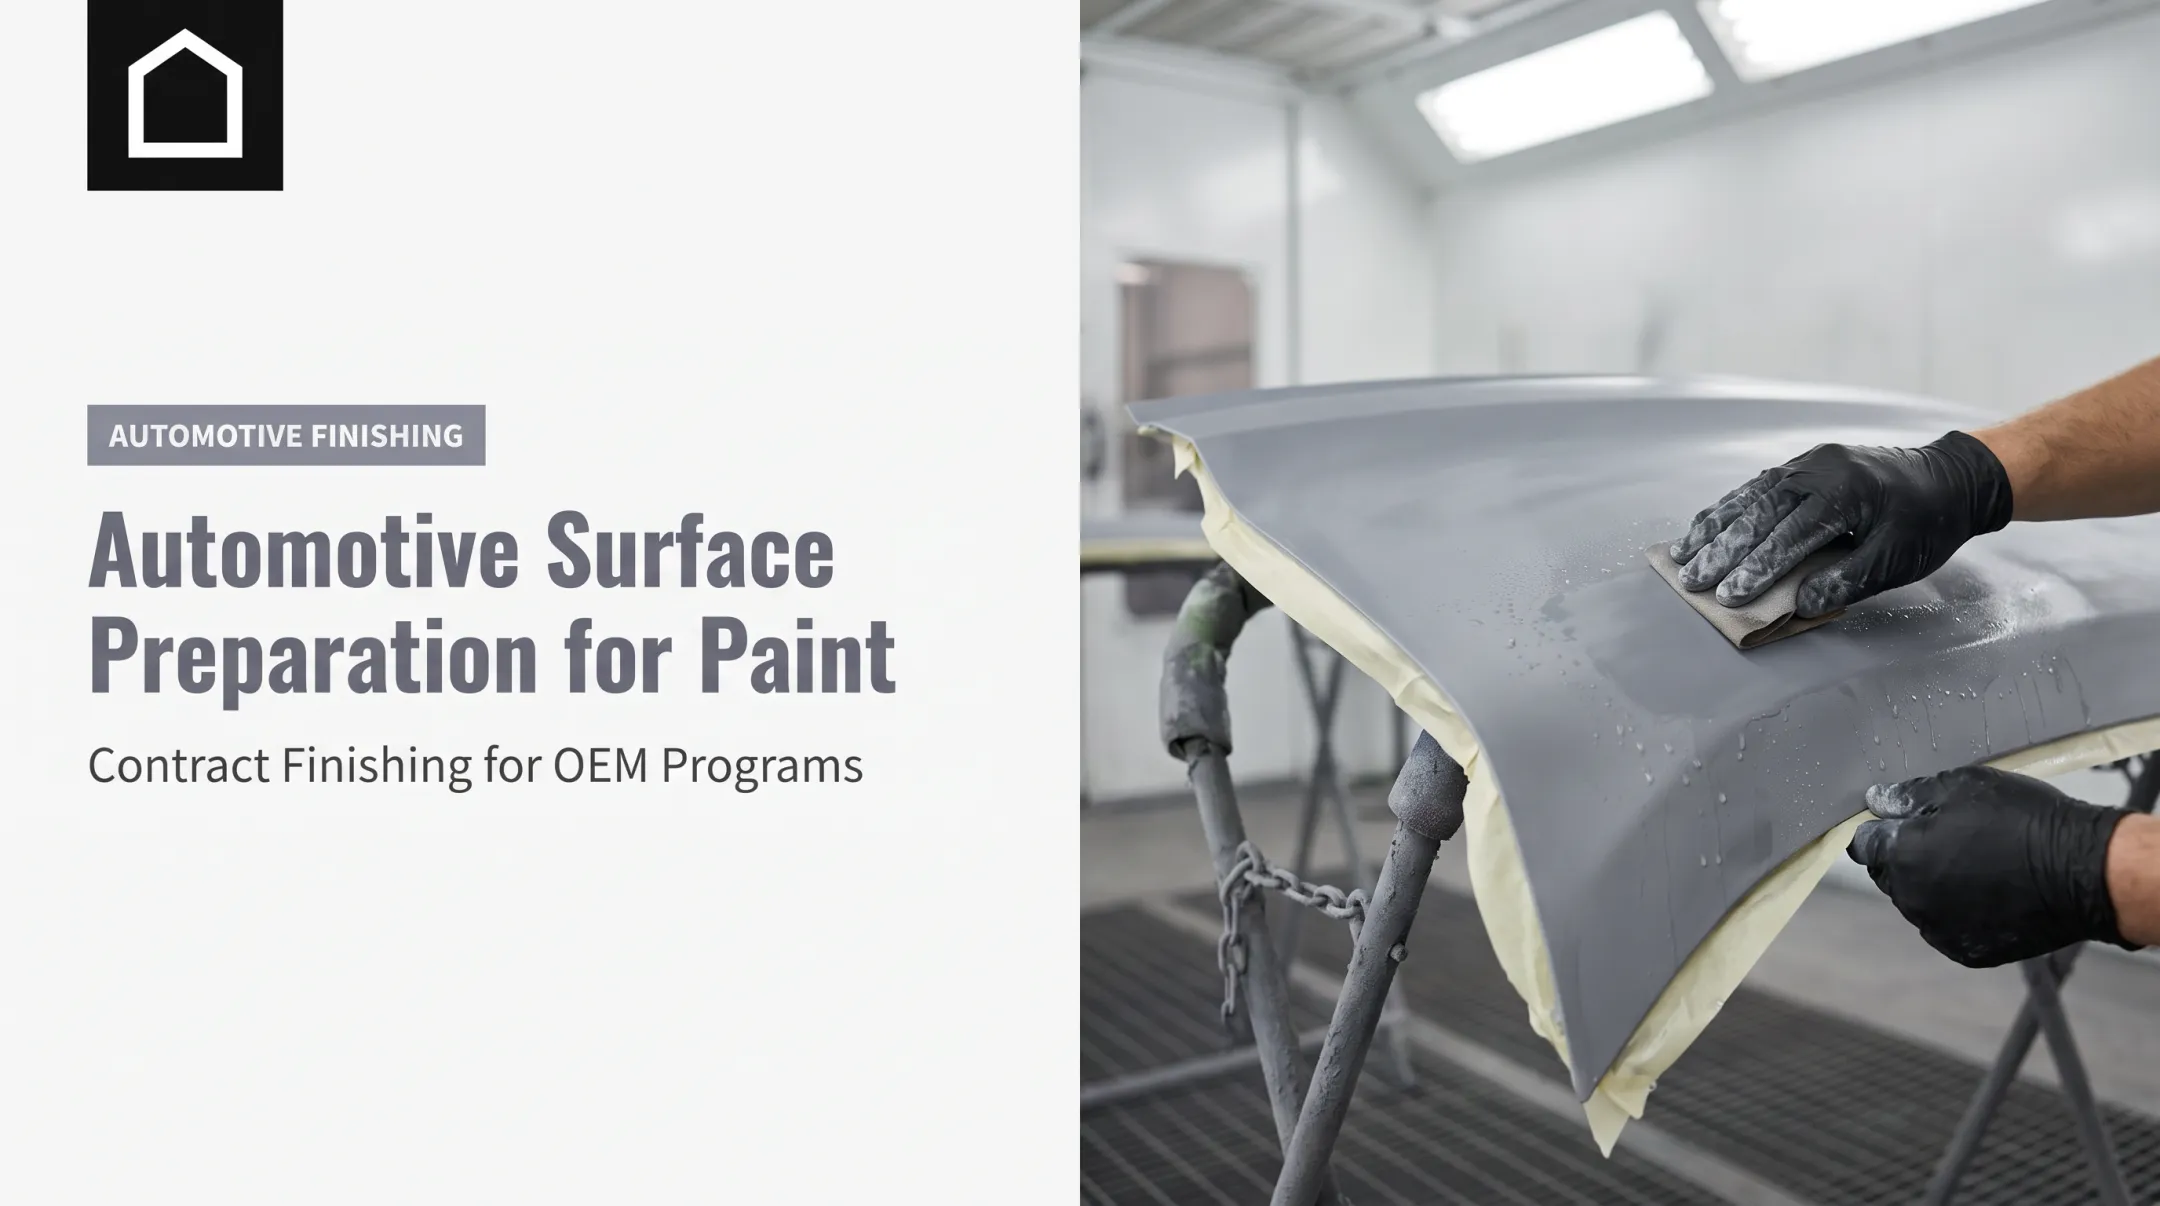
Light sanding, scuffing, power-tool abrasion, blasting, and chemical treatment all produce different results. The goal is controlled adhesion, not maximum roughness. Abrasive type, grit, pressure, angle, and dwell time all shape the outcome, and they interact differently depending on the part material. There's no single grit or blasting condition that works everywhere. That call belongs to the coating specification, not a shop rule of thumb.
Step 5: Remove Preparation Residue and Condition the Part
Sanding dust, spent abrasive, slurry, and cleaning residue all need to come off before the part goes anywhere near primer. Then it needs to dry completely and stay protected from recontamination. Moisture, humidity, or flash corrosion on bare metal can wreck adhesion and interfere with cure, which is why coating data sheets specify environmental limits. As one example, the PPG AMERCOAT 240 LT data sheet requires a surface temperature at least 5°F above the dew point and relative humidity no greater than 85% during application. Those limits are specific to that product, not a universal rule.
Step 6: Prime, Verify, and Release for Painting
Primer improves adhesion, seals porous substrates, prevents corrosion, or creates compatibility between substrate and topcoat. Before releasing a part to paint, check:
- Visual cleanliness: no residue, dust, or fingerprints
- Dryness: no trapped moisture in recesses or porosity
- Surface profile: verified where the spec requires it
- Test panels or coupons: confirming the full system works together
- Documented acceptance criteria: signed off, not assumed
Where It Is Applied and What Affects the Result
Preparation changes significantly depending on what the part is made of and how it was manufactured:
| Material/Process | Common Issues | Preparation Notes |
|---|---|---|
| 3D-printed polymers | Layer lines, support scars, porosity, uncured resin | Aggressive sanding or solvents can distort fine features |
| CNC-machined metals/plastics | Machining marks, burrs, coolant, cutting oils | Preserve tolerances and functional interfaces |
| Urethane castings/injection-molded parts | Mold-release residue, knit lines, sink marks, flash | Confirm plastic-coating compatibility before scaling up |
| Steel, aluminum, other metals | Oxidation, mill scale, weld/cut-edge conditions | May need rapid protection after prep to prevent flash rust |
For 3D-printed parts specifically, Formlabs' guidance on priming printed parts recommends removing support marks and sanding before applying primer in thin coats. Heavy primer can obscure the fine detail that made 3D printing worth using in the first place.
Prototype Workflow vs. Production Workflow
The two approaches diverge sharply:
- Prototype workflow: Test cleaner, abrasive, filler, and primer compatibility on a sample or coupon before the full part.
- Production workflow: SOPs, approved materials, process windows, fixtures, masking, inspection checkpoints, rework limits, and batch records—nothing left to one person's memory.
Finine's prototype work in 3D printing, CNC machining, and urethane casting supports that fast iteration before anyone commits to tooling.
Geometry, Finish, and Scale Change the Equation
Recesses, deep pockets, thin walls, and undercuts trap residue and coat unevenly if preparation doesn't account for them. Matte finishes hide more substrate variation than gloss or metallic finishes do. A high-gloss black panel will expose every sanding mark a satin finish would've hidden.
Manual preparation works fine for a handful of prototypes. Repeat production volumes usually justify dedicated fixtures, controlled blasting, or standardized sanding stations with in-process inspection built in.
Environmental controls (temperature, humidity, dust, and the time gap between preparation and topcoat) matter at every volume. They become non-negotiable once a customer specification or industry standard is attached to the job.

Common Issues and When a Method Is Not Appropriate
Most coating failures trace back to one of a few root causes:
- Poor adhesion (peeling/flaking): oil, release agent, dust, weak profile, wrong primer, or insufficient cure
- Surface defects (fisheyes, craters, pinholes): contamination, moisture, porosity, outgassing, or bad application sequence
- Lost detail or sand-through: over-abrasion, excess filler, or repeated rework
Three Misconceptions Worth Retiring
These assumptions still show up on shop floors:
- A part that looks clean is not always chemically clean; some contaminants need testing or a controlled wash to catch
- Harder blasting or rougher sanding does not guarantee better adhesion and can damage thin, soft, or dimensionally critical parts
- Primer is not a substitute for removing grease, mold release, loose material, or an unstable coating; it only hides the problem until failure
The so-called "70/30 rule" (prep accounts for 70% of a successful paint job) is not a documented ASTM, ISO, or AMPP standard. It is shop shorthand for "prep matters more than people think." Treat it as a mindset, not a spec, and verify requirements against the coating supplier's data.
When to stop and reassess:
- Avoid solvent cleaning, blasting, heat, or chemical treatment that could swell, soften, or distort the substrate
- Don't paint over an unstable old coating, uncured resin, wet surface, or unresolved porosity
- Bring in a qualified finishing provider when the part is safety-critical, medically relevant, or tied to a regulatory specification
Follow product labels and safety data sheets, control dust and fumes, and wear the right PPE for the process you are running.

Conclusion
Surface preparation converts a manufactured prototype or production part into something stable, clean, and ready for paint. The correct process depends on substrate, manufacturing method, geometry, finish, service environment, and required repeatability — never on one universal sanding step or a one-size-fits-all cleaning routine.
Prototypes benefit from early compatibility testing on samples before full-part commitment. Production parts need documented process control and inspection that doesn't rely on any one person's judgment. Either way, successful painting starts before the paint ever shows up:
- Assess the part
- Remove contamination
- Correct defects
- Create the right surface condition
- Verify readiness
- Keep it clean until topcoat goes on
Frequently Asked Questions
What are common methods of surface preparation for painting?
Common methods include degreasing, sanding or scuffing, abrasive blasting, chemical treatment, defect repair, drying, and priming. Match the mix to your substrate and coating system.
What does "surface preparation for painting" mean?
It means the inspection, cleaning, repair, profiling, drying, and verification steps that make a prototype or production part ready for reliable paint adhesion and finish quality. It's a sequence, not a single action.
What is the 70/30 rule in painting?
It's an informal rule of thumb suggesting preparation drives most of a paint job's success, not a mandatory ratio from any standards body. Follow your coating supplier's technical instructions and project specification instead.
How does surface preparation differ for prototypes and production parts?
Prototype preparation allows flexibility and rapid iteration using sample testing. Production preparation requires documented parameters, fixtures, inspection checkpoints, and defined rework limits so every part meets the same standard.
How should you prepare a 3D-printed part before painting?
Remove supports and surface defects, clean with a compatible method, apply controlled sanding or other profiling, remove all dust, dry fully, and select primer based on the print material. Test on a sample first since print processes vary.
Do all painted parts need primer?
No. Whether you need primer depends on substrate porosity, adhesion requirements, corrosion protection, color coverage, and coating compatibility. Check the paint system's technical data sheet rather than assuming primer is always or never required.