Introduction
A CAD rendering can make any enclosure look flawless. Paint has other ideas.
Many product teams don't catch problems until a painted sample lands on the bench: sink marks hiding under primer, parting lines that catch light, lids that bind once coating builds up inside a hinge.
A render can't show how gloss shifts under warehouse fluorescents versus daylight, or whether a connector cutout leaves enough clearance once the mask tape comes off.
This article walks through choosing the right prototype method, designing an enclosure that actually paints well, specifying customization details before the spray gun fires, and testing the finished sample like a real product. Finally, it covers turning what you learn into a production-ready package instead of starting the next build from scratch.
Key Takeaways
- Match the prototype method to enclosure geometry, material behavior, and finish goals.
- Lock paint, masking, texture, gloss, and acceptance criteria before the first coat.
- Test the painted assembly under real lighting, handling, and access—not only on a bench.
- Feed prototype findings into CAD and manufacturing docs before committing to tooling.
What Is a Painted Enclosure Prototype and Why Does It Matter?
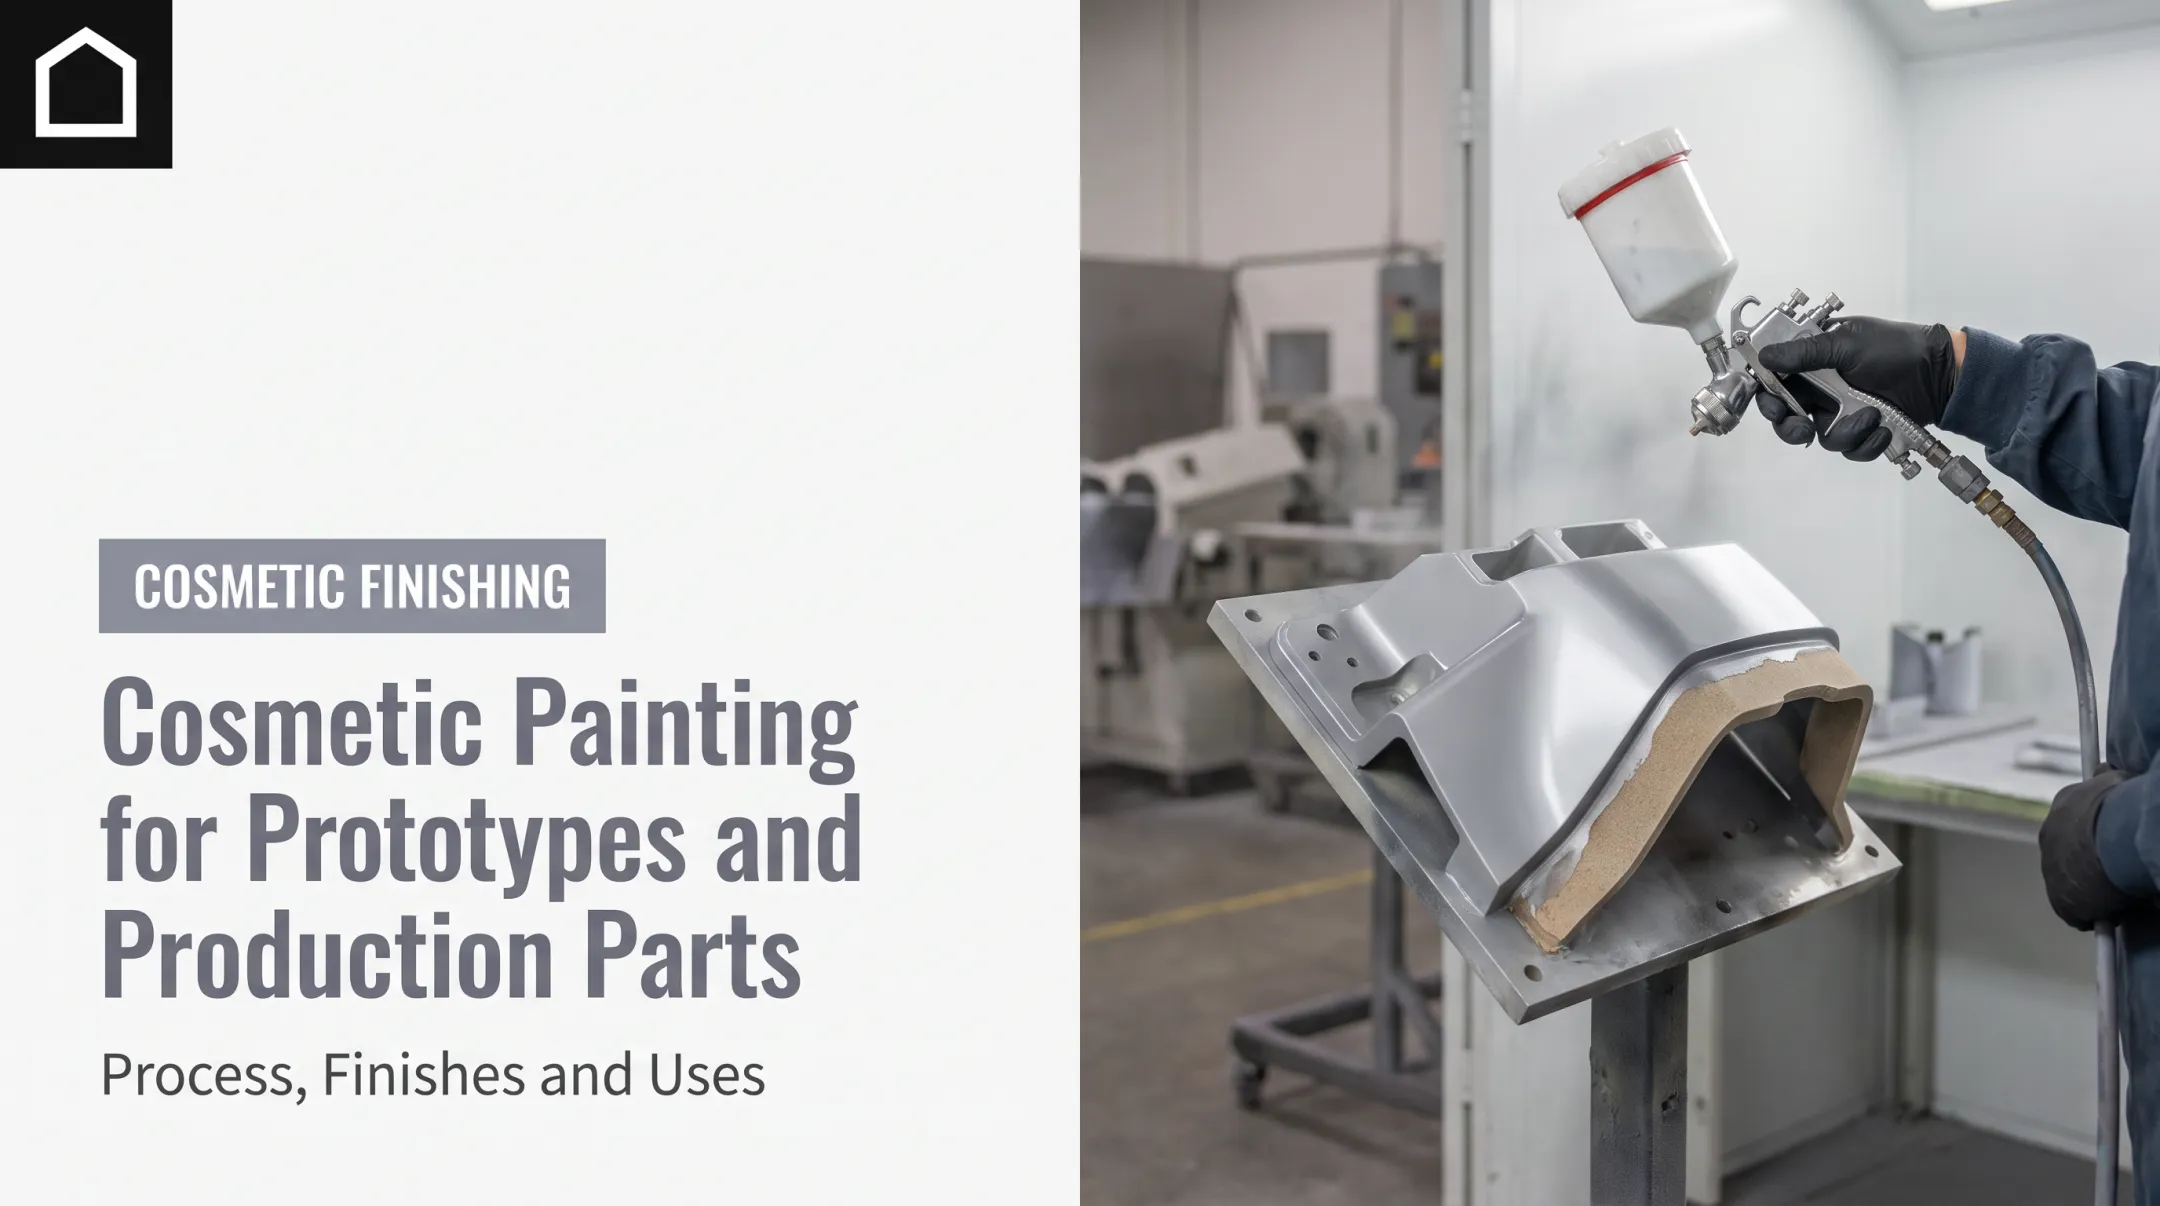
A painted enclosure prototype is a physical sample, built from the actual enclosure geometry, then prepped and coated to approximate how the finished product will look and feel in someone's hands. Unlike a CAD rendering or a bare 3D print left in raw plastic, it is the closest stand-in for the real product before you commit to tooling.
Visual, Functional, and Production-Intent Prototypes Aren't the Same Thing
Prototyping guidance commonly separates builds into distinct categories:
- Visual prototypes check size, shape, color, and texture—for example, an outdoor electrical enclosure built only to confirm how it reads on a shelf
- Functional prototypes answer a different question: does it work?
- Presentation prototypes, used later in development, combine appearance and function, usually with production-grade materials and processes
According to Essentra Components' prototyping guide, those distinctions decide what you can learn from each build.
Knowing which one you're building matters. A painted appearance model proves color and fit. It doesn't prove the hinge survives 10,000 open-close cycles.
What Paint Actually Reveals
Paint is unforgiving. Sand a surface sloppily and primer highlights every swirl. Mask a seam carelessly and you get a hard line where a soft transition belongs. Things that hide in raw material suddenly show up:
- Sink marks and surface imperfections invisible on an unpainted sample
- Parting lines and layer lines that catch light at certain angles
- Masking errors around threads, connectors, and mating surfaces
- Coating buildup that changes how lids, doors, or bezels fit
- True color and gloss, which rarely match a screen exactly
A painted prototype should inform decisions on enclosure proportions, button and connector placement, lid gaps, service access, branding, and how a hand actually grips the part. None of that happens with CAD alone.
One caution: a good-looking painted sample isn't proof of production performance. Color and fit are visual and dimensional findings. Durability, thermal response, electrical behavior, and environmental resistance still need their own testing. Keep those checks as a separate line item in your validation plan.
How to Choose the Right Prototype Method
The right process depends on what you're trying to prove: appearance, fit, mechanical function, material behavior, assembly, or stakeholder buy-in. Each method has real strengths and real limits.
| Method | Best for | Watch out for |
|---|---|---|
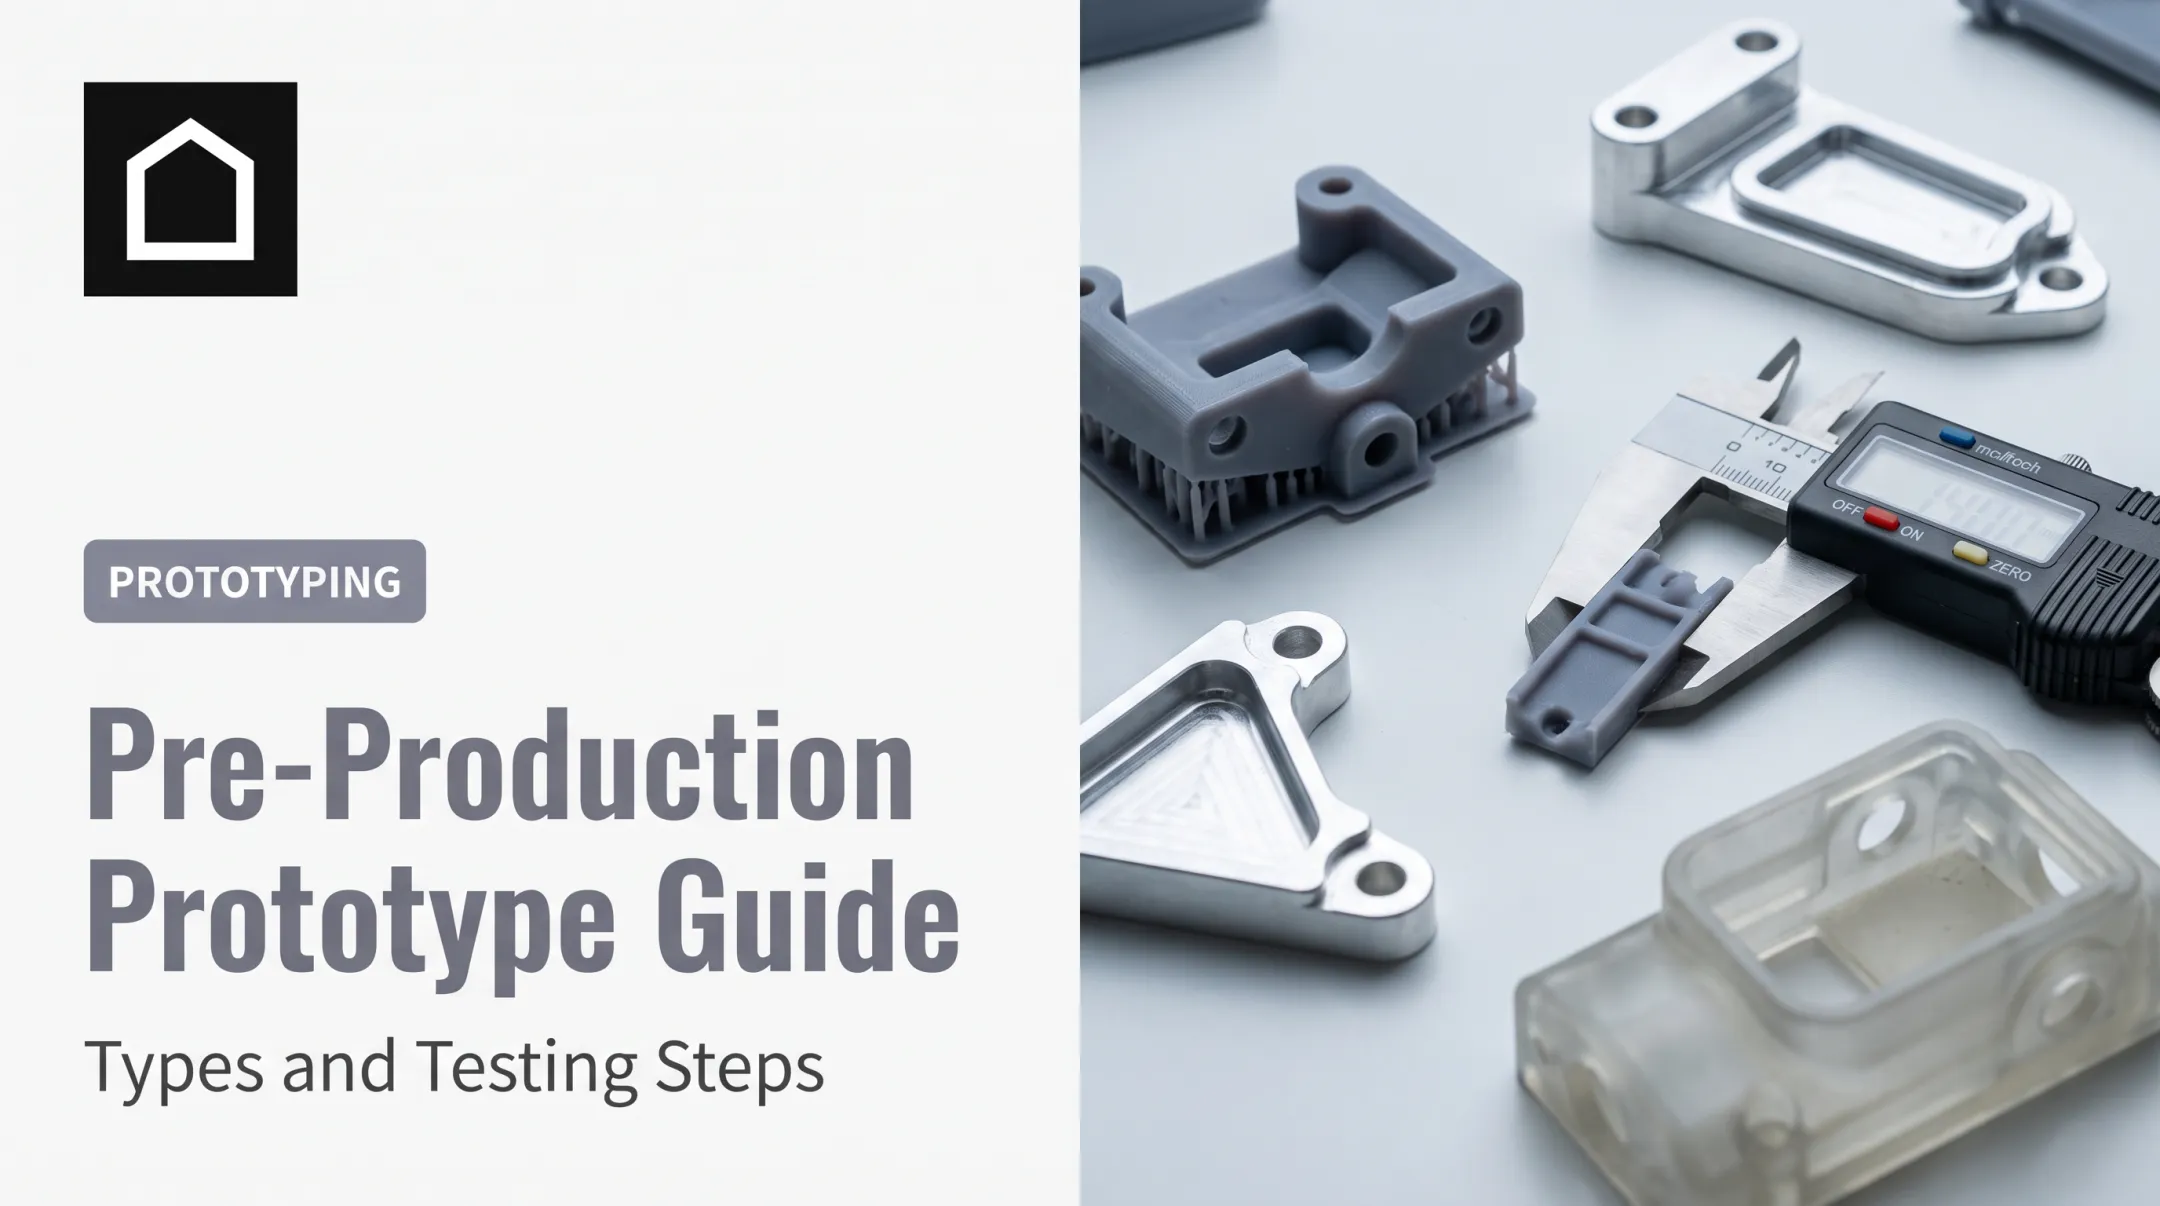
| 3D printing | Early form studies, complex geometry, fast design revisions, low-quantity appearance models | Printed materials often don't behave like production plastic or metal under load or heat |
| CNC machining | Tight dimensional control, threaded features, functional testing, production-like substrates | Higher cost per iteration; less efficient for highly organic shapes |
| Urethane casting | Multiple painted samples with consistent appearance and material feel | A master pattern adds lead time versus a single printed part |
When Each Method Makes Sense
3D printing earns its keep early. Geometry changes daily, you need several iterations in a couple of weeks, and you're still arguing about proportions.
Printed parts can be sanded, primed, and painted to check color and texture. SLA models for a medical device housing, for example, are often finished to spec, assembled, and decaled before tooling decisions.
CNC machining makes more sense once geometry stabilizes and you need a prototype that behaves like the production part. That usually means aluminum stiffness, threaded inserts, or a substrate that takes paint the way the final material will.
Urethane casting fills the gap between one-off prints and full tooling. It's useful when you need several painted samples that look and feel consistent, for a stakeholder review, a trade show, or a limited pilot run, without paying for steel tooling yet.
A Simple Decision Framework
Ask what this specific prototype needs to prove:
- Appearance only? A printed or cast sample, finished and painted, usually answers it.
- Fit against an existing enclosure or assembly? Printed check pieces confirm mating dimensions before cutting production material.
- Mechanical or material behavior? Move to CNC machining in the actual substrate.
- Multiple consistent painted units for review or pilot use? Urethane casting bridges that gap.

Finine Design and Manufacturing runs CAD modeling, 3D printing, CNC machining, urethane casting, and production painting under one roof in San Diego. That setup helps when a project needs to move between these methods without re-briefing a new vendor at each step.
Designing the Enclosure for Paint, Fit, and Function
Paint is the last step. Design decisions made months earlier determine whether that final coat goes on smoothly or exposes every shortcut.
Start Inside, Not Outside
Before locking the exterior shell, map what has to live inside it: electronics, fasteners, cables, batteries, connectors, displays, controls, ventilation paths, service zones, and tool access. An enclosure designed around the outside first tends to fight its own internals later, forcing last-minute cutouts that compromise structure and finish alike.
Mating Features Need Room for Coating
Lids, bezels, doors, snap fits, hinges, and mounting points all need clearance that accounts for paint thickness, not just bare material. A gap that closes perfectly on an unpainted sample can bind once primer and topcoat add thickness to both mating surfaces. Specify which dimensions get measured before finishing and which get re-checked after.
Those clearance calls only hold if the fab sequence supports them. For sheet metal, resolve draft, hole positions, bend allowance, and fastener fits in CAD against the mating assembly first.
Blanks are laser-cut to profile, then CNC-machined for pockets, counterbores, threaded holes, and edge detail. A 3D-printed check piece can confirm fit against an existing enclosure before any aluminum is cut—cheap insurance against a permanent error.
Surfaces, Edges, and Openings
Design surfaces and edges with the finishing process in mind:
- Keep transitions consistent so sanding and filler work don't create visible high and low spots
- Deburr and radius edges so paint doesn't thin out and expose a sharp line
- Place cutouts and vents early, before they collide with structural ribs, bend zones, internal components, or masking boundaries
- Flag any face that needs hand-sanding or filler so the finishing team isn't guessing
Material Changes the Painted Result
Substrate choice shapes how paint lays down and holds:
- Aluminum — strong strength-to-weight ratio and machinability; thin sections stay flat, rigid, and light, which is why it shows up so often in enclosure panels
- Steel / stainless — different stiffness and corrosion behavior than aluminum
- Plastics — adhesion and texture needs that differ from metal
None of these take paint the same way. Match the coating system to the actual material, alloy, or resin grade—not a generic "metal" or "plastic" label.
Don't invent a coating-buildup tolerance. Confirm fit allowances and film thickness with the finisher before dimensions lock.
Customization Options for Painted Enclosures
Color, gloss, texture, and sheen aren't just cosmetic choices. They shape brand perception, how a product feels in hand, how visible fingerprints are, and how much minor surface variation gets hidden or exposed.
Approve Color on a Physical Sample, Not a Screen
Monitors lie, not on purpose, but consistently. PPG's own color guidance notes that digitally displayed colors can differ from how paint actually looks applied to a surface. Specify a recognized color reference or request an approved physical sample before anyone sprays a production run. A rendered image guides the conversation, but a physical sample earns the sign-off.
Finine Design and Manufacturing's production painting work includes color matching, which means agreeing on a physical standard per project rather than eyeballing a swatch book under office lighting.
Masking Is Where Details Get Lost
Masking needs explicit specification before quoting, since assumptions here lead to costly rework. Areas that commonly need protection include:
- Threads and grounding points
- Mating surfaces and connector interfaces
- Labels, windows, and seals
- Any face that must stay bare metal or plastic
Masking requirements directly affect quote complexity and turnaround, so nail them down early rather than discovering a missed area after the first coated batch.
Graphics and Identification
Beyond color, enclosures usually need some combination of branding, labeling, or instructional graphics. Common options include silk screening, pad printing, rub-on graphics, decals, and applied labels, each suited to different surface geometries and durability needs.
Document What "Good" Looks Like
Before production starts, write down cosmetic acceptance criteria in plain terms:
- Allowable scratches or blemishes
- Acceptable color variation between batches
- Orange peel texture limits
- Edge coverage and overspray tolerance
- Visible transition lines at masked boundaries
Without this written down, "good enough" becomes a debate every single batch.
Validating the Painted Prototype Before Production
A painted prototype only pays off when you validate it like a finished product—fit, function, finish, and sign-off—before you release tooling or a production run.
Build a Review Sequence
Run through the same stages every time:
- Dimensional inspection: Check key measurements against the drawing
- Dry assembly: Confirm fit before any finish goes on
- Painted assembly: Rebuild after coating and recheck fit
- Functional operation: Open, close, latch, connect, and power on
- Visual inspection: Compare against documented cosmetic criteria
- Stakeholder approval: Capture a written sign-off, not a verbal OK

Test Fit After Painting, Not Just Before
Moving parts—doors, lids, controls, connectors, hinges, latches, and service panels—must still operate correctly once coating is on. Buildup in a hinge pin or snap fit is common. Catching it on the prototype is cheap; catching it in production is not.
Check It Under Real Conditions
Gloss, texture, color, gaps, and surface defects look different under studio lighting than they do in a factory, a showroom, or outdoors. Review the painted prototype in more than one lighting environment before calling color and finish approved.
Where the enclosure must resist dust or moisture, match testing to the real requirement. IEC's ingress protection system uses separate ratings for solid-object and liquid protection; IEC's IP ratings guidance points to the full standard for test conditions.
Pick tests from the failure mode the enclosure must resist, not a generic checklist.
Keep a Revision Log
Link every issue to a photo, a measurement, the CAD change it triggered, the paint specification affected, an owner, and a clear decision: proceed, revise, or build another prototype. That record hands cleanly to production instead of living as a one-time conversation.
Common Mistakes to Avoid
- Approving color from a screen—require a physical swatch or painted sample under real light
- Painting before geometry is settled; fix fit, access, and assembly first
- Treating prototype paint as production paint—document substrate, primer, coating, cure, texture, and gloss for each
- Skipping hidden areas: interiors, undersides, threads, grounding points, and gasket-contact surfaces
Moving From a Painted Prototype to Production
Prototype approval isn't production approval. Treat it as the input to a production-ready package, not the finish line.
Build the Production Package
Pull everything learned from the painted prototype into one set of documents:
- Updated CAD and drawings
- Material and thickness specifications
- Finish requirements and masking details
- Graphics files
- Tolerances and hardware callouts
- Assembly instructions and inspection criteria
Review for Manufacturing Before You Commit
Before releasing to production, confirm the design can run at volume:
- Tooling access, bends, and draft
- Part count and joining method
- Paint rack or fixture access
- Curing constraints
- Cosmetic surfaces that will actually repeat
A design-for-manufacturing review should start with volume, process, material, and supplier capability, then lock functional tolerances and finish requirements into the drawing package—not someone's memory.

Know What Must Repeat Exactly
Not every prototype characteristic needs to carry forward unchanged. Some were only there to answer a visual or fit question. Decide which properties must reproduce exactly in production, and flag which were only for learning:
- Color match
- Coating thickness
- Assembly clearance
A single partner handling CAD, prototyping, machining, molding, and production painting reduces how often a design gets re-interpreted between vendors.
Finine Design and Manufacturing works this way for clients in automotive, military, consumer electronics, and medical device programs—carrying work from early CAD and prototype builds through production painting without handing the design to a separate shop at each stage. That doesn't replace validation testing or promise a set lead time, but it leaves fewer places for design intent to get lost.
Frequently Asked Questions
What is a painted enclosure prototype?
It's a physical sample built to the enclosure's actual geometry, then sanded, primed, and coated to the intended finish. It lets a team evaluate appearance, fit, handling, and key functional requirements together, rather than guessing from a CAD render.
Why paint an enclosure prototype before production?
Painting exposes cosmetic and fit problems that raw material hides, like masking errors, coating buildup in hinges, or color that doesn't match the intended standard. Catching these before tooling or a production run is far cheaper than catching them after.
Which prototyping method is best for a painted enclosure?
It depends on what you need to prove. 3D printing suits early appearance checks, CNC machining suits functional and dimensional accuracy, and urethane casting suits multiple consistent painted samples ahead of full tooling.
Can 3D-printed enclosure prototypes be painted?
Yes, with preparation. Surfaces typically need sanding to manage layer lines, followed by primer and a compatible paint system. Printed materials don't always match the strength or thermal behavior of the final production substrate.
What should be included in a painted prototype specification?
List the substrate, color reference, primer, paint type, gloss or texture, masking areas, graphics, coating coverage, dimensional tolerances, and written cosmetic acceptance criteria. Leaving any of these undefined invites inconsistent results.
How do you ensure a painted prototype matches the production enclosure?
Use production-representative material and process where possible, document finish requirements in writing, retest fit after coating, and approve color on a physical sample. Finish with a design-for-manufacturing review before release.