This guide covers five decisions: defining the model's purpose, choosing fidelity and materials, building the model, presenting it effectively, and understanding where a presentation model stops and a functional prototype needs to start.
Key Takeaways
- A presentation model communicates form, appearance, scale, and intended experience — not engineering performance.
- Match fidelity to your goal: concept review, investor pitch, customer feedback, and internal alignment need different detail levels.
- CAD modeling, 3D printing, CNC machining, urethane casting, painting, and assembly combine to create presentation-ready finishes.
- Label simulated features clearly; validate safety, fit, durability, and regulatory claims through separate engineering testing.
What Is a Presentation Model Prototype?
A presentation model prototype is a physical representation of a product built to communicate design intent: how it looks, how large it is, and how a user might interact with it.
Design research describes these as detailed physical models that support final design decisions. Internal elements can be simplified or omitted when that does not weaken the message being tested (Design Society research).
Presentation Models vs. Other Prototype Types
These terms get mixed up constantly, and the confusion causes real problems when a stakeholder assumes a display piece has passed engineering review.
| Model Type | Primary Purpose |
|---|---|
| Presentation/appearance model | Shows cosmetic design for review or display |
| Concept model | Demonstrates an idea to prompt discussion, without finished cosmetics |
| Digital mockup | Computer-based 3D representation; never a physical object |
| Functional prototype | Tests whether the product actually works |
| Engineering prototype | Confirms engineering requirements are met before production |
| Production sample | Parts pulled from an actual production run for inspection |
Vendor terminology adds another wrinkle. Some manufacturers use "presentation prototype" for a model that is both cosmetic and functional, built with production-grade processes. That is broader than the appearance-focused model this guide covers, so confirm the scope with any vendor before a quote goes out.
Who Uses These Models
Common audiences include:
- Investors deciding whether to fund the next round
- Customers giving early feedback before tooling commitments
- Executives approving a design direction
- Manufacturing partners assessing feasibility
- Cross-functional product teams aligning on direction
Each audience evaluates proportions, ergonomics, and visual hierarchy faster from a physical object than from a drawing or CAD file. That speed is useful in review meetings, but it does not expand what the model can prove. A presentation model can communicate appearance and suggested interaction. It cannot verify:
- Strength or thermal performance
- Manufacturability
- Reliability
- Regulatory compliance
- Production tolerances
Example: A dental device manufacturer might build a presentation model showing housing shape, button placement, and color scheme for a practice-management demo. The housing and buttons are visual demonstrations. Any claim about sterilization resistance, material biocompatibility, or clinical performance requires separate engineering and regulatory validation — the model proves none of it.

When Should You Use a Presentation Model Prototype?
Presentation models earn their keep at specific moments:
- Early concept approval, before committing engineering resources
- Formal design reviews with cross-functional teams
- Investor or client demonstrations
- Trade shows and sales meetings
- Training and educational contexts
- Stakeholder alignment sessions
Physical Models vs. Renderings and VR
The research is more nuanced than "physical always wins." In a study of medical-product stakeholders, tangible representations, such as a cardboard mockup or 3D-printed object, generated more responses rated useful by expert reviewers than paper sketches or on-screen CAD rotations (PMC research on prototype feedback).
The study included 45 healthcare participants: nurses, midwives, medical students, and doctors. An earlier analysis from the same program found a counterexample: for one specific question, a CAD representation generated more justified design input than either physical version tested. The question being asked mattered as much as the model shown.
The practical takeaway: physical models change what stakeholders notice and say, particularly when:
- Scale matters and can't be judged from a screen
- Surface finish or material feel is part of the decision
- Physical context (how it sits on a desk, in a hand, in a space) needs evaluating
When a Presentation Model Isn't Enough
Some decisions require more than appearance. Skip straight to a functional or production-intent prototype for:
- Load-bearing components
- Safety-critical parts
- Medical performance claims
- Environmental or repeated-use testing
- Regulatory submissions
This distinction matters most in regulated industries. The FDA assesses medical-device status by intended use, and its quality-system regulation applies to manufacturers of finished devices intended for commercial distribution (FDA device classification guidance).
A cosmetic demonstration model doesn't establish clinical validation, no matter how convincing it looks on a conference table.
Choosing the Right Fidelity, Materials, and Finish
Not every presentation model needs the same level of detail. Matching fidelity to purpose saves budget and time.
Choose the tier that matches the decision you need:
- Low-fidelity: Rough proportions, basic color blocking, no moving parts for early concept talks
- Mid-fidelity: Accurate dimensions, representative color, and simplified texture for internal design reviews
- High-fidelity: Production-like materials, finished surfaces, working interfaces, and photo-ready detail for pitches or trade shows
Fabrication Routes Compared
| Process | Best For | Appearance Notes |
|---|---|---|
| 3D printing (SLA/SLS/FDM) | Fast form studies, complex geometry | SLA gives smooth surfaces and fine detail; FDM shows visible layer lines; SLS can look grainy unless smoothed (Formlabs process comparison) |
| CNC machining | Precision, durable surfaces | Tool-mark or bead-blasted finishes available; anodizing and powder coating as secondary options |
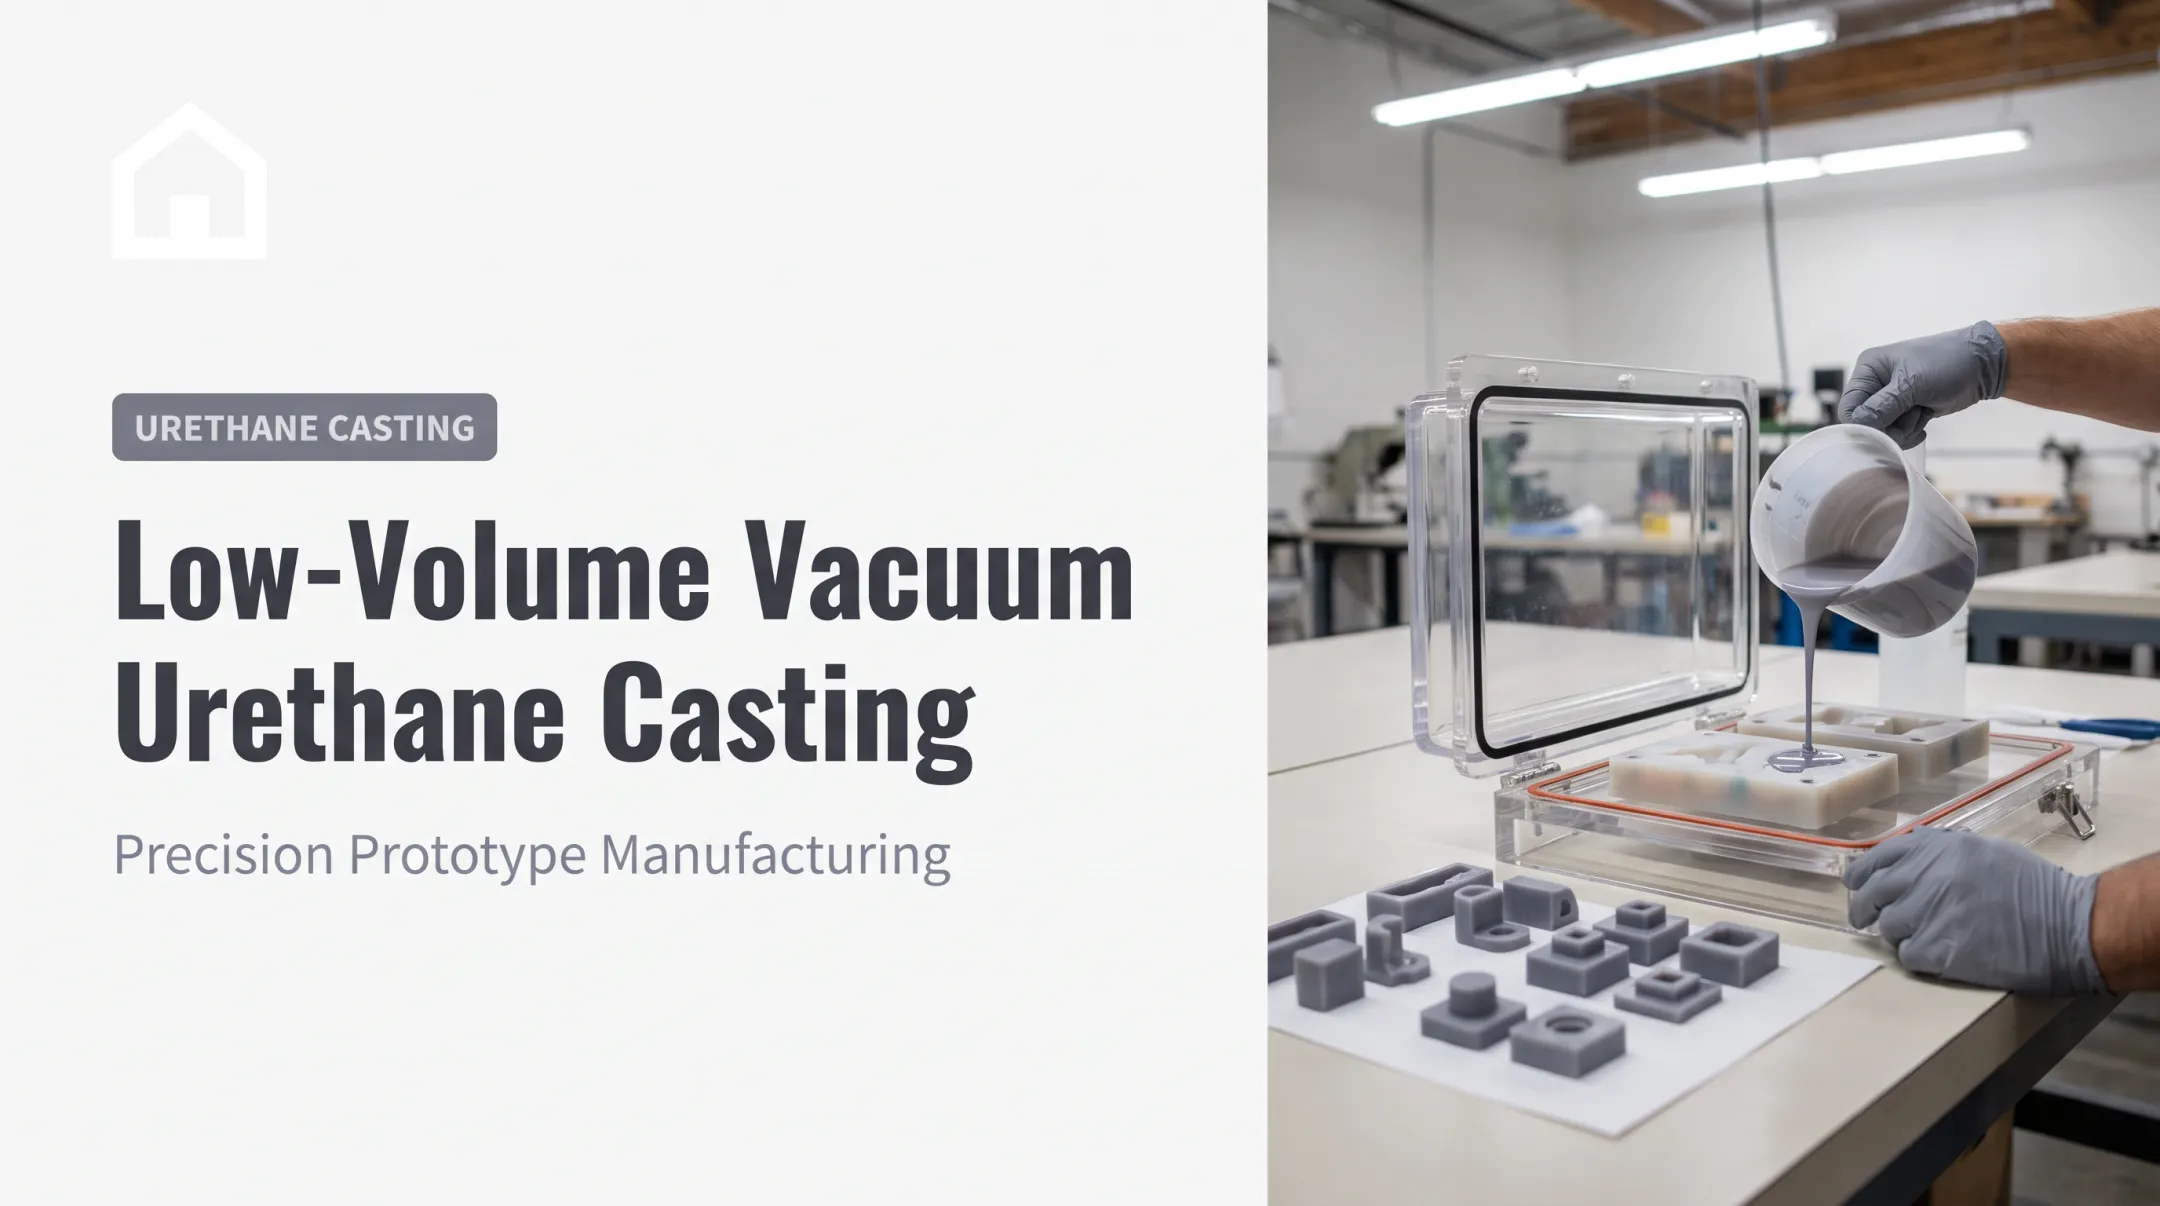
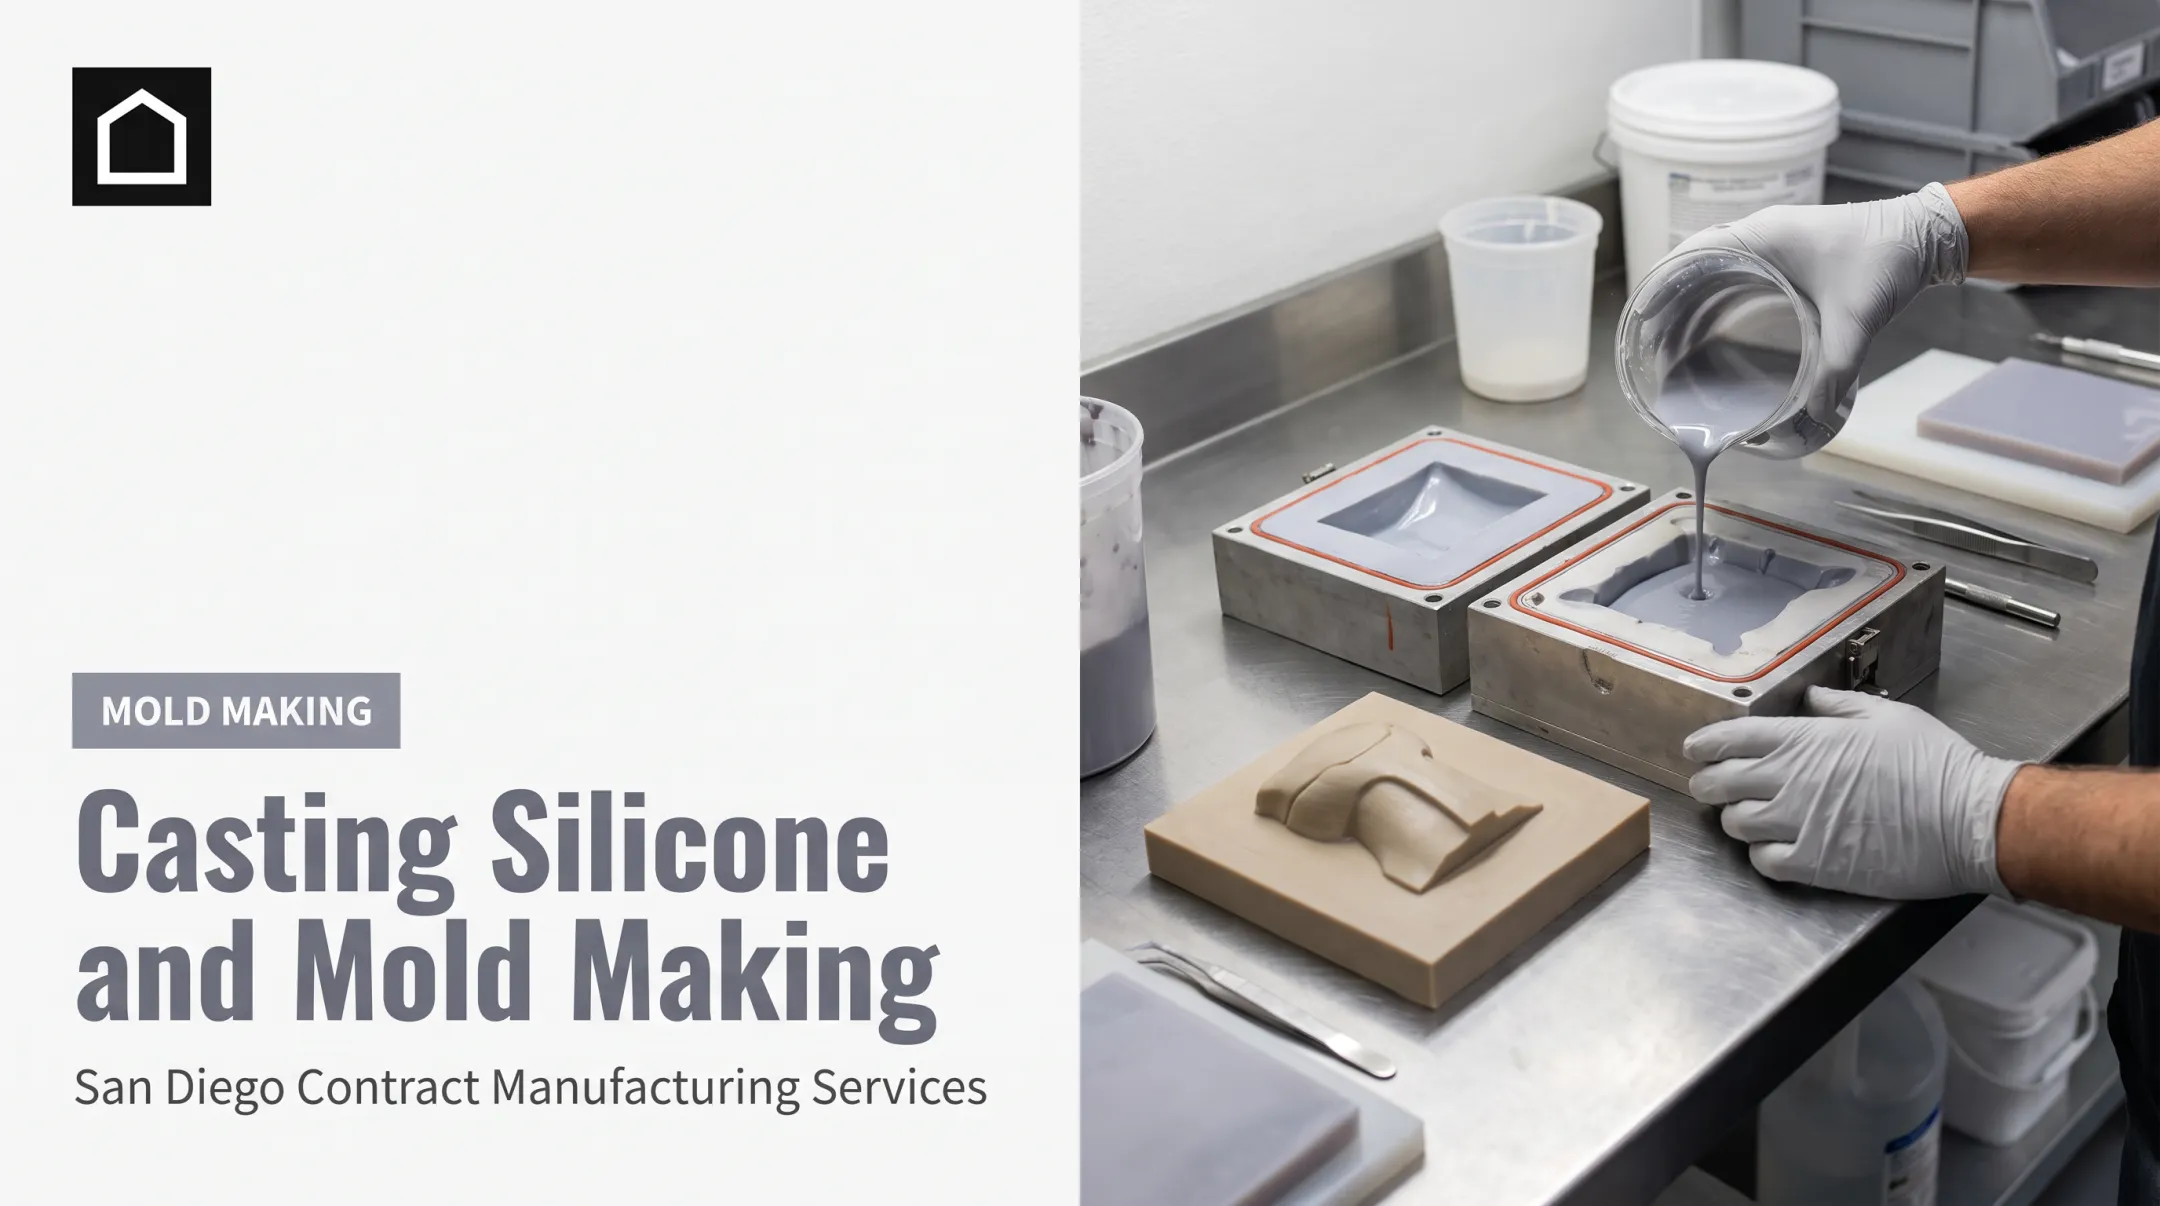
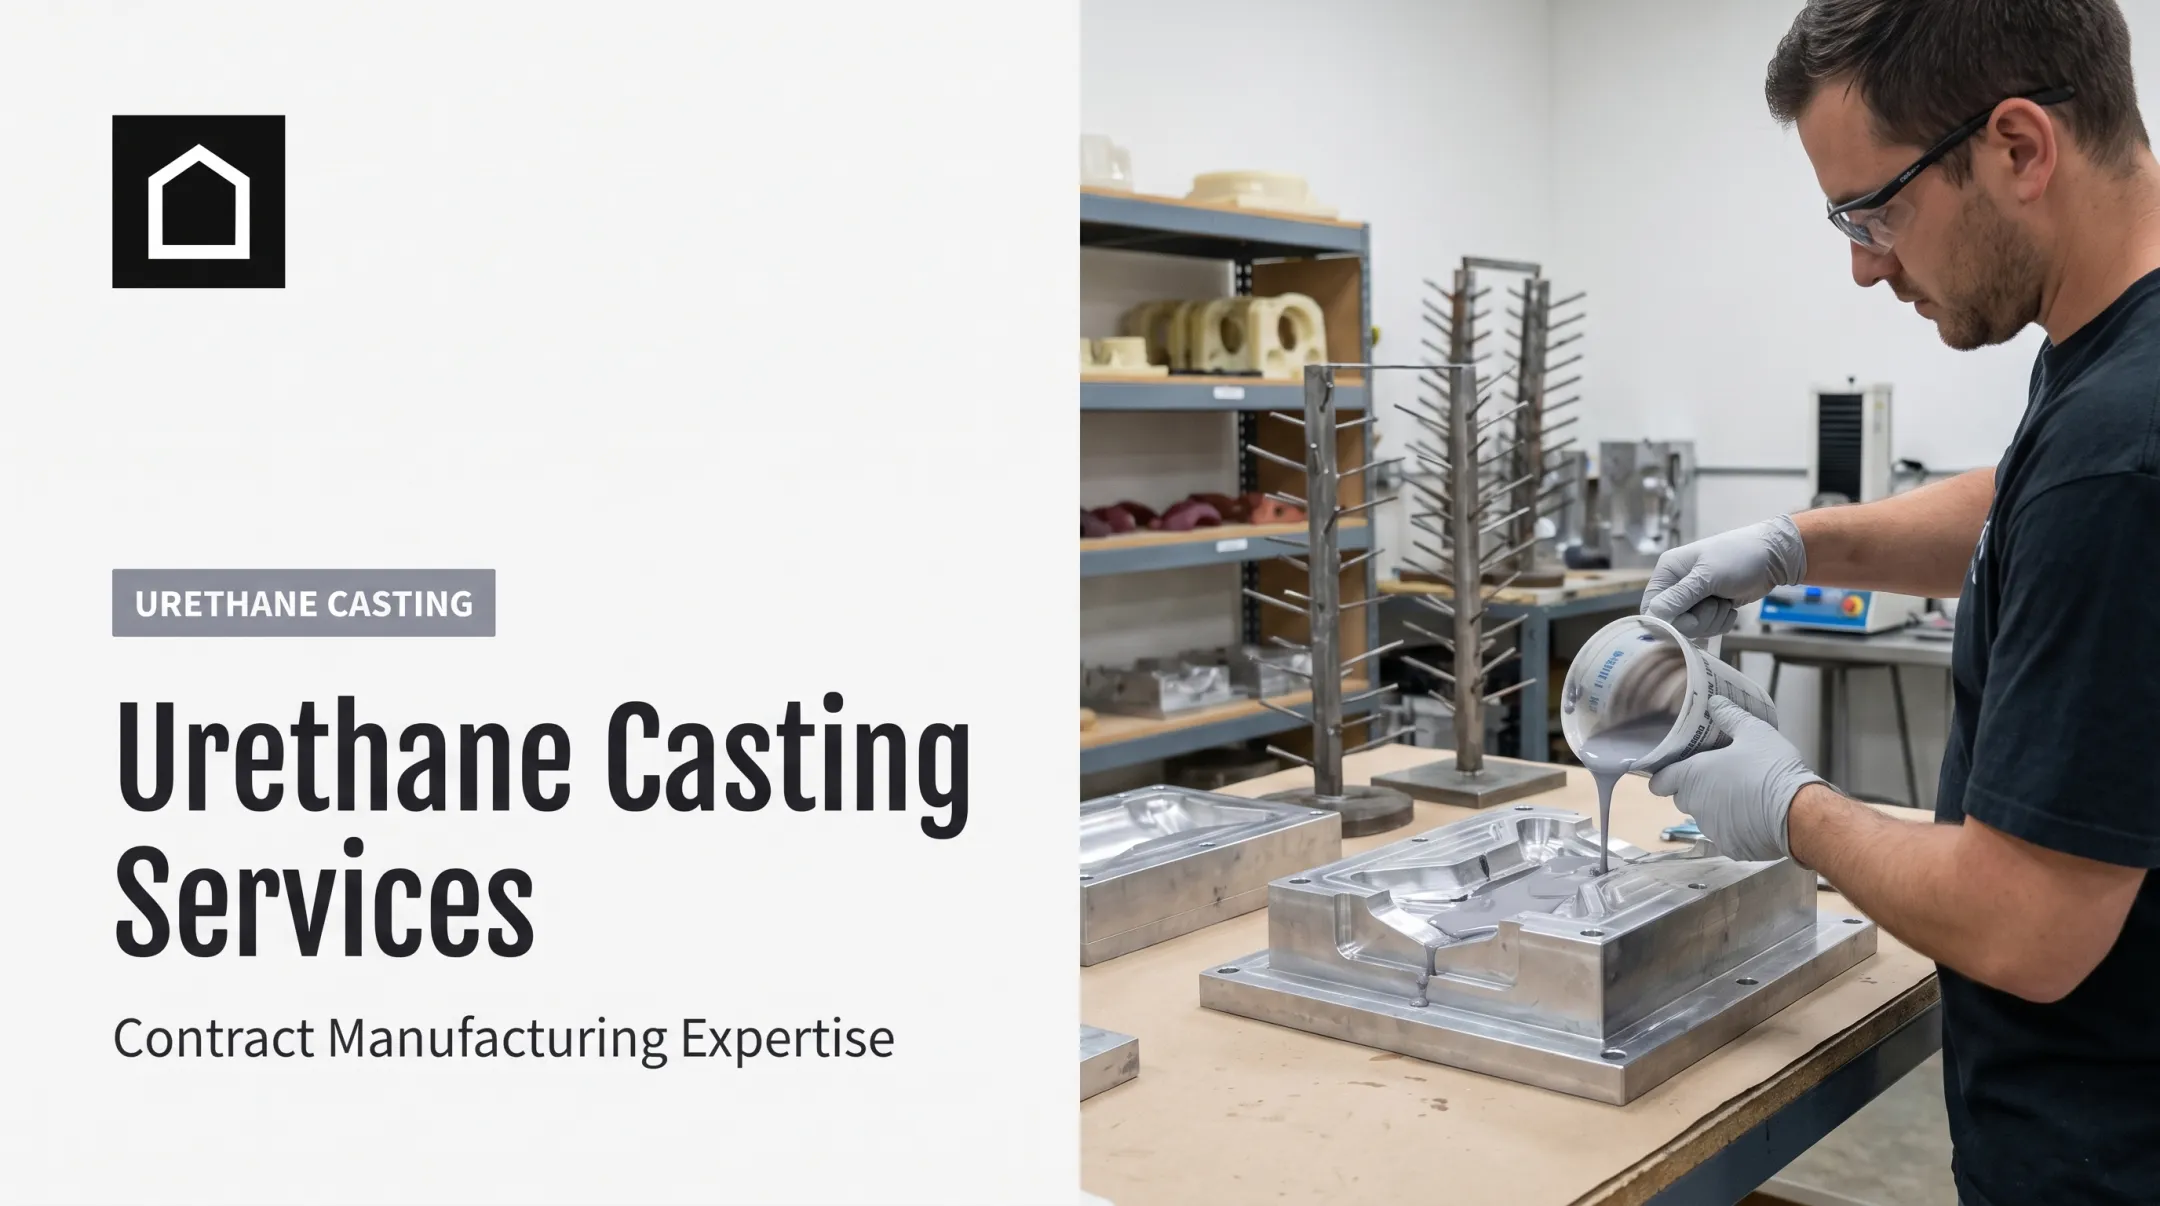
| Urethane casting | Repeatable detailed models | Hand-finished master sets final gloss: satin, semi-gloss, or polished |
| Injection molding | Production-representative tooling or material behavior | Mold-applied textures (matte, glossy, Mold-Tech) baked into the tool itself |
Material selection depends on appearance goals, handling frequency, scale, geometry, flexibility, and budget. Back performance claims with current manufacturer specifications, not assumptions.
Finishing Touches That Sell the Concept
Painting, sanding, texture application, decals, labels, and simulated interfaces turn a rough part into something presentation-ready. None of this implies every visible feature is production-functional . A button that looks real might not actually click.
Before fabrication starts, document:
- Selected process and why it fits the goal
- Material assumptions and expected tolerances
- Surface finish target
- Simulated components that won't function as shown
This is where a single manufacturing partner earns its value. Cross-process handoffs are often what stretch a timeline.
Finine Design and Manufacturing, based in San Diego, runs CAD modeling, 3D printing, CNC machining, urethane casting, injection molding, and production painting in-house. That coordination matters for automotive display models, military demonstration units, consumer electronics mockups, and dental or orthopedic education products.
How to Develop a Presentation Model Prototype
Building a presentation model follows a clear sequence. Skip a step and budget overruns usually follow.
Define the Objective First
Before any CAD work, nail down:
- What decision should this model support?
- What questions will viewers ask?
- Will it be handled, demonstrated, transported, or just displayed?
Translate Concept Into Model Requirements
Capture the requirements reviewers will actually see and judge:
- Overall dimensions, scale, and visible surfaces
- Interfaces, moving parts, and internal features you can simplify or omit
- Color, texture, and finish expectations
- Safety or accessibility details the audience will notice
Prepare the Digital Design
Clean CAD geometry matters more than most teams expect. Before release to fabrication, check:
- Wall thicknesses and assembly interfaces
- Component separation for the chosen process
- Draft angles, radii, undercuts, and parting lines
Fixing these in CAD avoids costly rework once physical parts are underway.
Select Your Fabrication Route
Choose the route from fidelity needs, quantity, geometry, timeline, and any limited demo functions the model must perform. A urethane-cast model, for example, can use production-like materials to bridge a printed concept and full injection-molded production without production tooling cost. Many teams mix 3D printing, CNC machining, and casting in one build to hit finish and schedule targets.
Build, Finish, and Assemble in Stages
- Fabricate the base parts with the selected process
- Inspect dimensional accuracy and alignment before finishing
- Apply paint, graphics, texture, and fasteners
- Add transparent parts and other presentation details last
- Complete final light assembly
Test With Real Reviewers
Show the model to the intended audience or internal reviewers. Capture feedback on:
- Form, scale, and ergonomics
- Visual clarity and finish quality
- Whether the model supports the decision it was built for
Revise the physical model when form or function feedback is material. Update only the presentation materials when the story or context needs work, not the part itself.

How to Present and Evaluate the Model
A model handed over without context invites the wrong conversation. Structure matters.
Build a Guided Demonstration
Start with the user problem or design opportunity, then introduce the proposed product. Use the model to show the most important form, interaction, or experience — not as an unguided object for free inspection.
Walk reviewers through the demo in order:
- Frame the problem or opportunity
- Introduce the proposed product concept
- Demonstrate the critical form, interaction, or experience
- Call out any simulated or nonfunctional features up front
Pair the physical object with supporting evidence:
- Annotated diagrams
- A short CAD animation
- Exploded views
- Material notes
- Clearly labeled functional test results (where applicable)
Run Through a Presentation Checklist
Before the meeting, confirm:
- Lighting and viewing angles are set
- Scale references are visible
- Surfaces are clean and components are secure
- Moving parts (if any) are ready to demonstrate
- Protective packaging is ready for transport
- Explanations are ready for any nonfunctional or simulated features
Gather Structured Feedback
Ask reviewers to comment separately on:
- Visual appeal
- Usability and ergonomics
- Perceived value
- Manufacturability concerns
- Unanswered technical questions
In the medical-stakeholder research cited earlier, question design changed outcomes dramatically. One prompt produced answers rated useful 89% of the time; another reached only 54%. Structure questions deliberately instead of relying on open-ended "thoughts?" prompts.

Document and Move Forward
Capture revisions and decisions after the presentation so the model feeds into the next CAD, engineering, or manufacturing phase. Log owners, due dates, and open risks so the model drives the next build rather than sitting as a display piece.
Common Mistakes and Practical Tips
Building before defining. Teams often jump straight to fabrication without nailing down audience, decision purpose, required fidelity, or acceptance criteria. That's backwards, and it shows up later as rework.
Over-detailing. Extra texture, extra paint layers, extra moving parts all add cost and delay without necessarily improving the decision the model supports. Prioritize details that affect understanding, scale, usability, or credibility. Skip the rest.
Skipping the close-up check. Before final finishing, inspect:
- Proportions from the audience's actual viewing distance
- Seams and edges
- Interfaces and labels
- Color consistency
- Assembly alignment
Overselling readiness. Never describe a presentation model as production-ready unless it has undergone proper engineering, manufacturing, durability, safety, and regulatory evaluation. This applies doubly in regulated categories like medical devices, where FDA guidance explicitly ties device status to intended use and claims, not appearance.
Forgetting transport. Protect the model in transit, and prepare a concise explanation covering materials, fabrication process, intended use, limitations, and next development steps. A cracked model or a confused audience both undermine the meeting's purpose.
Frequently Asked Questions
What is a prototype presentation?
A prototype presentation is a structured demonstration that pairs the physical model with its purpose, target user, key features, intended benefits, and known limitations. It frames what the model proves and what it does not.
What are some examples of prototype models?
Common examples include appearance models, scale models, ergonomic models, 3D-printed concept models, CNC-machined presentation models, urethane-cast models, and functional engineering prototypes. Each serves a different stage of product development.
What is the difference between a presentation model and a functional prototype?
A presentation model communicates appearance, scale, and design intent. A functional prototype tests operation, performance, fit, durability, or other defined technical requirements. One shows what it looks like; the other proves what it does.
How do you choose the right material for a presentation model prototype?
Consider appearance goals, scale, geometry, handling frequency, required strength or flexibility, surface finish, quantity needed, and budget. Decide early whether the material needs to represent the final product's actual properties or just its look.
How long does it take to make a presentation model prototype?
Timing depends on CAD readiness, model size and complexity, fabrication method, number of units, finishing requirements, and review cycles. There is no universal timeframe. A simple 3D-printed concept model and a painted, multi-part urethane-cast assembly sit on very different schedules.
Can a presentation model prototype be used for investor or client presentations?
Yes. Pair the model with a clear narrative covering the user problem, design rationale, supporting evidence, and honest disclosure of any simulated or unvalidated features. Tangible models work well in investor and client meetings when expectations are set clearly.