This guide is written for inventors, startups, product teams, engineers, and manufacturers working in automotive, defense, consumer electronics, dental, and orthopedic applications — fields where fit, function, safety, and manufacturability all have to check out before a part ships.
Prototyping often gets reduced to "just make a sample." In practice, it's a structured process: set a validation goal, pick materials and methods, test the result, document what happened, and repeat. Skip any of those steps and you end up with an expensive-looking model that doesn't actually answer your question.
Below, we'll walk through prototype types, the step-by-step creation process, fabrication method selection, testing considerations, common mistakes, and when it makes sense to bring in a manufacturing partner.
Key Takeaways
- A prototype is a decision-making tool that validates fit, form, function, and manufacturability.
- Define what the prototype must prove before choosing a material or fabrication method.
- Workflow runs: concept → CAD → fabrication → inspection → testing → revision → production readiness.
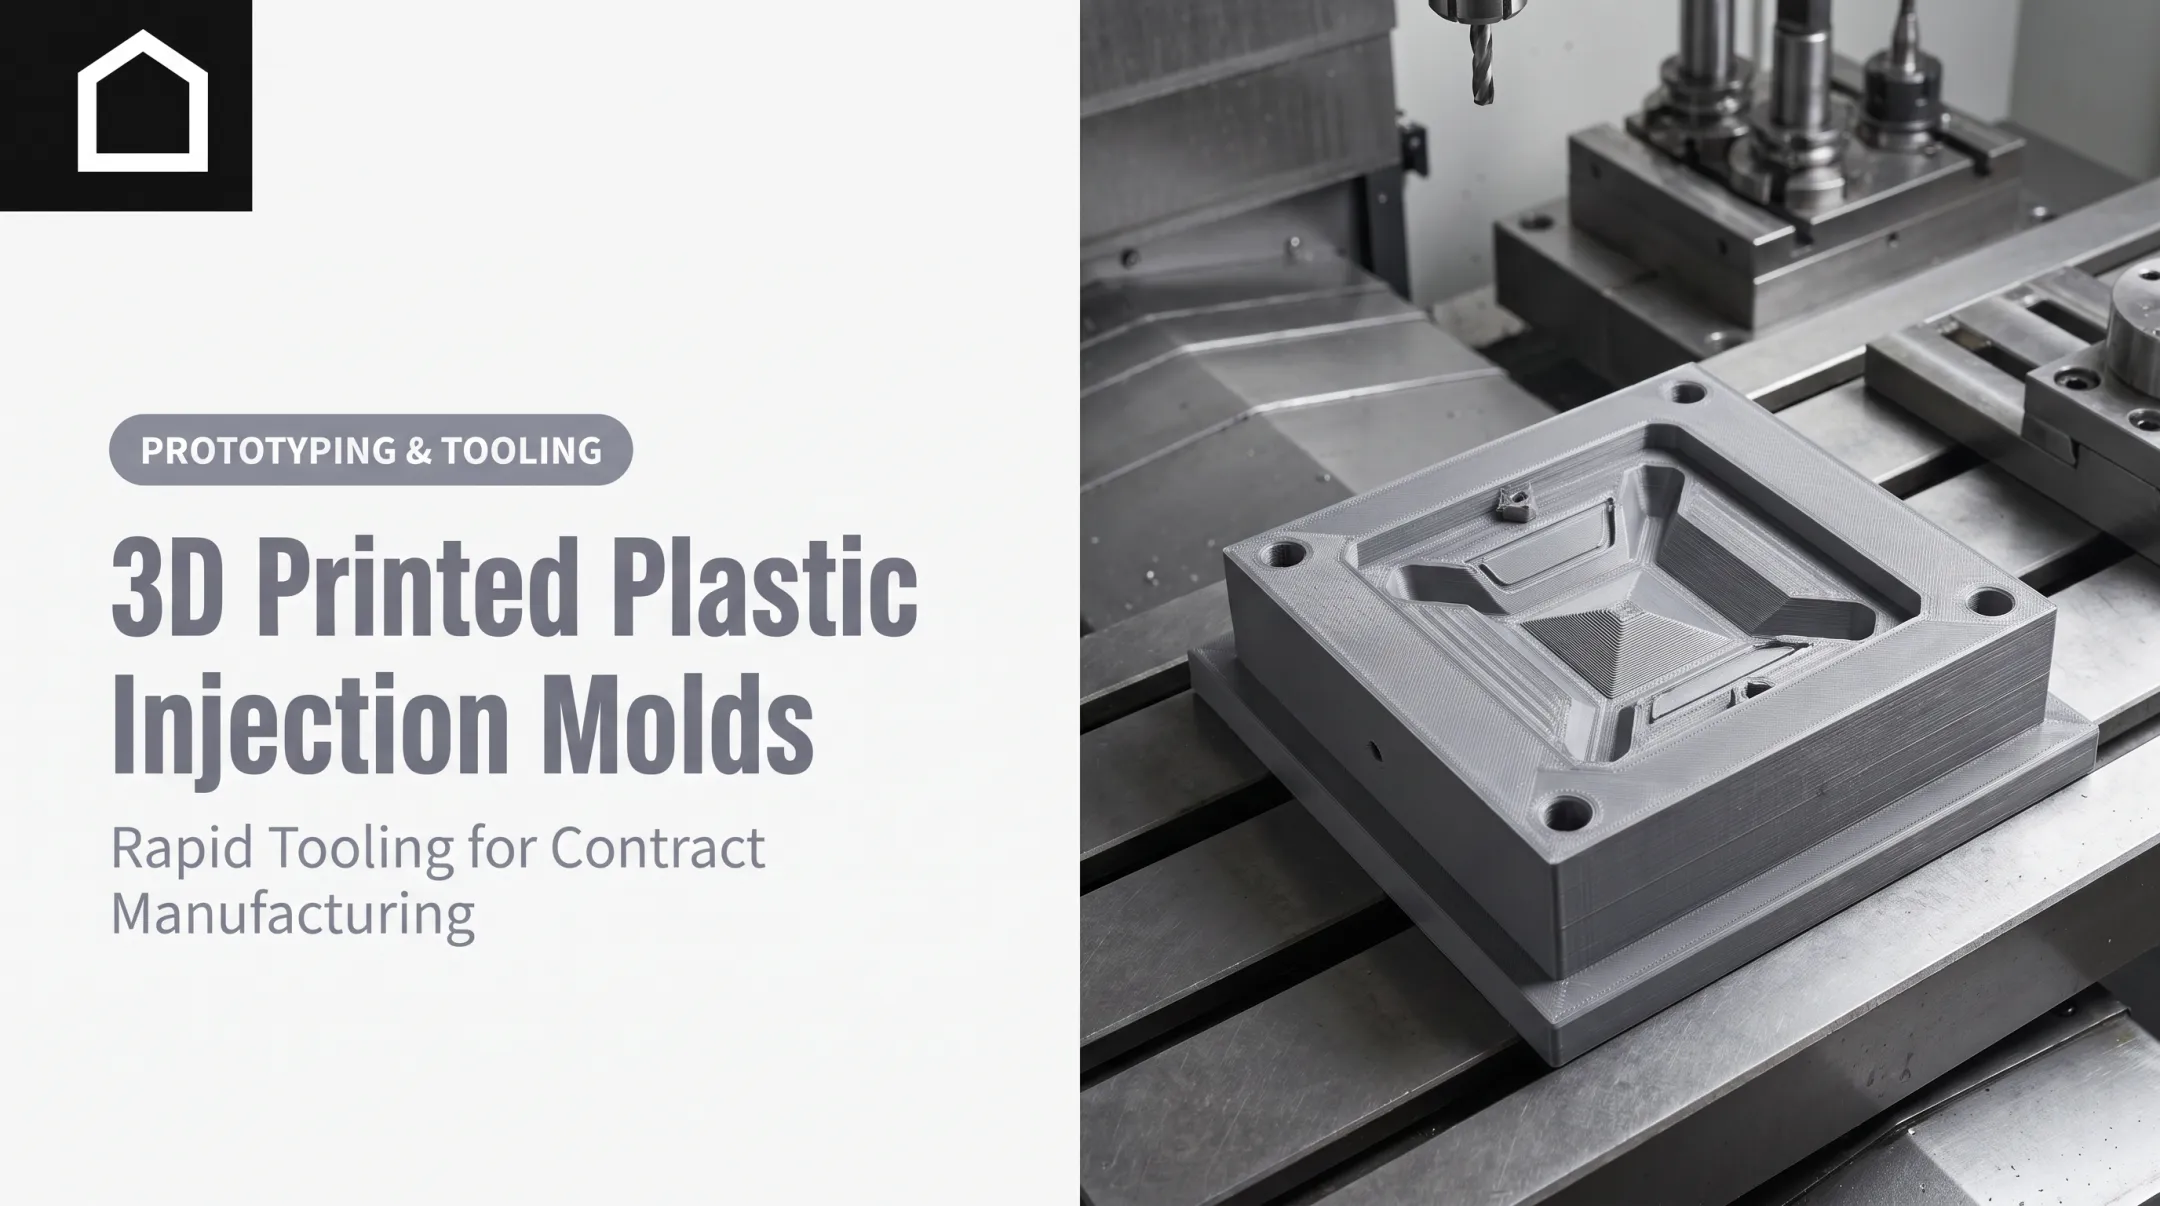
- 3D printing, CNC machining, urethane casting, and injection molding each solve different validation problems.
- Document every test and design change so each iteration produces answers, not extra versions.
What Is a Physical Product Prototype and Why Does It Matter?
A physical product prototype is a tangible representation of a concept, built to evaluate one or more specific attributes before final production. It doesn't need to be complete. A prototype built to answer "does this handle fit a human hand comfortably?" doesn't need working electronics inside it.
That distinction matters because digital tools only communicate intent. A CAD model or rendering shows what a part should look like.
It can't tell you whether two components bind during assembly, whether a snap-fit actually snaps, or whether a housing feels flimsy once it's in someone's hands. Physical prototypes expose the issues that only show up at real scale: weight, grip, movement, and strength.
A prototype can validate several things at once, or just one:
- Proof of concept
- Form and fit
- Ergonomics and handling
- Mechanical operation
- Material behavior
- Assembly sequence
- Appearance and finish
- Production feasibility
Why Early Physical Feedback Pays Off
According to Stratasys, functional prototypes let teams check design and function before production, when changes are still relatively cheap and fast. Design changes become far more costly and time-consuming once tooling and production quantities are committed. That's the entire argument for prototyping in one sentence: catch the problem while it's still just a part, not a production run.
A prototype's required fidelity depends entirely on its purpose. A rough foam mock-up might be all you need for early form feedback.
A functional or pre-production prototype, built with the intended materials and processes, becomes necessary once you're validating performance or manufacturing readiness. Building a show-quality model before you've confirmed the mechanism even works is usually wasted effort.
How to Create a Physical Product Prototype
Prototyping works best as a sequence, not a single event. Each step builds on the last, and skipping one usually means repeating work later.
Step 1: Define the Objective
Start by identifying the user problem, essential features, intended environment, and risks. Then narrow it down to the one question this specific prototype needs to answer. Write measurable acceptance criteria where you can — "the latch must hold 10 lbs without deflection" beats "the latch should feel sturdy."
Step 2: Capture the Concept
Sketch it out. Pull reference products apart (figuratively) to study comparable mechanisms. Record measurements and preliminary layouts, and document your assumptions as you go. Just stay clear of copying protected designs while you're studying competitors.
Step 3: Build or Refine the CAD Model
Your CAD model needs real detail to produce a meaningful prototype:
- Dimensions and interfaces
- Moving parts and clearances
- Material assumptions
- Assembly relationships
- Tolerance requirements where function depends on them
Step 4: Select Prototype Type, Material, and Method Together
These three decisions aren't separate. A low-cost visual model calls for different materials and processes than a functional prototype meant to survive repeated cycling. Pick all three based on what Step 1 said you need to learn.
Step 5: Prepare the Design for Fabrication
This is where a lot of first-time prototypes go sideways. Before you send anything out, review:
- Wall thickness, part orientation, and support requirements
- Machining access
- Assembly strategy, inserts, and hardware
- Surface-finish expectations
- Design-for-manufacturability basics
Step 6: Fabricate, Inspect, and Assemble
Once the part comes back, don't jump straight to performance testing. Inspect first:
- Dimensions against your CAD model
- Fit between mating components
- Surface finish
- Assembly sequence as planned
Then move on to functional testing.
Step 7: Test, Document, and Iterate
Test against the objective you defined in Step 1. Record failures and user feedback honestly, including the ones that are inconvenient. Revise the design. Only build another iteration if it's going to answer a question you still don't have an answer to.

Teams that need CAD modeling, 3D printing, CNC machining, urethane casting, injection molding, or production painting through this cycle often bring in a partner. Finine Design and Manufacturing runs each stage in-house from its San Diego facility rather than handing the project off between vendors.
Prototype Types, Fabrication Methods, and Applications
Different stages of development call for different prototype types. Building the wrong one for your current stage wastes time and money.
Prototype Types by Purpose
- Visual or aesthetic prototypes: focus on shape, color, texture, and surface finish. Useful for design reviews, stakeholder buy-in, and early marketing photography.
- Ergonomic/form prototypes: full-scale models for evaluating grip, reach, scale, and placement before you invest in functional mechanisms.
- Functional/mechanical prototypes: test moving parts, load paths, interfaces, and durability. These need to behave like the real product, not just look like it.
- Pre-production prototypes: represent the intended materials, tolerances, and assembly sequence closely enough to assess whether the design is actually ready for production.
Matching Fabrication Methods to the Job
| Method | Best for | Watch out for |
|---|---|---|
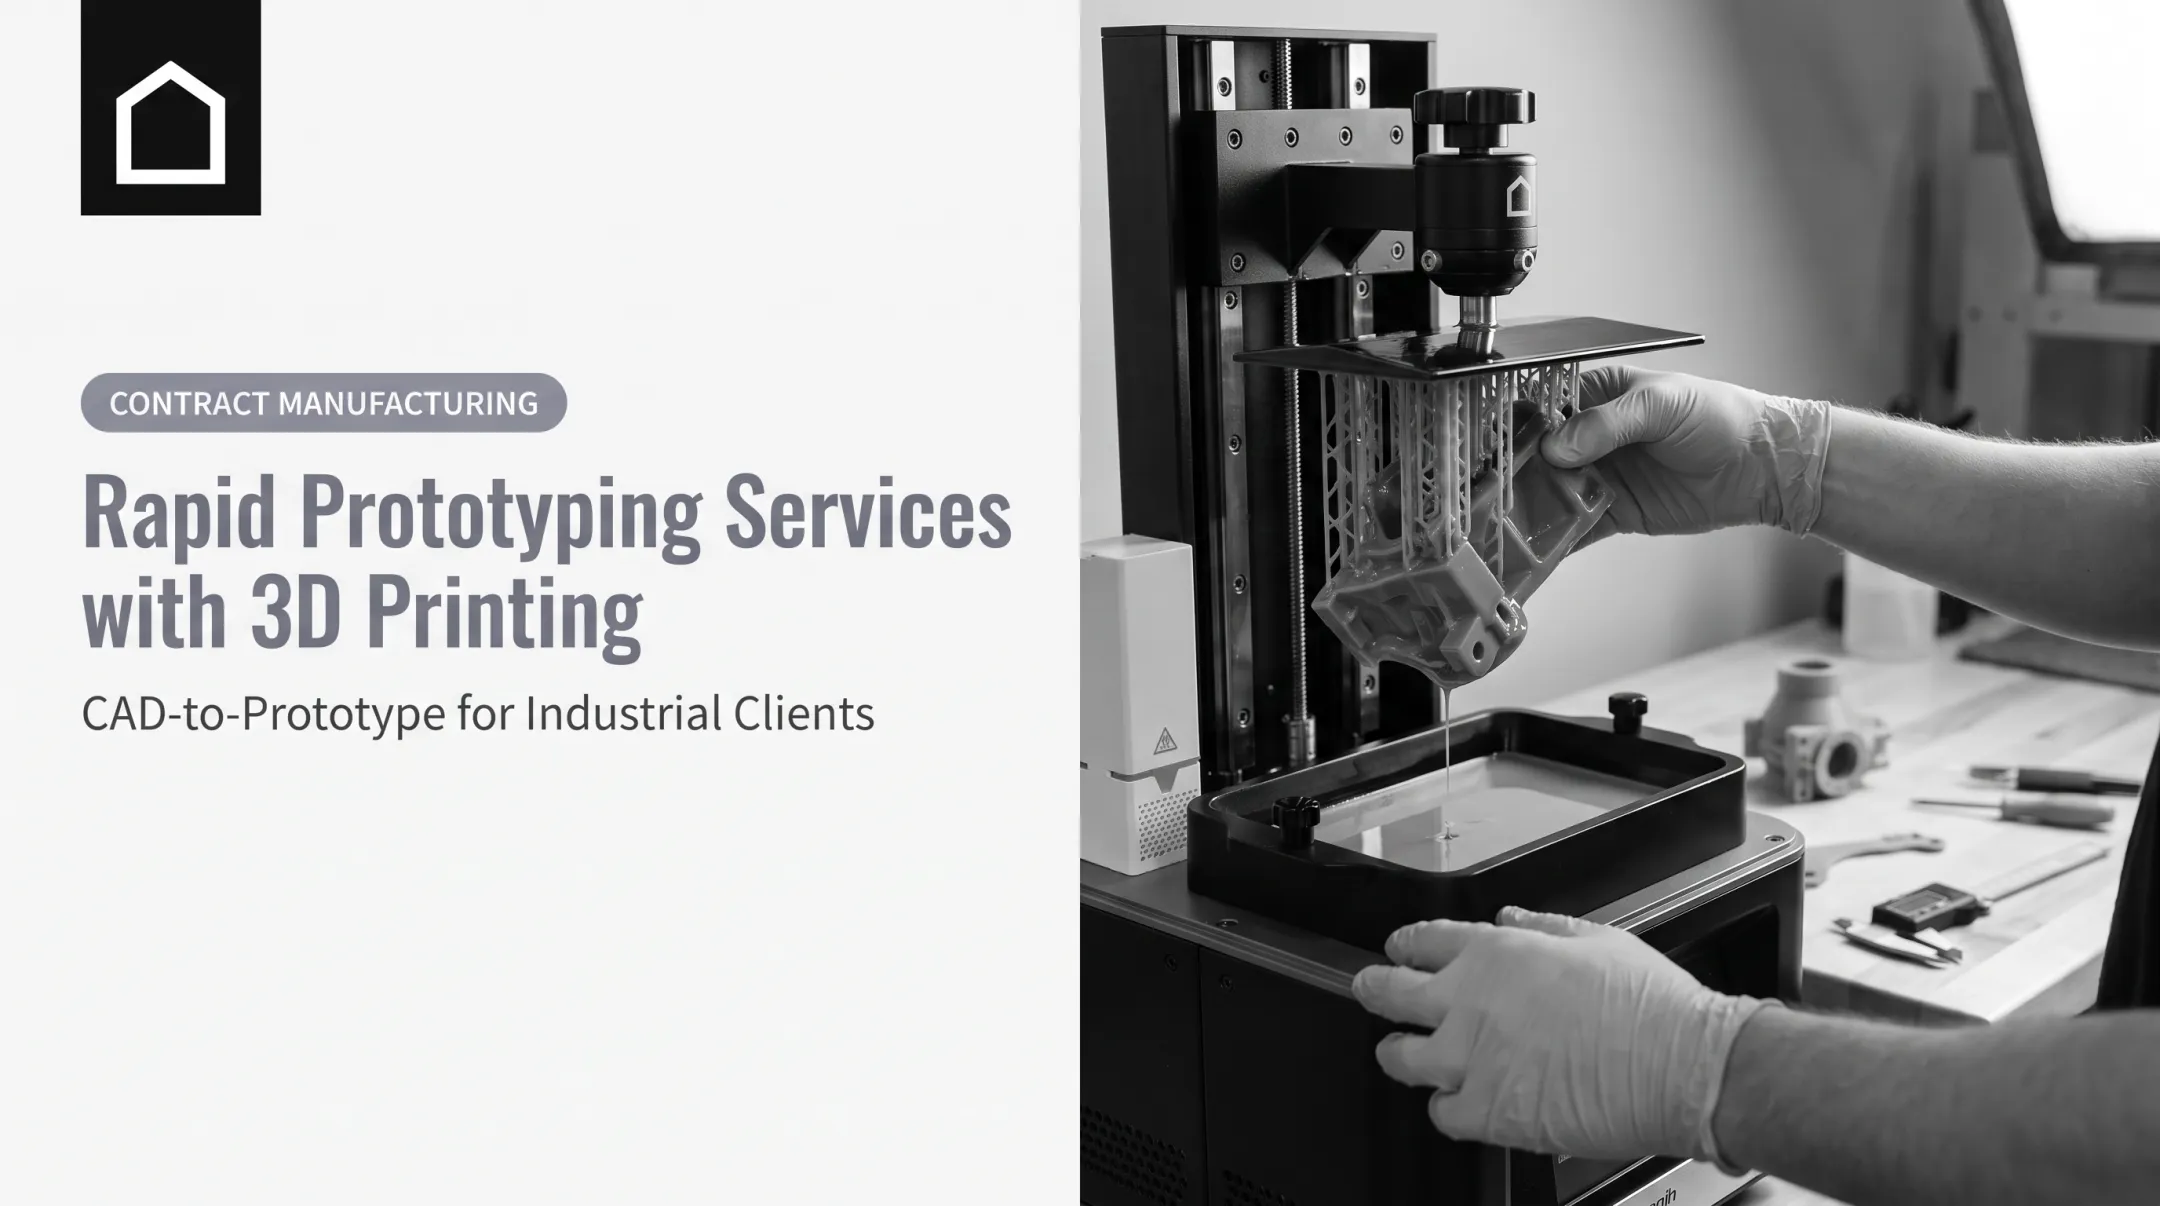
| 3D printing | Fast geometry checks, complex shapes, early iterations | Tolerances vary by material and layer resolution |
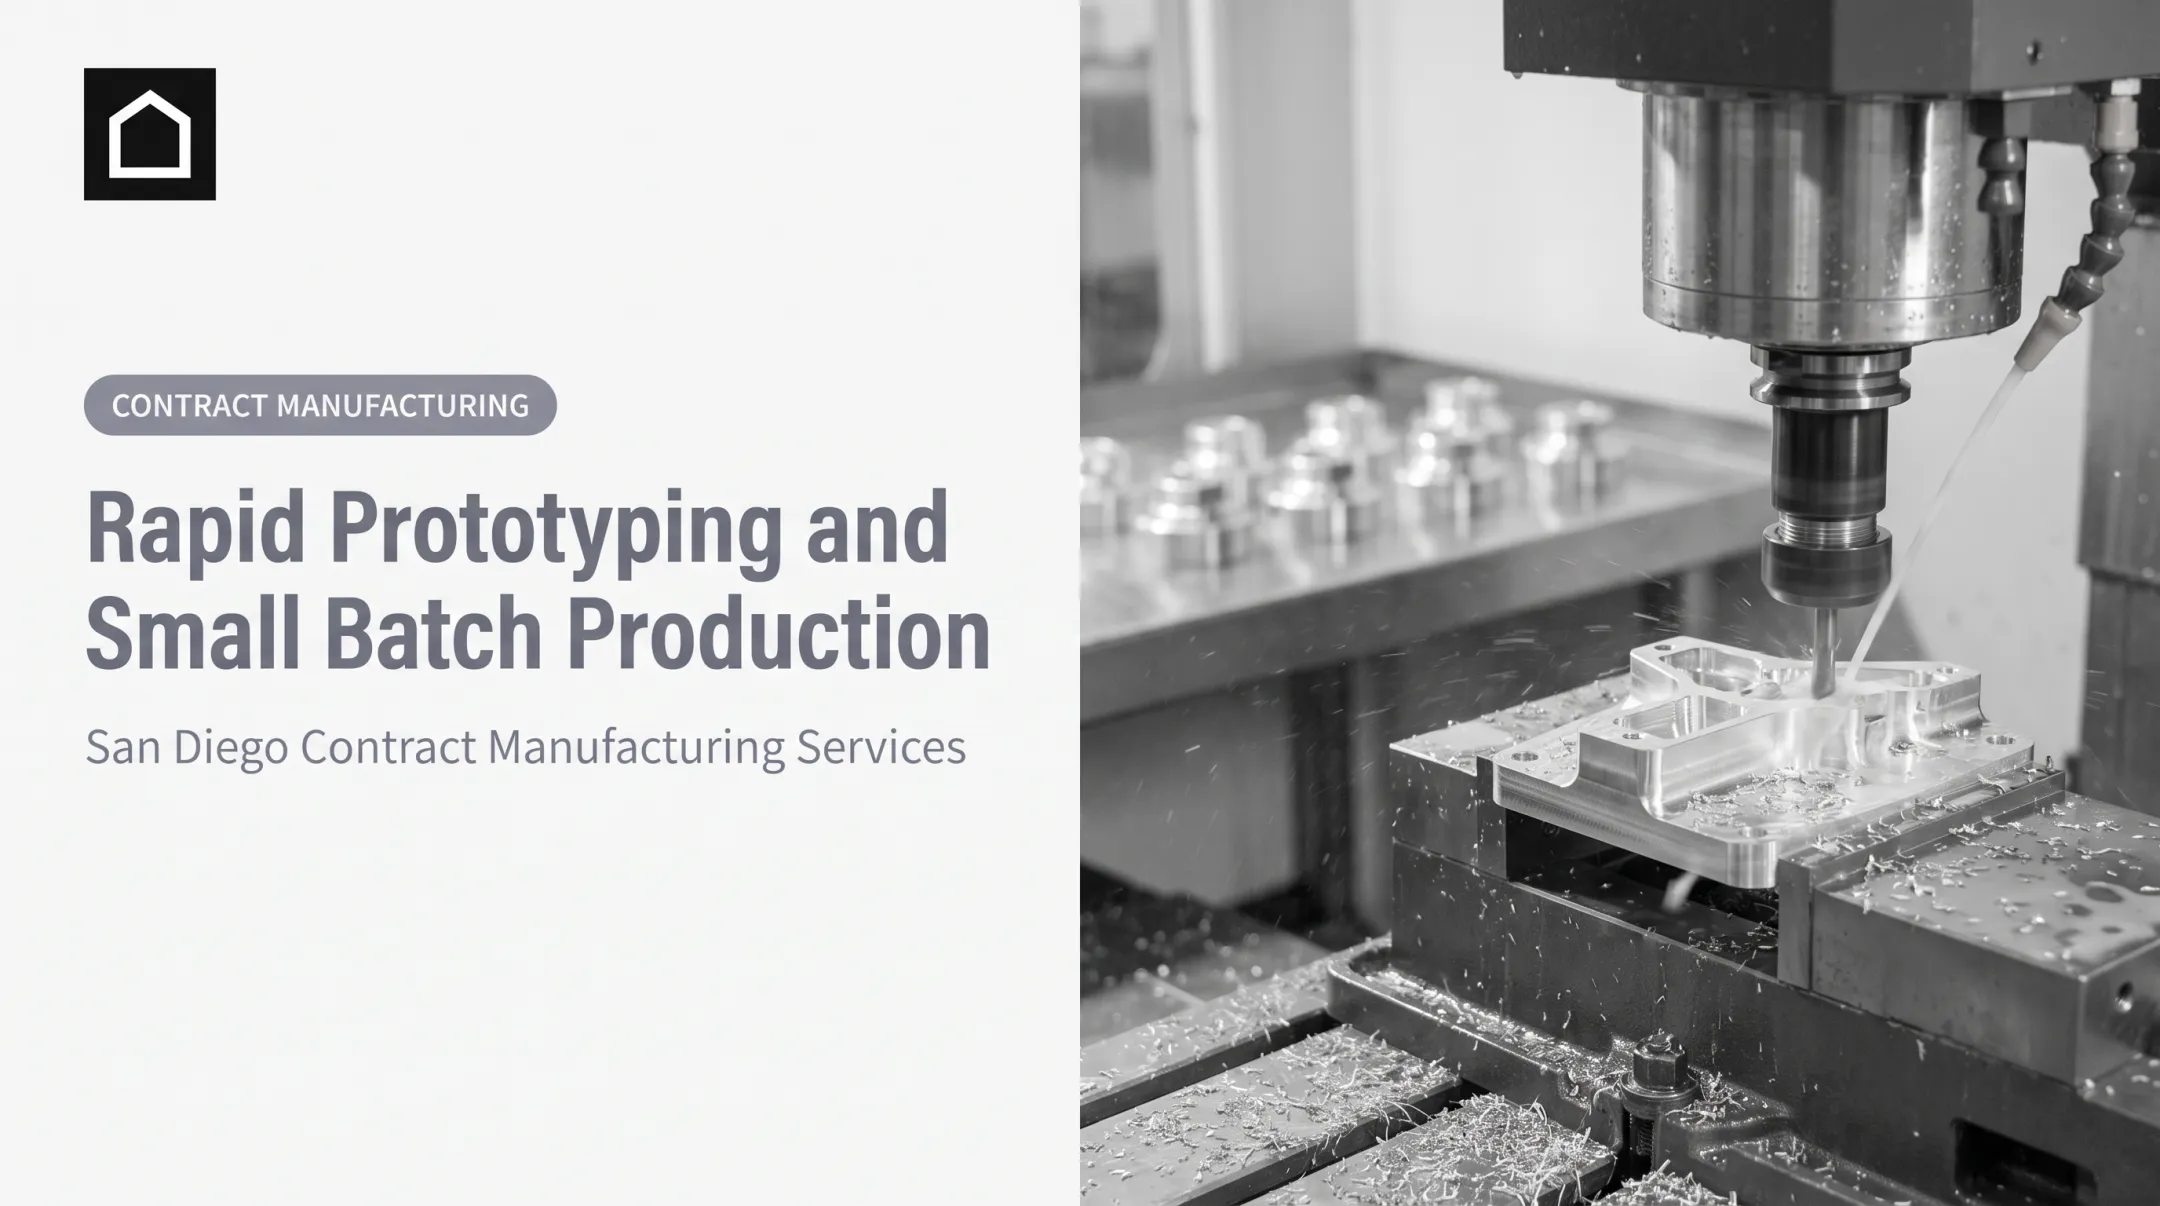
| CNC machining | Dimensional accuracy, tight interfaces, functional testing | Thin-wall deflection, tool access in deep cavities |
| Urethane casting | Production-like surfaces, multiple parts, elastomeric components | Thick or irregular geometry can shift dimensions during shrinkage |
| Injection molding | Production-representative validation, higher part counts | Tooling cost means it's usually a later-stage step |
Xometry's published defaults put CNC machining tolerances at ±0.005 in. for metal and ±0.010 in. for plastic unless a part calls for tighter control. That's a useful benchmark, but it's a default, not a guarantee. Flag any feature that needs tighter tolerance up front.

Across Finine Design's Target Sectors
- A consumer electronics enclosure gets 3D printed and hand-tested for fit and handling before committing to a mold.
- An automotive bracket is CNC machined for an assembly check against a mating part.
- A dental or orthopedic model is built for ergonomic evaluation by clinical staff.
- A defense-related housing gets reviewed for ruggedness ahead of environmental testing.
None of these examples imply that a prototype alone satisfies regulatory approval. Validation testing and certification are separate processes layered on top of prototyping, not replaced by it.
Key Factors, Testing, and Iteration
Fidelity Should Match the Question
Don't build a production-grade prototype to answer a form question. Don't rely on a foam mock-up to answer a mechanical one either. Match prototype realism to the question you need answered.
Materials and Environment
A convenient prototype material isn't always the right one. If the end-use part faces heat, moisture, chemicals, repeated wear, or sterilization, the prototype material should reflect those conditions, or you should document exactly where it diverges.
Dimensions and Interfaces
Mating parts, moving clearances, fasteners, and seals often need a more precise process than a visual model requires. Process-specific tolerance data, such as CNC machining tolerances, matters here.
Build a Testing Plan Before You Build the Part
A solid testing plan typically covers:
- Fit checks
- Functional cycling
- Load or stress testing
- Drop or impact evaluation
- Temperature or environmental exposure
- User handling sessions
- Visual inspection
Physical testing catches failures CAD misses. Clubfoot Solutions and University of Iowa researchers found a brace attachment could crack after trying the prototype on roughly six children, a failure mode that never appeared on screen.
The team worked through 18 printed iterations before the design held up.

Document Everything
Keep versioned records for every iteration:
- CAD files
- Material and process notes
- Test conditions and measurements
- Photos and user observations
Without that trail, you're making new parts instead of learning from the old ones.
Design for Manufacturability
Feed every prototype finding into production decisions:
- Part consolidation
- Draft angles and wall thickness
- Tooling access
- Assembly sequence
- Finishing requirements
Iterate With Discipline
A failed prototype isn't wasted if it answers a defined question. Change one or two variables per iteration. Change five at once and a working part still won't tell you which fix mattered.
Disciplined iteration still has limits in regulated work. Medical, military, and automotive programs need engineering review, traceability, and compliance beyond the shop floor. A prototype that performs well in-house is not certification or regulatory clearance; that is a separate process with its own requirements.
Common Issues and When a Physical Prototype May Not Be Appropriate
Mistakes that waste prototyping cycles:
- Building without a clear test objective
- Polishing appearance before confirming the mechanism works
- Picking a material for convenience instead of relevance to end use
- Skipping user testing entirely
- Failing to document design changes between versions
- Ignoring manufacturability until it's too late to fix cheaply
A prototype doesn't need to look identical to the final product to be useful. A polished visual model proves nothing about mechanical performance. And one prototype almost never answers every open design question. Expect more than one round.
Sometimes a physical prototype is the wrong next step. Consider alternatives when:
- The concept is still too undeveloped: sketches or a mood board might answer the question faster.
- The question is purely geometric: CAD or simulation can resolve it without fabrication.
- The design lacks basic requirements and constraints: building now just locks in guesses.
- A smaller step would do: a foam mock-up for scale, a partial build for a single mechanism, or a test coupon for material properties.
When a physical build is the right call but exceeds in-house capability, these signs point to professional support:
- Complex assemblies with multiple interacting parts
- Tight interfaces or fit requirements
- Specialized materials outside your shop's capability
- Repeated prototype failures without a clear cause
- Testing environments you can't replicate in-house
- A need to move directly toward a production-representative method
Conclusion
Creating a physical product prototype means defining what you need to learn, then translating that concept into a buildable design. Next you pick the right fabrication method, build and test the model, and use documented results to guide the next round. The best prototype is the simplest physical model that reliably answers your current development question. Polish and complexity can wait until later rounds. If you've got a concept, sketch, or CAD file and need to talk through requirements, Finine Design and Manufacturing can help. The San Diego shop covers prototyping and production from CAD modeling and 3D printing through CNC machining, urethane casting, injection molding, and finishing.
Frequently Asked Questions
How much does it cost to get a physical product prototype?
Cost depends on size, complexity, materials, fabrication method, tolerances, finishing, and how many iterations you need. Request a project-specific quote rather than relying on a general price range.
What is a physical product prototype?
A physical product prototype is a tangible model built to evaluate form, fit, function, usability, materials, or manufacturability before production. It may not include every final feature, only the ones under test.
What are the main types of physical product prototypes?
The main types are visual/aesthetic (appearance), ergonomic (handling and scale), functional/mechanical (operation), and pre-production (manufacturing readiness).
What are some examples of physical product prototypes?
Examples include a 3D-printed consumer electronics enclosure, a CNC-machined automotive bracket, an ergonomic dental or orthopedic model, a functional mechanism prototype, and a production-representative molded part.