Here's the catch: color matching is not just adding pigment to resin. The base resin, pigment compatibility, wall thickness, gloss level, lighting conditions, and cure schedule all shift the final appearance. A pigment that looks perfect in a test cup can look completely different once it's cured inside a 2mm wall section.
This article walks through selecting an approach, preparing a color target, casting and evaluating samples, controlling the variables that cause mismatches, and avoiding the defects that trip up most first-time color-match projects.
Key Takeaways
- Color-match the cured part, not the liquid resin; thickness, gloss, and cure change the final look
- Approve a physical sample under real lighting conditions before running full production
- Use polyurethane-compatible colorants; document resin lots, pigment ratios, and mix conditions
- Choose integral color for handled or scratched parts; paint for the tightest cosmetic match
- Treat color approval as separate from UV, chemical, or mechanical performance testing
How to Create Color-Matched Urethane Castings
The exact steps shift depending on resin system and supplier, but every project should move through the same controlled sequence: define the target, select materials, mix and disperse, cast and evaluate, then approve and lock the process.
Define the Color and Appearance Target
Start with something physical. A swatch, an approved reference part, a Pantone or RAL code, or measured color data all work better than a verbal description.
- Document whether the target is opaque, translucent, clear-tinted, matte, satin, or glossy
- Record the lighting used for judgment: daylight, retail floor, office fluorescents, or inspection booth
- Clarify whether the requirement applies to bulk material, a visible surface, a painted layer, or color matching between multiple components
A matte reference swatch and a glossy casting will never look like the same color, even if the underlying pigment formula is identical.
Select a Compatible Resin and Colorant
Pick a urethane formulation whose base color, hardness, transparency, and thermal behavior fit the target appearance. Then confirm the colorant is built for that specific polyurethane system.
Pigments that work in epoxy or silicone don't automatically transfer to polyurethane. Pigment loading limits also vary significantly by system.
Polytek's Poly-Optic 17-Series caps most PolyColor dyes at 0.5% of total mixed weight, but allows up to 2% for white or fleshtone shades, according to the Polytek Poly-Optic 17-Series technical bulletin. Always check the supplier's technical data sheet rather than assuming a general rule applies.
Prepare and Disperse the Pigment
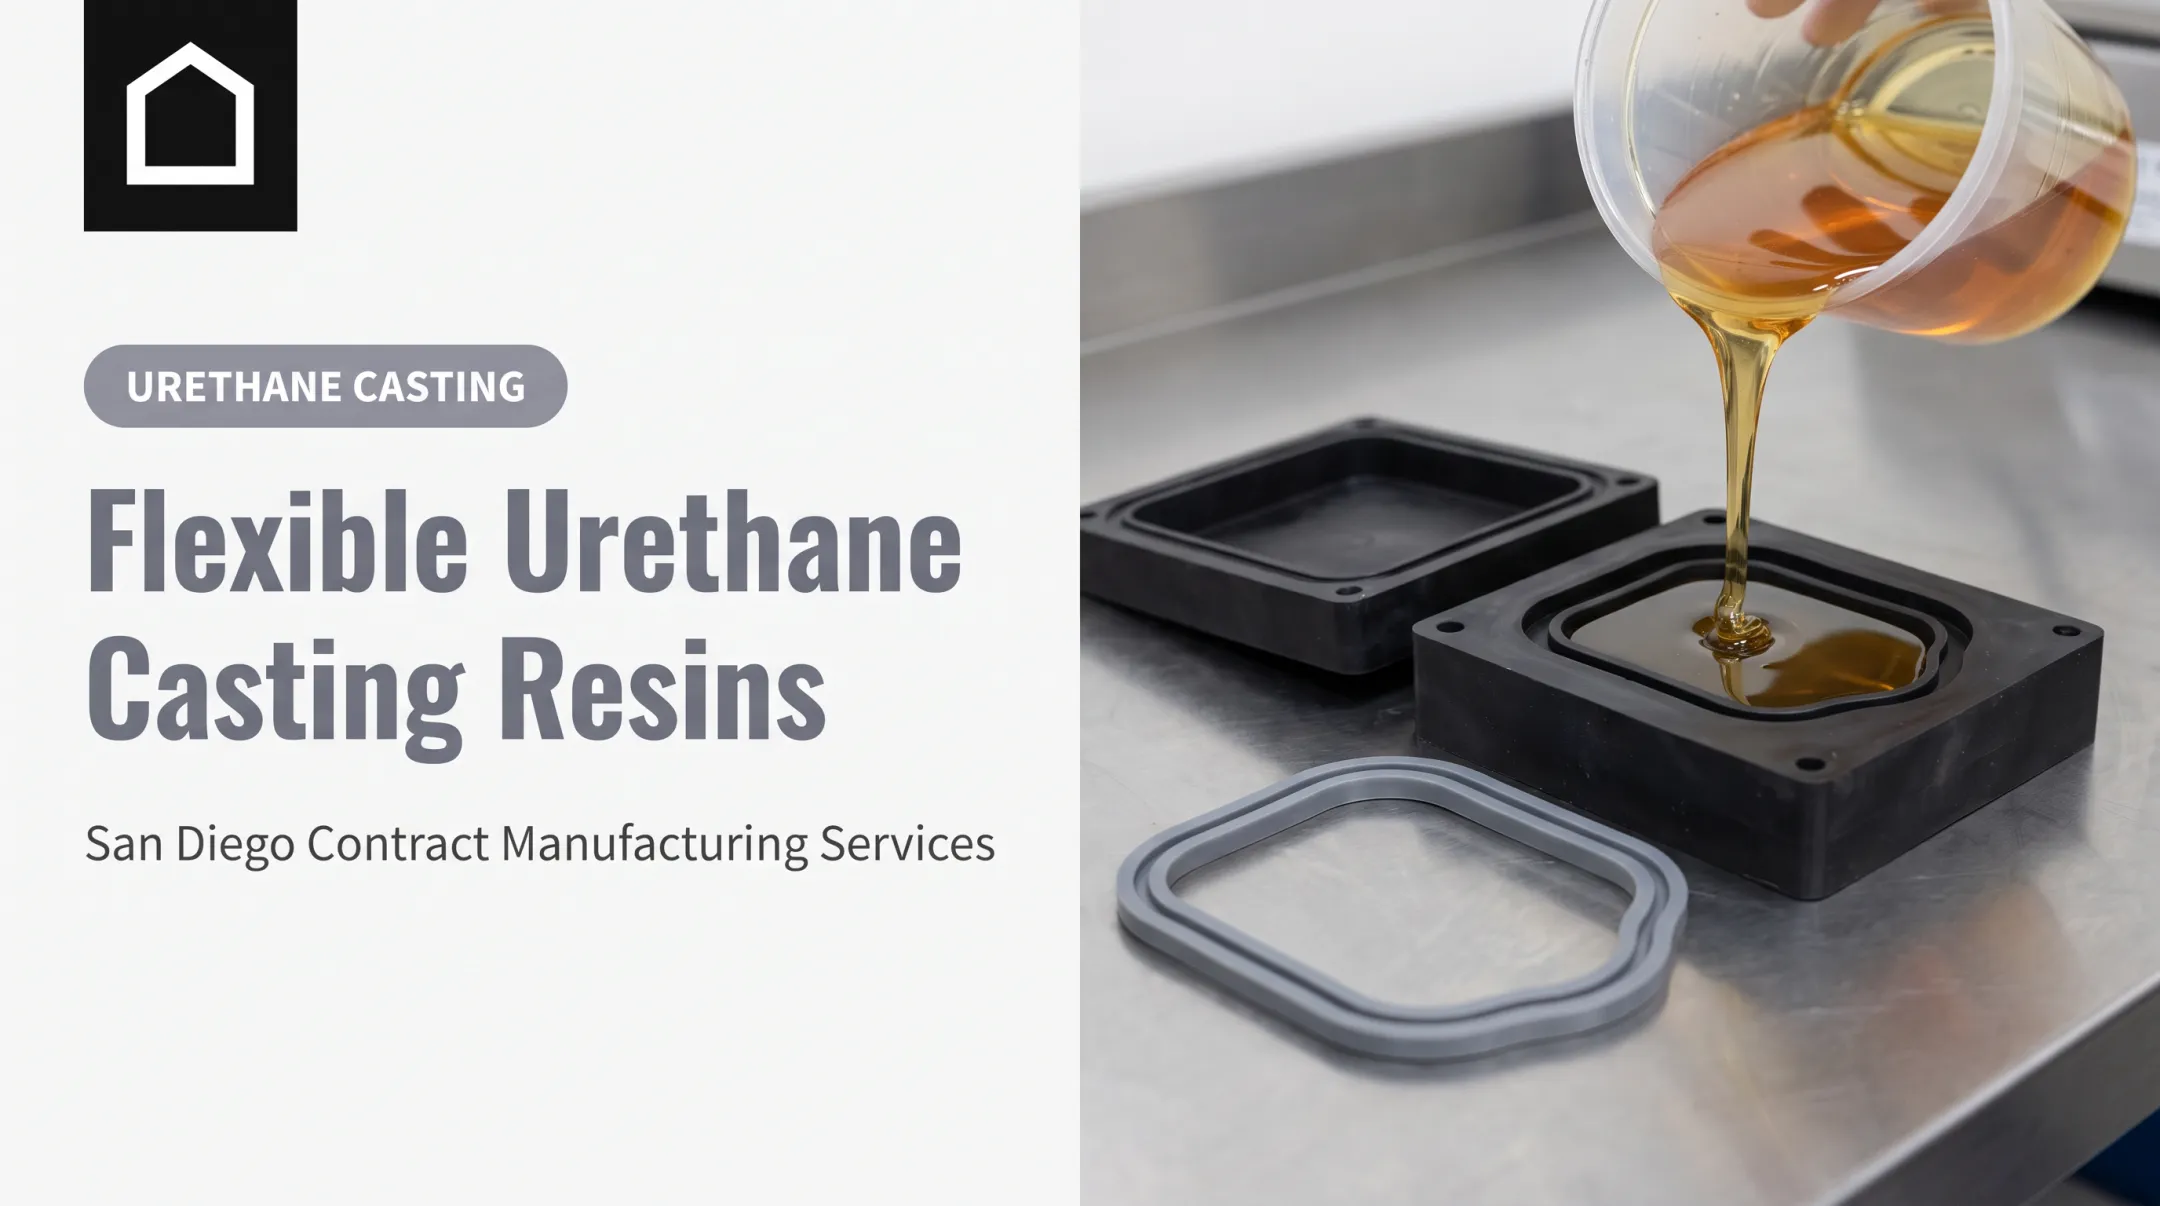
Measure colorant consistently and add it to whichever component the resin supplier specifies. This isn't always Part A.
- Add colorant to the recommended side first, then mix thoroughly before combining with the second component
- Mix until pigment is fully dispersed, eliminating streaks, clumps, and settled pockets
- Minimize air entrainment while mixing. Whipping too aggressively introduces bubbles that show up as surface defects
- Record everything: pigment identity, quantity, resin lot, mixing time, temperature, and operator

Use clean, dedicated tools for colored batches. Cross-contamination from a previous color is one of the most common causes of unexpected shade shifts.
Cast, Cure, and Evaluate a Test Sample
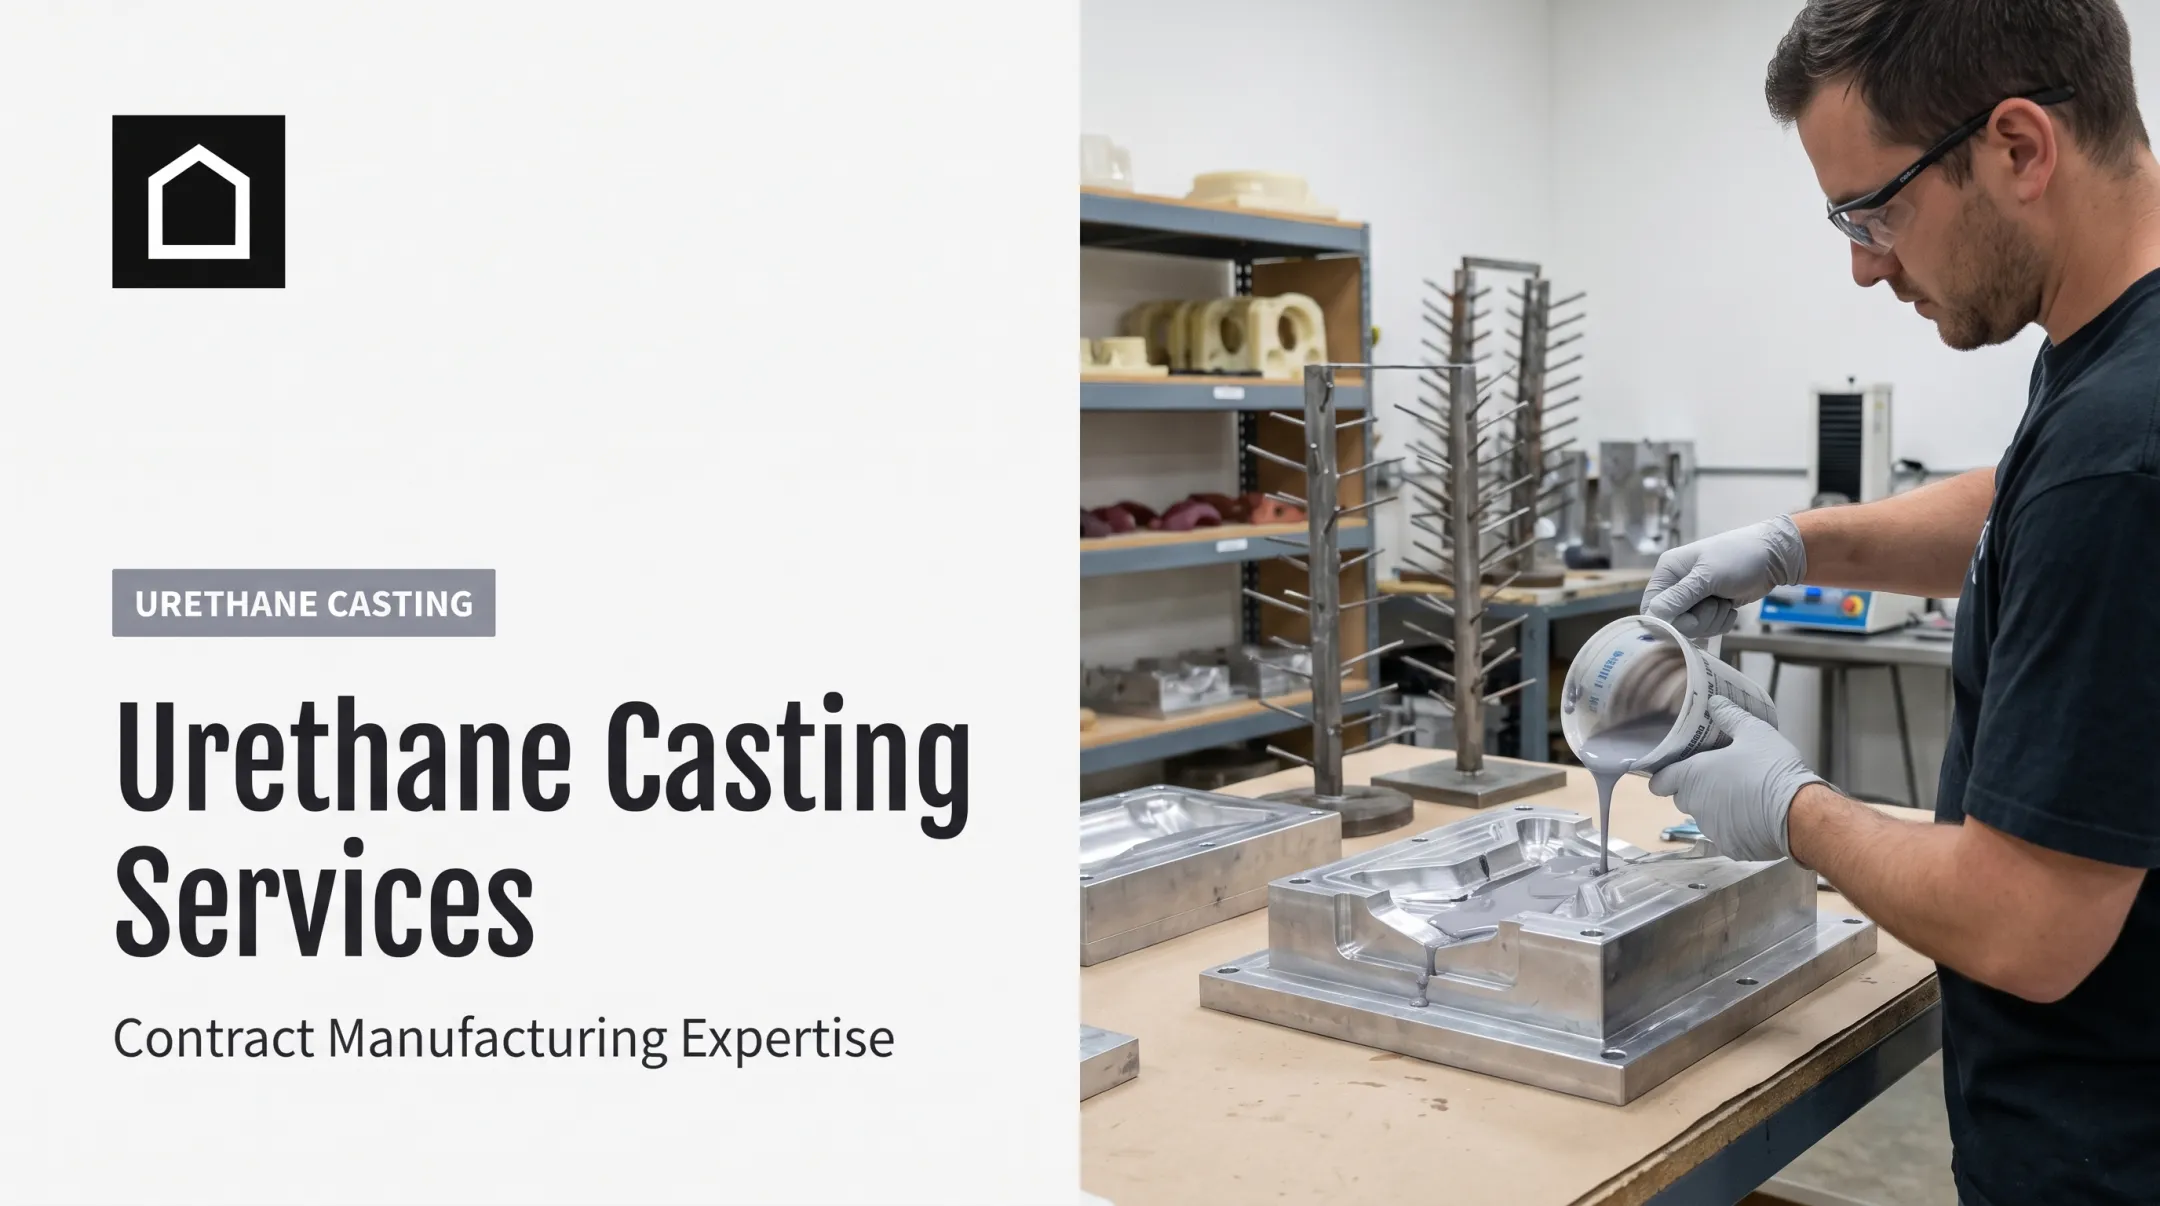
Produce a test coupon using the same resin ratio, mold material, mold temperature, wall thickness, and cure schedule planned for production. A flat color chip tells you almost nothing about how the finished geometry will look.
Evaluate the fully cured sample against your approved target, under the agreed lighting, after any planned finishing. Check for gloss, translucency, texture, pigment streaking, bubbles, and differences between thick and thin sections of the same part.
Approve the Standard and Control the Production Run
Retain a physical master sample as your documented color standard. Define acceptable variation before production starts, not after parts are already molded.
- Use the approved formulation and process record for every subsequent batch
- Investigate any change to resin lot, pigment lot, mold condition, or cure temperature before releasing parts
- Include color inspection as its own step in final quality checks, separate from dimensional or mechanical inspection
When Should You Use Color-Matched Urethane Castings and What Do You Need First?
Color-matched casting earns its keep when you need to evaluate appearance on realistic, low-volume parts. It's not automatically the right call for every volume or performance requirement.
Situations Where Color-Matched Urethane Is a Good Fit
This approach fits well for:
- Appearance prototypes and pilot parts ahead of tooling commitment
- Product housings, automotive interior components, and consumer electronics enclosures
- Medical product models and dental or orthopedic educational products
- Bridge production while injection molds are still being built
Use integral pigmentation whenever the part will be scratched, trimmed, or handled heavily. A surface coating alone will reveal a contrasting substrate the moment it's scuffed. A close color match doesn't prove the casting performs like your final production polymer. Evaluate color and material performance separately.
Information and Materials to Provide Before Casting
Before anyone mixes pigment, supply:
- CAD model, expected quantity, and part dimensions
- Wall-thickness range, required hardness, and surface-finish specification
- Color reference, lighting conditions, and any exposure requirements
- Visible surfaces, acceptable color variation, and areas that will be painted or masked
If the project may eventually move to injection molding, request a design-for-manufacturing review early. A nicely colored urethane prototype can hide draft angle, wall-thickness, or ejection problems that only surface once hard tooling gets cut.
Relevant Manufacturing Support
Finine Design and Manufacturing works as a single development partner across CAD modeling, prototyping, urethane casting, and production painting. That setup lets a team compare appearance against manufacturing requirements before committing to a long-term process. A color decision made in week two can still shape a tooling decision in month four. Specific color tolerances, lead times, and resin formulations still need to be confirmed per project.
Key Parameters That Affect Color Matching
Repeatable color depends on controlling both material variables and viewing conditions. Change one variable and the appearance can shift, even with the exact same nominal pigment formula.
Base Resin, Pigment Compatibility, and Concentration
The resin's natural color and opacity influence the final shade, especially for pastels, fluorescents, and light tints. A slightly amber base resin will never produce a true white.
Check supplier guidance on compatible colorants and maximum pigment loading. Excessive pigment can interfere with cure behavior or weaken mechanical properties. That risk is structural, not only cosmetic. Smooth-On's guidance for its SO-Strong colorants notes additions above 3% of total A+B weight may inhibit cure entirely, per the SO-Strong technical bulletin.

Once loading limits are set, choose the delivery method with care. Colorant mixed into resin and a sprayed surface coating are different approaches, with different durability and appearance trade-offs.
Part Geometry, Wall Thickness, and Translucency
Thin sections, thick bosses, ribs, and overlapping features can look lighter, darker, or more saturated than a flat reference chip. This is the single most common reason a "perfect" sample doesn't match the real part.
- Test using actual production geometry, not a small flat sample
- Clear or translucent parts need extra agreement on background, viewing angle, and lighting
Mixing, Metering, and Dispersion
Inaccurate dosing, pigment settling, incomplete dispersion, and contaminated tools all show up as uneven color. So does entrained air.
Build a repeatable mixing procedure that documents:
- Equipment and mixing sequence
- Mixing time and temperature
- Tool-cleaning requirements between batches
Some systems need pre-dispersed colorant or a specific component for pigment addition—check before assuming a generic mixing rule applies.
Temperature, Humidity, Cure, and Resin Age
These process variables all affect color development and surface quality:
- Material age
- Storage conditions
- Mold temperature
- Ambient humidity Use the resin manufacturer's technical data for handling and cure limits instead of a universal number pulled from a different system.
Run a small validation batch any time resin lot, pigment lot, equipment, mold, or processing environment changes. That check is faster than scrapping a full production run.
Surface Finish, Lighting, and Measurement
Gloss, texture, sanding, and paint all change how the same underlying color reads to the eye. Compare your sample and your production part using the same finish, under the same lighting.
For visual comparison of opaque materials, ASTM's D1729 practice recommends simulated average daylight (D65). Visual checks matter even more when the reference sample and the final part use different materials. Use spectrophotometer measurement when the project requires instrumented control and the supplier has suitable equipment.
Common Mistakes, Troubleshooting, and Alternatives
Most color failures trace back to an unclear target, incompatible materials, an uncontrolled process change, or approving liquid color before the part has fully cured and been finished.
Common Mistakes and Corrective Checks
Watch for these recurring errors:
- Using a generic pigment without confirming polyurethane compatibility
- Adding pigment by eye instead of measuring it
- Switching resin or colorant suppliers mid-project without revalidating
- Comparing a matte production part against a glossy reference sample
- Approving color before full cure and finishing are complete
When parts don't match, check these factors before touching the formula:
- Settling
- Streaks or bubbles
- Contamination
- Resin-lot or pigment-lot changes
- Mold residue
- Cure variation
- Wall-thickness inconsistency
Troubleshooting Visible Color Defects
Streaks or uneven color: Check pigment dispersion, mixing sequence, tool cleanliness, and trapped air first.
Batch-to-batch shade shifts: Compare resin and pigment lots, storage history, metering records, and the retained approved sample side by side.
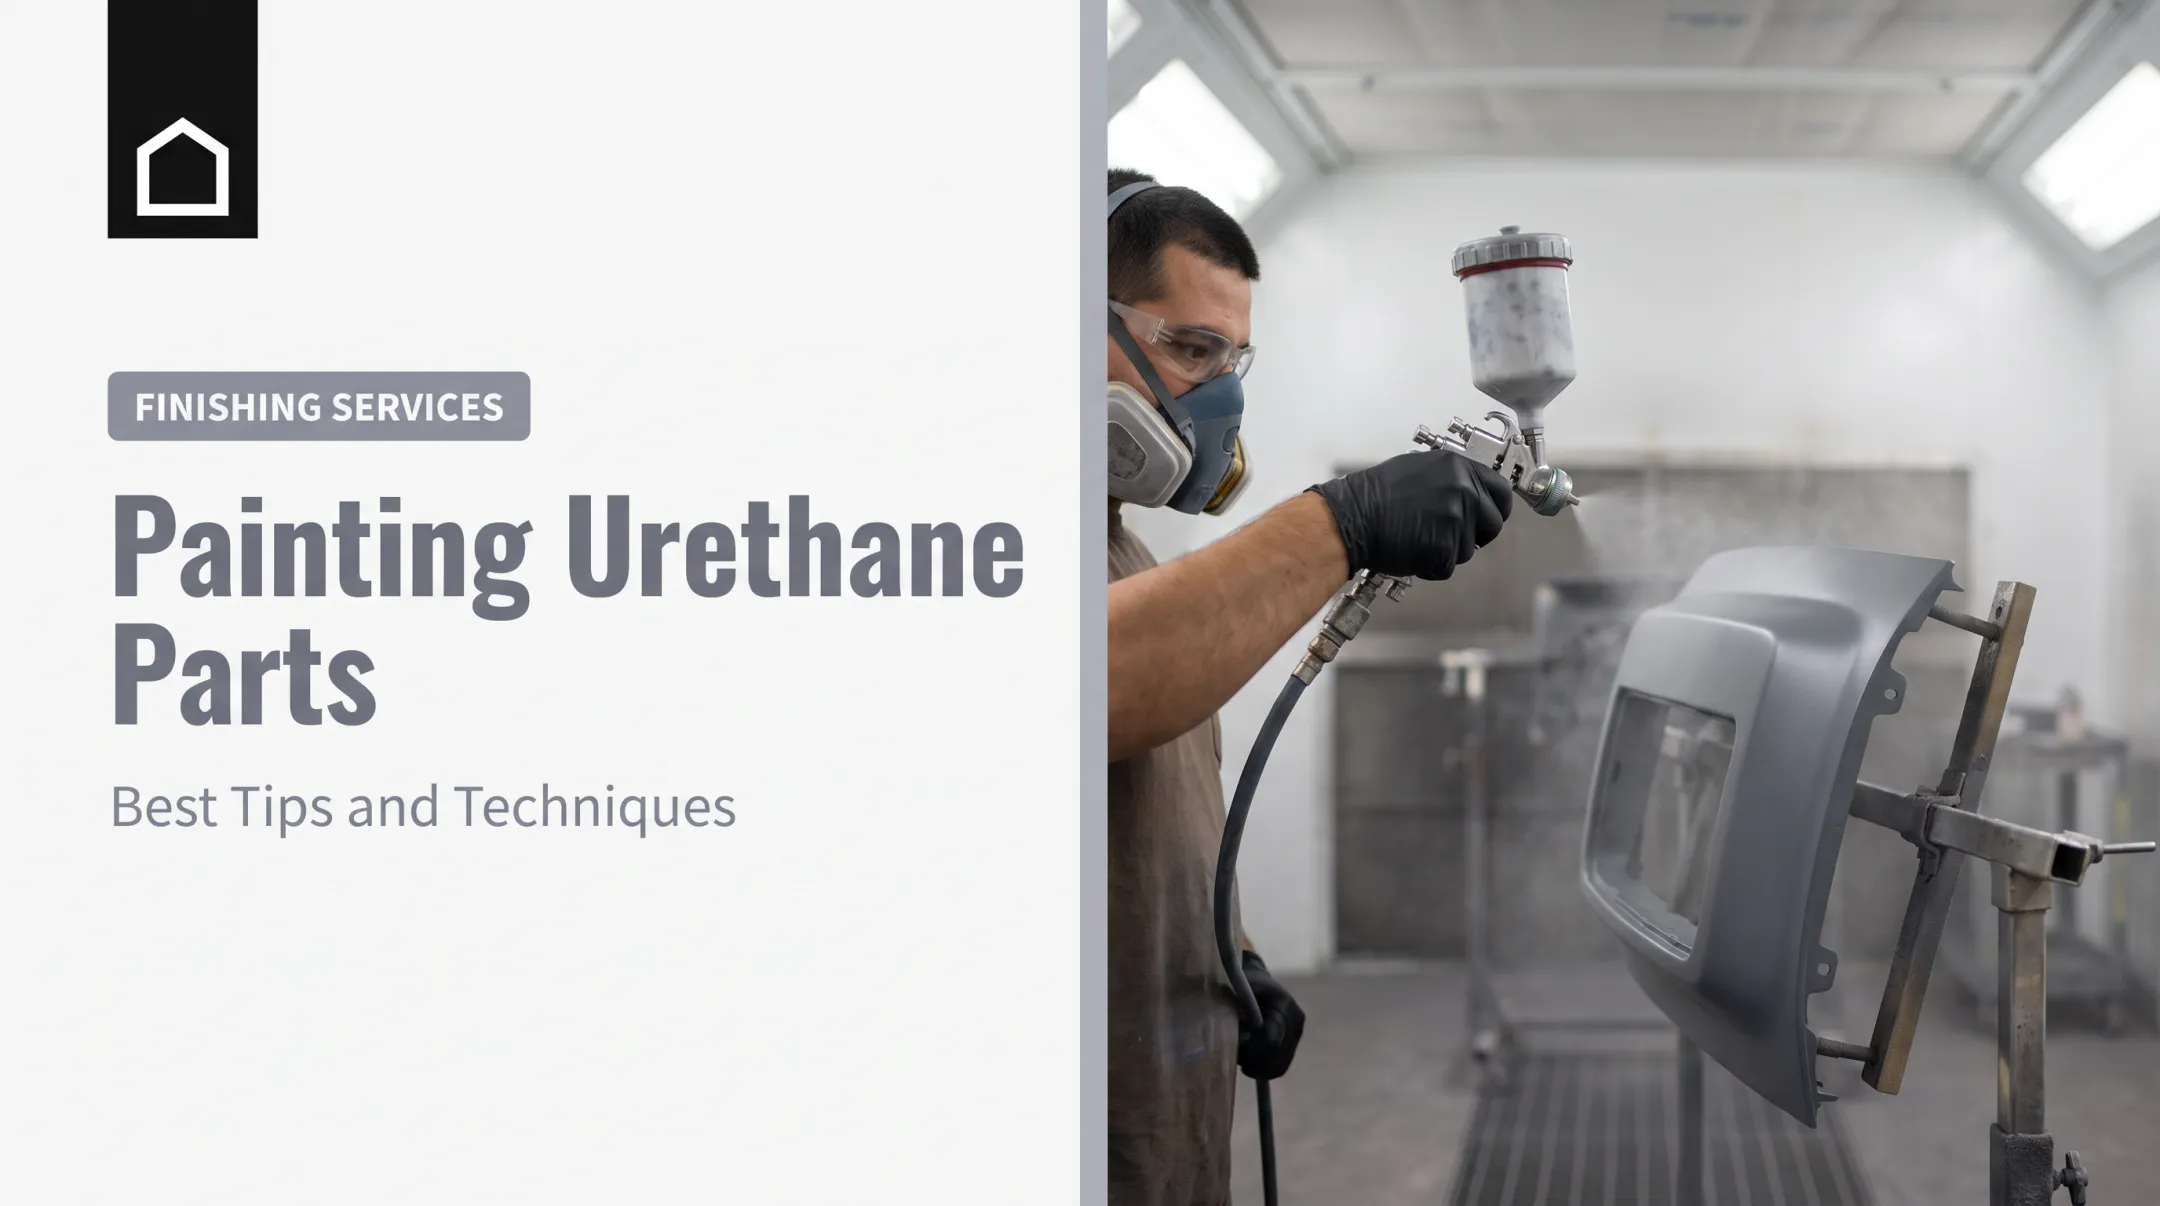
Fading or yellowing: Check the resin system's UV and heat-resistance data. A more stable resin, protective coating, or painted finish is often a better fix than reformulating the pigment.
Alternatives to Integral Pigmentation
Post-casting paint makes more sense when:
- The cosmetic match needs to be exact
- Opaque coverage over a variable substrate is required
- A special gloss or texture is needed that bulk pigmentation can't achieve
- Color decisions are still changing late in development
Uncolored or naturally tinted urethane works fine for early form-and-fit testing, before appearance even enters the conversation.
The trade-off is straightforward: integral color hides minor scratches better but is harder to adjust once cast. Paint opens up more finish options but adds surface prep, adhesion, masking, and added thickness to manage.

Conclusion
Getting color-matched urethane castings right takes more than picking a pigment off a chart. It requires a clearly defined target, compatible materials, controlled mixing and curing, a finish that matches production intent, and sign-off on a fully cured, representative sample.
A retained color standard, documented batch records, consistent inspection conditions, and clear acceptance criteria make the next casting run repeatable, not just the first one.
If you're working through a color-match project, send the following to Jaime at Finine Design and Manufacturing (Jaime@fi9design.com or 1.858.900-9787):
- CAD file
- Color reference
- Finish requirement
- Quantity
- Application conditions
That package is enough to review urethane casting, production painting, or the manufacturing route that fits your next phase.
Frequently Asked Questions
Can you add color to polyurethane?
Yes, compatible polyurethane colorants can be added to the appropriate resin component. Follow the supplier's instructions closely, measure pigment accurately, and always approve a fully cured sample before production.
What is the best way to color-match urethane castings?
Start with a physical or standardized color target, use a compatible pigment and resin, cast a representative test sample, and evaluate it under agreed lighting and finish conditions. Document the approved formula for repeat batches.
Should color be added to urethane resin or applied as paint?
Integral color holds up better against scratches since there's no separate coating to chip. Paint offers tighter cosmetic precision and more finish options but requires proper surface prep and adhesion testing.
Can Pantone or RAL colors be matched in urethane castings?
Pantone or RAL codes are a useful starting reference, but the final result depends on resin base, finish, thickness, and lighting. Treat a physical cured sample as the final confirmation, not the color code alone.
Why does the color of urethane castings vary between batches?
Common causes include resin or pigment lot changes, inaccurate dosing, incomplete dispersion, pigment settling, cure variation, and inconsistent wall thickness between runs.
How do you approve a color match for production?
Define the target and lighting conditions upfront, then review a fully cured, finished representative sample. Record the approved formulation, retain a master sample, and set acceptance criteria before the production run begins.