Introduction
Silicone shows up in product development two very different ways. Sometimes you're building a silicone mold to cast another material—resin, plaster, or urethane—inside it.
Other times you're pouring liquid silicone into a mold to produce a flexible silicone part itself. Mixing up these two goals is where most teams new to silicone casting go wrong.
Both paths share the same failure points:
- Picking incompatible materials
- Designing a mold that traps air
- Triggering cure inhibition without realizing it
- Tearing a part apart trying to get it out
This guide walks through the practical workflow: choosing silicone and mold materials, designing tooling that works, mixing and casting step by step, troubleshooting common failures, and knowing when a DIY pour needs to graduate into a manufacturing partnership.
Key Takeaways
- Part geometry, production volume, and finish requirements decide which mold-making method fits your project
- Verify cure chemistry, mold release, and surface prep against the manufacturer's technical data sheet before a full pour
- Gates, vents, parting lines, and pry points belong in the design phase, not improvised after the fact
- Integrated CAD, printing, and casting capabilities shorten iteration cycles once a project outgrows a one-off DIY part
Choosing Silicone, Mold Materials, and Casting Methods
Tin-Cure vs. Platinum-Cure Silicone
Tin-cure (condensation-cure) and platinum-cure (addition-cure) silicones behave very differently once they hit the mixing cup.
| Factor | Tin-Cure | Platinum-Cure |
|---|---|---|
| Cost | Generally lower | Generally higher |
| Shrinkage | Greater long-term shrinkage | Minimal, often under 0.001 in./in. |
| Mold library life | Shorter (roughly 5+ years per Smooth-On) | Often decades |
| Inhibition risk | Less sensitive to sulfur | Highly sensitive to sulfur-based clays, latex gloves, certain woods |
According to Smooth-On's comparison of tin-cure and platinum-cure rubbers, mold library life figures are manufacturer storage claims—not guaranteed casting counts. Confirm against the current technical data sheet for your product.
Matching Hardness and Viscosity to the Part
Hardness and viscosity aren't universal numbers. Polytek's PlatSil 73-20 runs Shore A22 at roughly 3,000 cP, built for flowing into fine detail. Its firmer siblings, 71-40 and 71-60, run far thicker at 38,000 and 55,000 cP.

A mold that must capture engraved text wants low viscosity. A simple flat-backed part can tolerate something thicker.
Before committing to a pour, check:
- Flexibility needs — how far the part must bend or stretch without tearing
- Tear resistance — critical for thin sections or frequent demolding
- Detail level — finer detail generally needs lower viscosity
- Flow path length — thicker silicone struggles to travel far before gelling
Comparing Mold Materials
| Mold Material | Best For | Trade-offs |
|---|---|---|
| Silicone | Fine detail, flexible release, undercuts | Shorter reuse life, can bond to other silicones |
| 3D-printed resin/FDM | Rapid prototypes, complex geometry | Layer lines (FDM), wear after 10-20 uses, potential inhibition from uncured resin |
| Urethane | Mid-volume runs, rigid tooling | Higher upfront setup than silicone |
| Plaster | Low-cost, one-off shapes | Porous, needs sealing before release |
| Machined metal | High-volume production | Weeks of lead time, hundreds to thousands in tooling cost |
At Finine Design and Manufacturing, silicone molding often sits between 3D printing and injection molding—so teams can validate form and function before committing to steel or aluminum tooling. That checkpoint helps whether you are testing one prototype or planning a short production run.
Compatibility risk: casting silicone against already-cured silicone can bond the layers unless you apply a validated release system first.
Designing the Mold for Reliable Casting
Parting Lines and Draft
Start from the finished part's CAD model. Study the geometry to find a parting line that avoids undercuts, or deliberately plan around them if they're unavoidable. Formlabs' white paper on silicone part production recommends at least 2 degrees of draft for silicone-part prototypes, though flexible silicone can tolerate some right angles that rigid plastics never could.
This guidance applies specifically to silicone-part tooling. Thermoplastic injection molding has its own, often stricter, draft rules.
Gates, Vents, and Registration Features
A mold that fills from the bottom up pushes air ahead of the silicone instead of trapping it. Formlabs' approach places the gate opening high on the tool but routes it down to the lowest point of the cavity. Air vents, typically 0.5–2 mm in diameter, go at the last point expected to fill, plus any corners where flow fronts might meet and trap a bubble.
Other features to design in from the start:
- Registration keys — partially embedded acorn nuts (Smooth-On two-part technique) create matching alignment between halves
- Pry points — small gaps for inserting a tool without tearing the part
- Overflow areas — catch excess material and confirm complete fill
- Clamping surfaces — flat faces that close evenly without distorting the cavity
Shrinkage and Tolerance Stack-Up
Shrinkage is product-specific. Polytek lists about 0.3% for TinSil 70-20 and 0.2% for TinSil 80-30. Smooth-On's Mold Star 15/16/30 series lists less than 0.001 in./in. under ASTM D-2566.
Printed tooling adds its own variable: SLA/DLP tolerances run roughly ±0.15–0.3% depending on feature size, while FDM runs closer to ±0.5%. None of these numbers substitute for checking the actual datasheet of the materials you've chosen.

Before fabrication, review the mold on paper or in CAD:
- Trace the fill path
- Flag likely air traps
- Confirm the part can physically come out
- Plan how clamping pressure will be distributed
Preparing Materials, Tooling, and Work Area
The Checklist
Gather everything before you mix anything:
- Mold or master pattern, fully cured and clean
- Silicone components (Part A and Part B) in correct ratio
- Accurate scale or graduated mixing containers
- Stir sticks and clean mixing vessels
- Mold release, matched to your specific silicone
- Clamps, trimming tools, PPE
- Ventilated workspace
Surface Compatibility Testing
Cure inhibition can ruin an entire casting session. Manufacturers flag several common surface risks:
- Latex gloves, sulfur-containing clays, certain woods, and recently cast polyester or urethane (Smooth-On platinum-silicone guidance)
- Some paints and specific 3D-printed plastics (Polytek)
These are possible culprits, not guaranteed ones. Run a small test patch on your actual master or mold surface before pouring the full batch.
Reducing Bubbles: Three Methods Compared
- Hand mixing: scrape the container sides and bottom thoroughly, but don't whip air into the mix
- Vacuum degassing: recommended by Smooth-On for silicone above 15,000 cP; pulls entrained air out before pouring
- Pressure casting: collapses bubbles after the mold is filled; best suited to rigid castings poured into an already-cured rubber mold
Volume and Safety Checks
Calculate material volume from cavity dimensions, then add extra for residue left in the mixing cup and any sprues or runners. Always check the SDS for cure-temperature limits, ventilation needs, and glove recommendations before you start.
Step-by-Step: How to Cast Silicone in a Mold
Once the mold is ready, casting is a timed sequence. Stay inside the material's pot life and complete each step without rushing.
- Inspect and prep the mold. Clean the cavity, apply release agent if your material requires it, assemble the halves, and clamp evenly. Double-check vents aren't blocked.
- Measure and mix. Follow the manufacturer's exact ratio, by weight or volume depending on the product. Add pigments only after confirming compatibility.
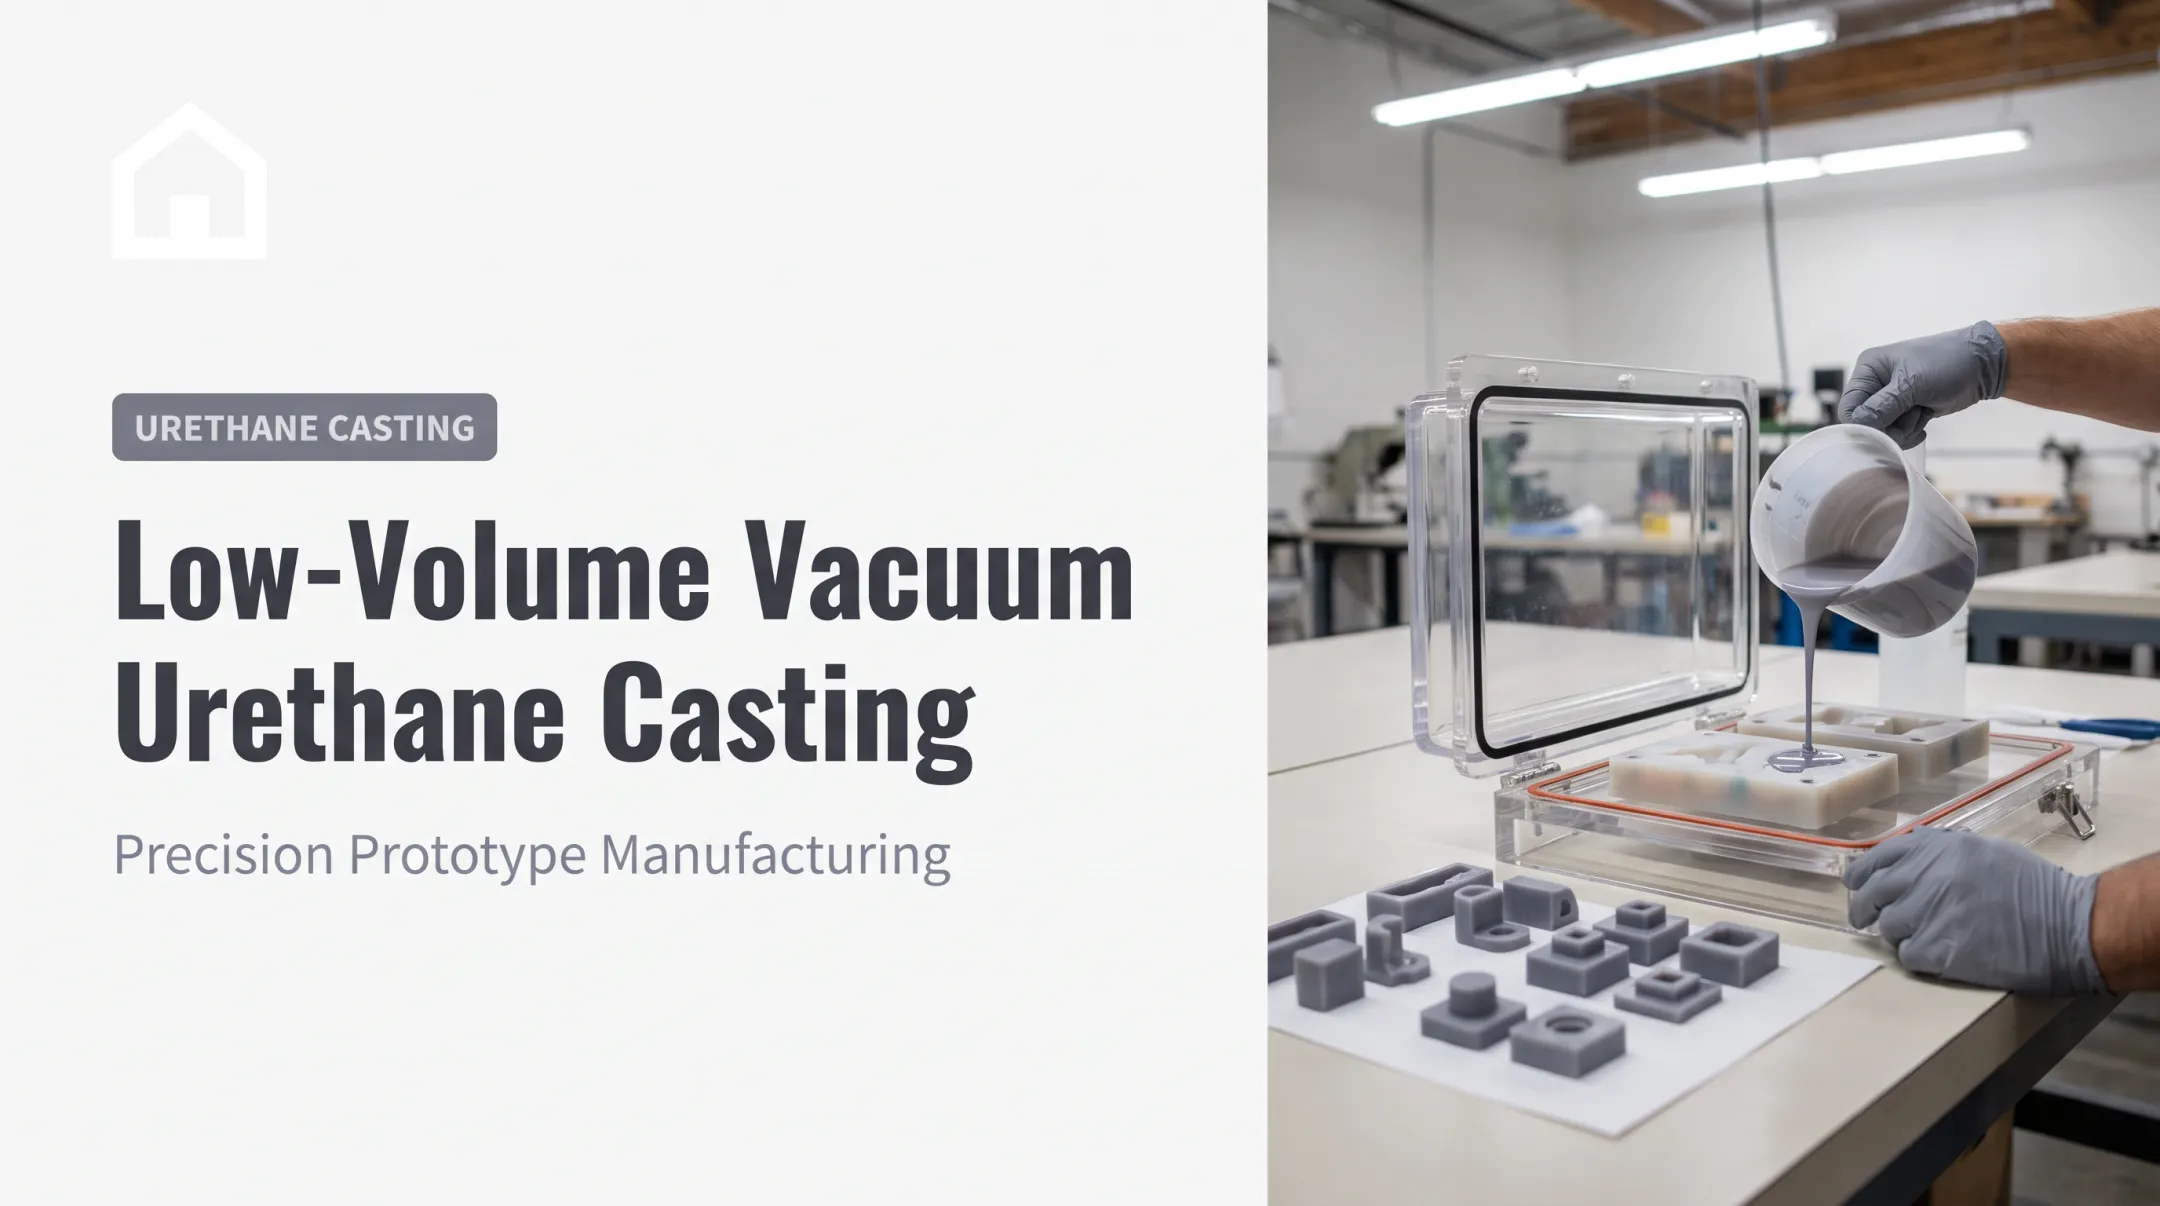
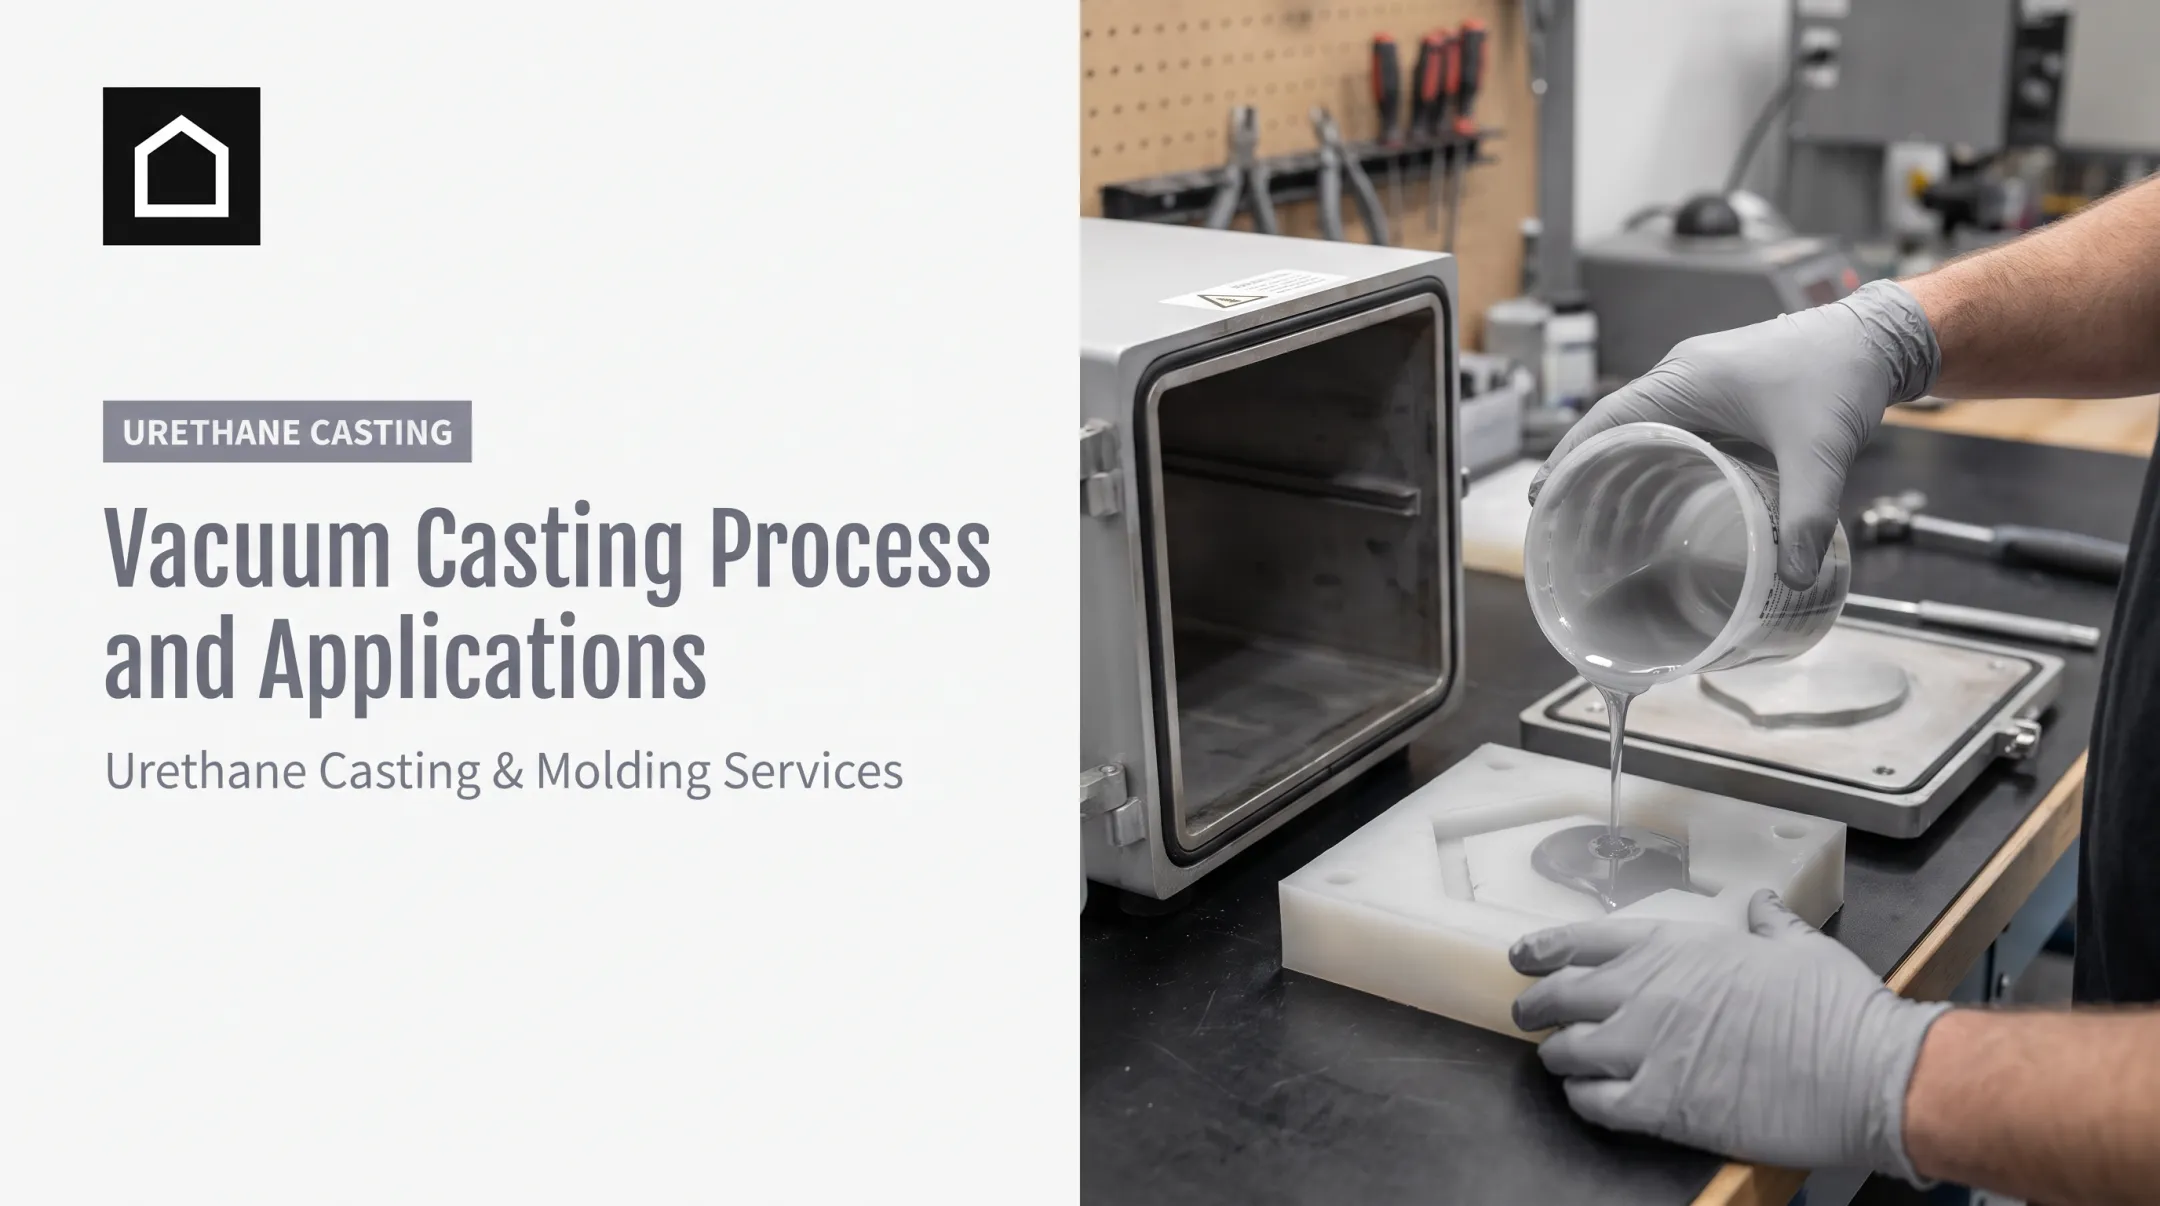
- Degas if needed. Use a vacuum chamber with enough headroom for the silicone to expand as trapped air escapes. Watch the clock against your working time.
- Pour from the lowest practical point. Maintain a steady, thin stream. Tilting the mold slightly or tapping it gently can help silicone reach narrow channels without leaving air pockets behind.
- Cure per the datasheet. Mold Star 15 SLOW, for example, has a 50-minute pot life and a 4-hour room-temperature cure, while Mold Star 16 FAST cuts that to 6 minutes and 30 minutes. Demolding time and full post-cure don't always coincide. Check both.
- Demold and finish. Open at the designated pry points. Trim flash and gate remnants, clean any residue, and inspect for voids, incomplete fill, or surface defects before calling the part done.
Troubleshooting and Quality Control
Most silicone casting problems trace back to one of a handful of root causes.
| Defect | Likely Cause | Fix |
|---|---|---|
| Bubbles or voids | Air entrained during mixing or poor vent placement | Degas, add vents at trap points, pour from the lowest corner |
| Sticky or uncured patches | Off-ratio mix or surface inhibition | Re-check ratio by weight; test-cure on the actual substrate |
| Tearing on demolding | Undercuts too aggressive for the rubber's tear strength | Switch to a softer, higher-tear formulation |
| Excessive flash | Poor mold registration or uneven clamping | Add alignment keys; distribute clamp pressure evenly |
| Incomplete fill | Vent blocked or pour too slow | Reposition vents; increase pour rate within working time |
Polytek's troubleshooting guide notes that a leaking mold box can mimic an incomplete cure, so check for physical leaks before assuming a chemistry problem.
Document everything as you go: material batch numbers, mix ratio, ambient temperature, mold version, cure schedule, and release agent used. This record is what turns a lucky prototype into a repeatable process, and it's exactly what a manufacturing partner will ask for if the project scales up.
Professional Prototyping and Production Support
A DIY pour works fine for a single proof-of-concept part with simple geometry. It stops working once you're dealing with:
- Embedded hardware or overmolded components
- Tight dimensional tolerances
- Repeatable small-batch production
- Medical, dental, orthopedic, military, or automotive applications where documentation matters
Finine Design and Manufacturing is an end-to-end partner for this handoff. Projects move from Prototype through Bridge Production to full Production, with CAD modeling, 3D printing, CNC machining, urethane casting, injection molding, and production painting under one roof.

Before any mold is cut, the silicone molding team runs a design review against your 3D CAD model and 2D drawing—checking draft, undercuts, and wall sections.
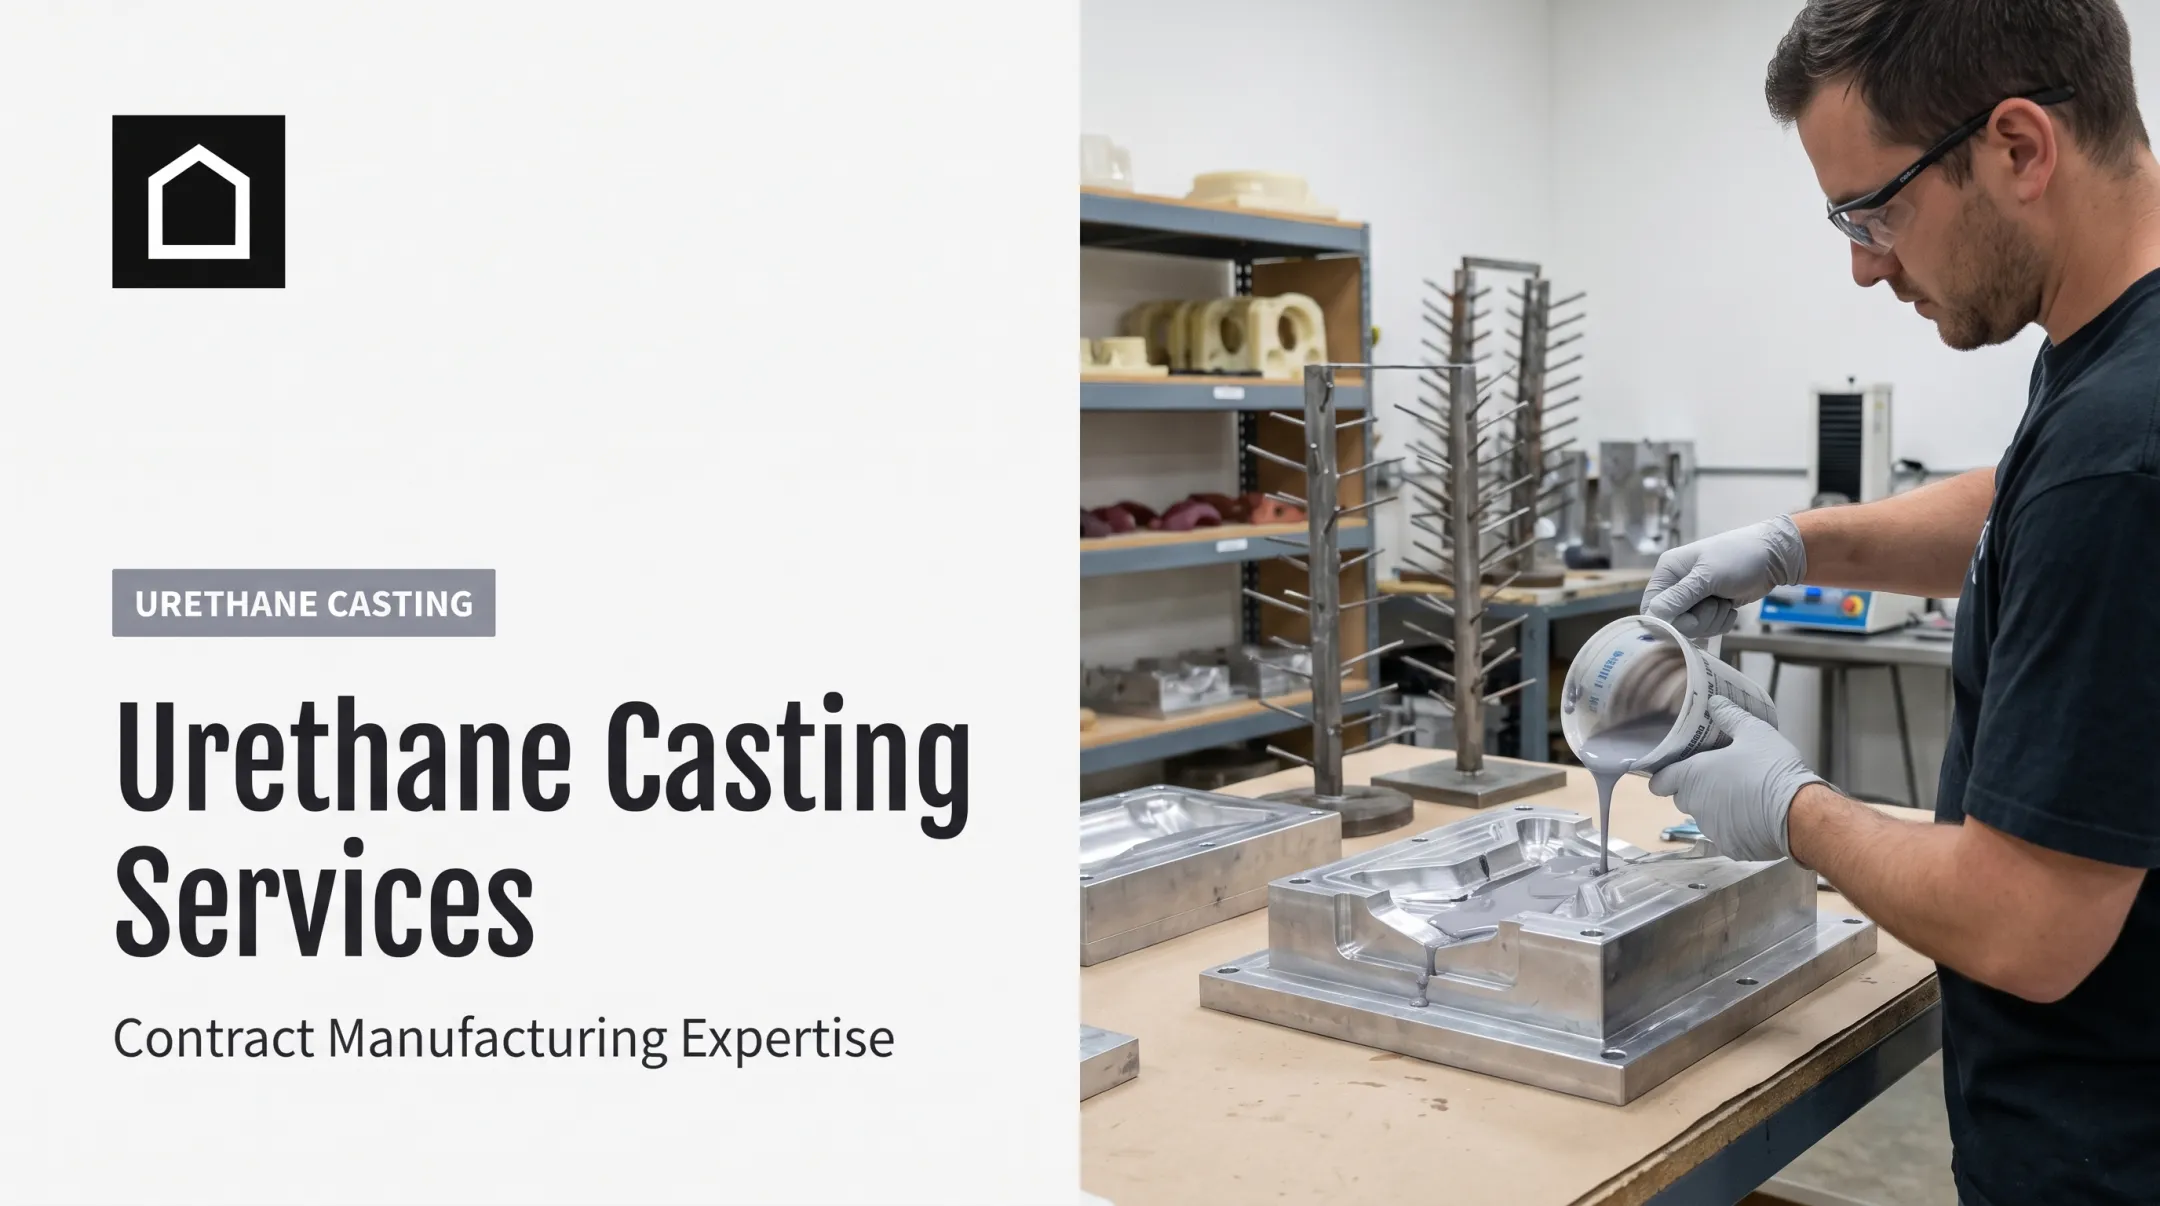
Urethane casting then uses silicone tooling and 3D-printed masters for low- to medium-volume parts without production injection tooling. That path fits dental, orthopedic, automotive, and military work where documentation and repeatability are non-negotiable.
If your prototype mold works but the process still isn't repeatable, talk to Jaime at Finine Design (Jaime@fi9design.com or 1.858.900-9787) about moving from a CAD model to a validated manufacturing process.
Frequently Asked Questions
What materials can I cast in a silicone mold?
Common options include plaster, wax, low-melt metal alloys, and polyurethane, epoxy, or polyester resins. Always check the mold manufacturer's current guidance since release and durability recommendations vary by casting material.
Can you cast silicone in a silicone mold?
Yes, but silicone can bond to already-cured silicone. Confirm cure-system compatibility, prep the surface properly, and apply a validated mold release before pouring.
What is the best silicone for mold making?
There's no single best option. The right choice depends on detail level, flexibility, tear strength, working time, and cure system. Compare current technical data sheets rather than relying on a general rule.
Do I need mold release when casting silicone?
It depends on both the mold and casting material. Some materials cast release-free into silicone, but resin casting and silicone-on-silicone pours usually call for a compatible release. Test a small section first.
How do I prevent bubbles when casting silicone?
Mix carefully without whipping in air, pour from the lowest point, and place vents at likely air traps. Vacuum degassing or pressure casting can help for thicker silicones or detailed geometry.
When should I use a 3D-printed mold for silicone casting?
Printed tooling works well for complex prototypes and low-volume runs. Factor in surface finish, print tolerances, chemical compatibility with your silicone, and the number of casts you actually need before committing.